
>>

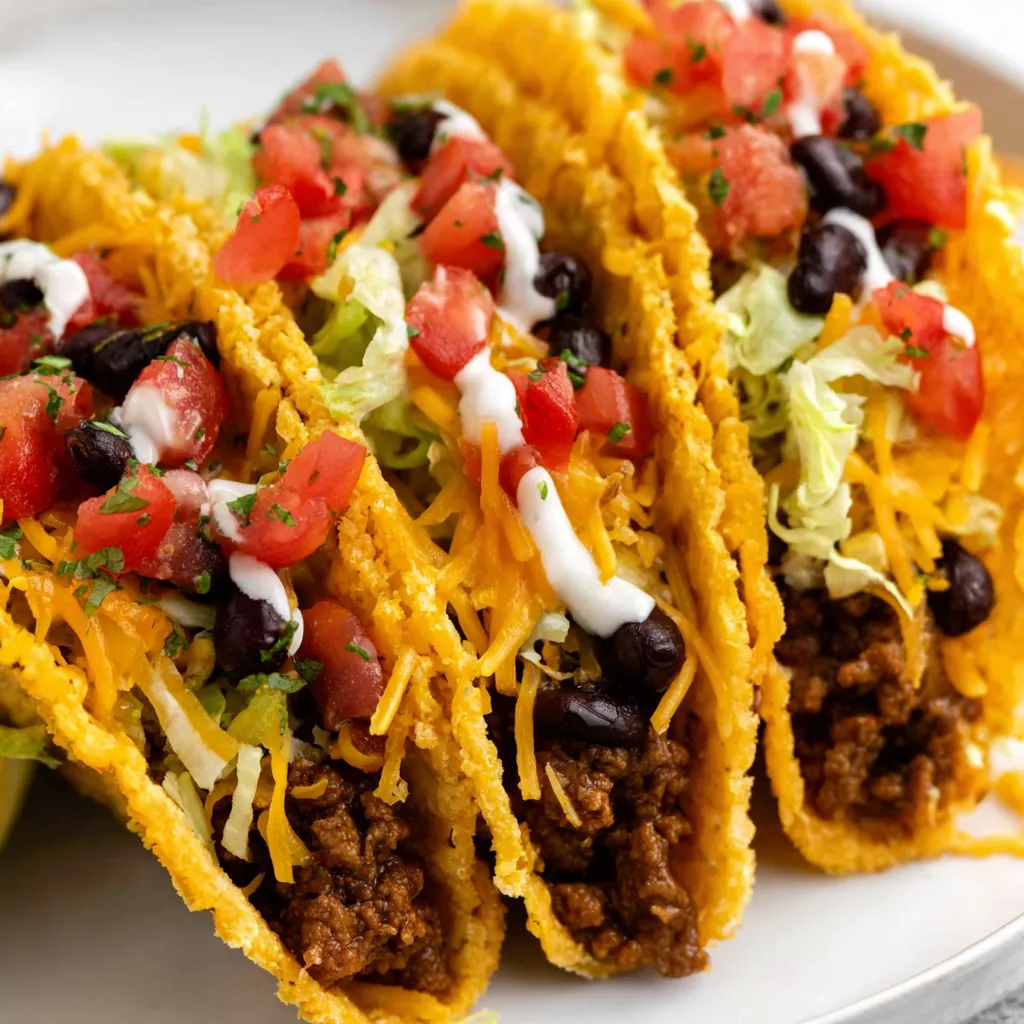
Crunchy baked tacos filled with seasoned beef, black beans, and melted cheddar — a weeknight crowd-pleaser that crisps in the oven and holds up to toppings.
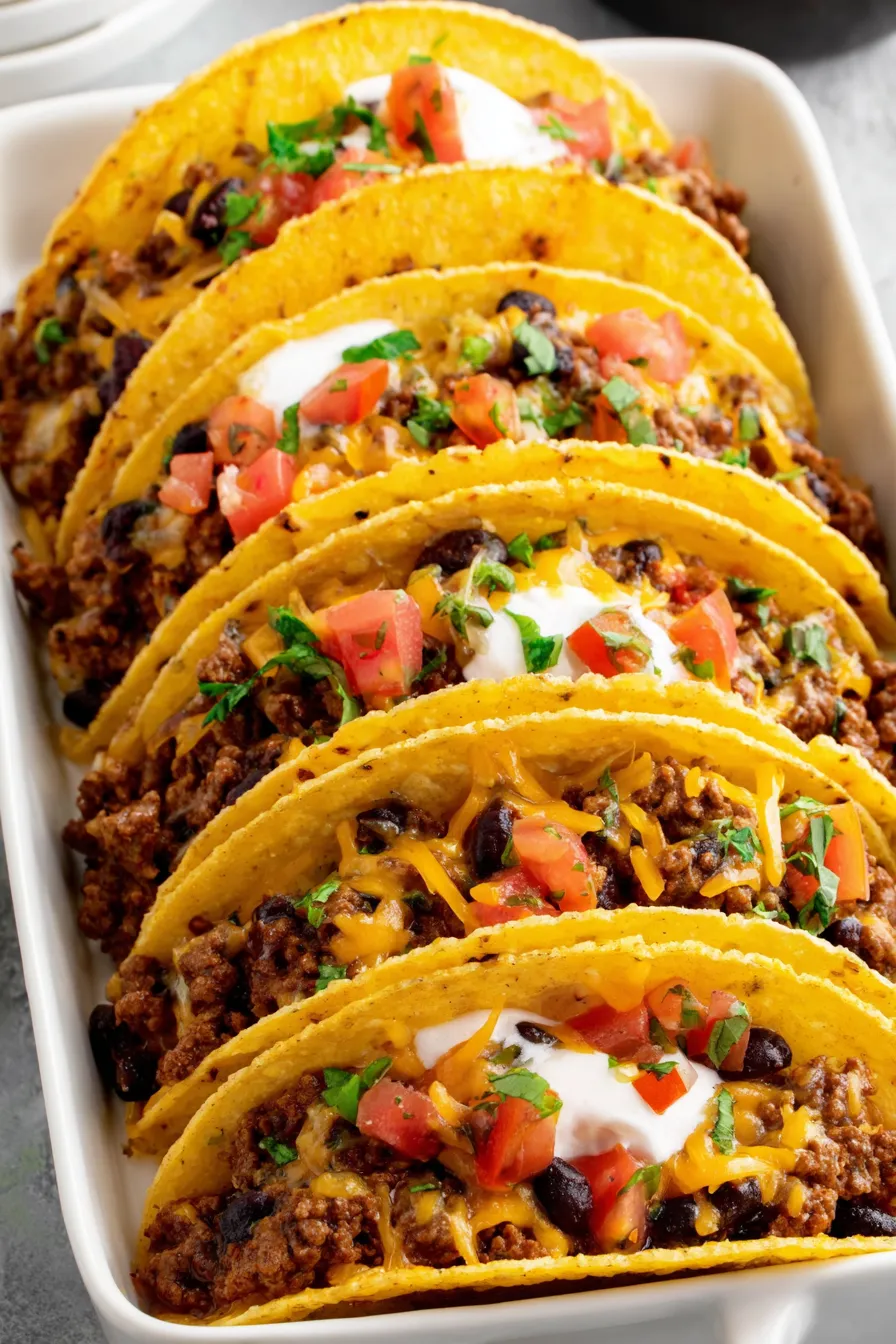
This baked taco dish has been my go-to for busy weeknights and casual gatherings ever since I adapted it from a late-night craving into a full family favorite. I remember the first time I tried lining those Stand 'N Stuff shells in a casserole dish: the shells stayed upright, the filling stayed juicy, and everyone loved the contrast between warm, melty cheese and crisp edges. It’s the kind of recipe that fills the kitchen with inviting, savory aromas and reliably earns second helpings.
I discovered this combination while cleaning out the fridge one Sunday afternoon — some ground beef, a can of black beans, and a packet of taco seasoning combined into something more than the sum of its parts. The gentle bake at the end gives the cheese the perfect melt and crisps the top edge of the shells without drying out the meat. It’s easy to scale up for a crowd and forgiving if you swap proteins or skip the cream cheese. I like it because it’s simple, quick, and hits that Tex-Mex comfort food spot every time.
Personally, my family always notices the little touch of softened cream cheese stirred into the filling when I use it; it adds a creamy mouthfeel that keeps the filling moist under the cheese. On game nights this recipe vanishes first, and on slow Sundays I’ll double the batch so we have leftovers for the week.
My favorite aspect is how adaptable this method is: in one afternoon I’ve turned a handful of pantry staples into a meal that satisfies a family and still leaves me time to prep a salad or dessert. Guests often ask for the recipe and I always tell them the key is balancing moisture — not too dry, not too soupy — so the shells remain crisp but the filling stays tender.
Store baked tacos in an airtight container in the refrigerator for up to 4 days. If you plan to freeze, assemble and freeze before the final bake: wrap the casserole dish tightly in plastic wrap and aluminum foil, and freeze for up to 3 months. When reheating, bake from thawed at 350°F for 10 to 15 minutes or until heated through. For best texture, reheat individual portions in a convection toaster oven if available; it restores crispness better than a microwave.
Swap ground beef for 1 lb cooked, shredded chicken or 1 lb ground turkey for a lighter profile. Replace cream cheese with 2 tablespoons of plain Greek yogurt for tang and lower fat. For a vegetarian version, use crumbled firm tofu or a mix of roasted sweet potato and black beans. If you need gluten-free assurance, verify the taco shells are corn-based and labeled gluten-free; many commercially available shells are, but always check the label.
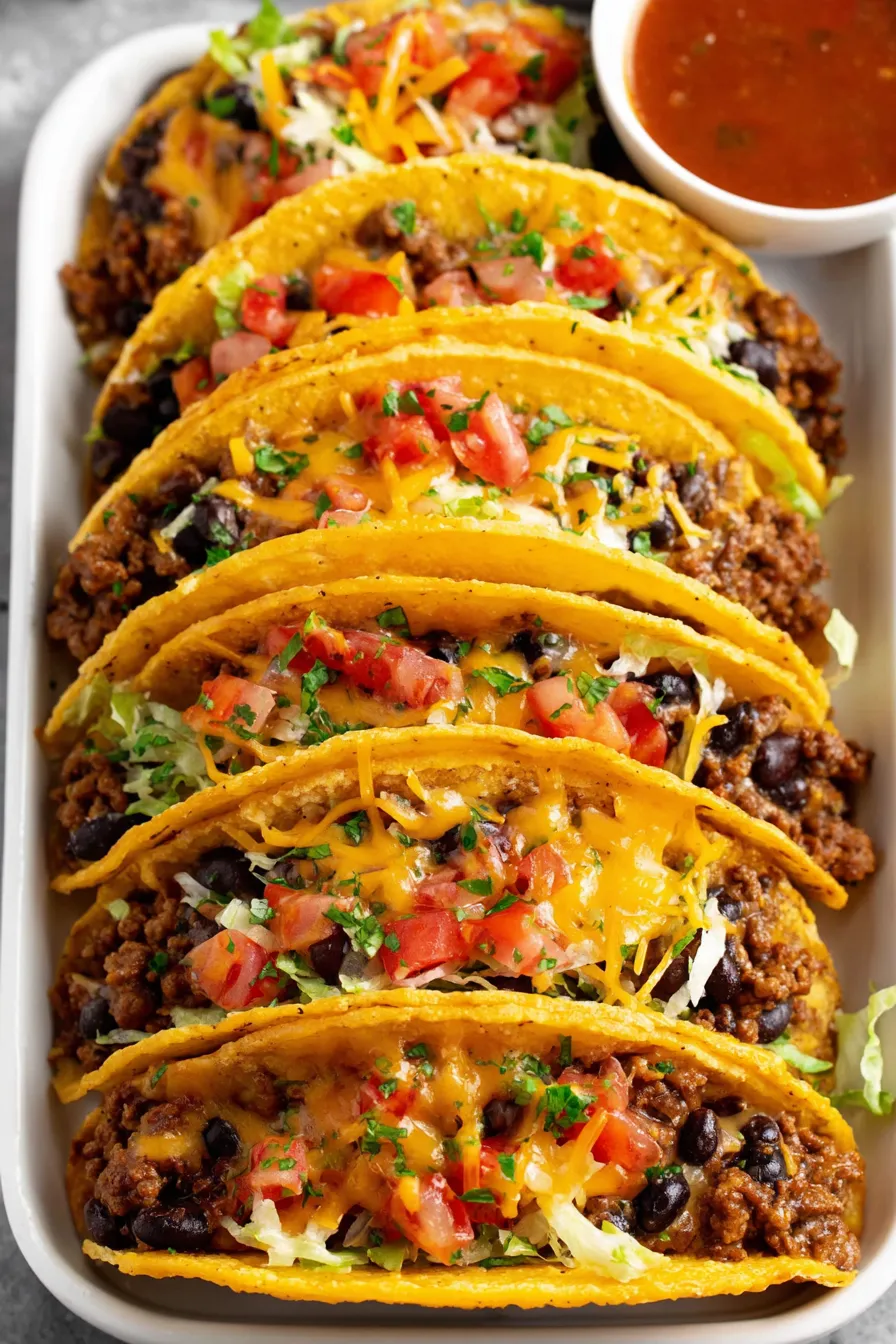
Serve with a vibrant salsa, a dollop of sour cream or crema, shredded lettuce for crunch, and sliced avocado or guacamole for richness. A simple cilantro-lime rice or a crisp cabbage slaw complements the warm tacos nicely, as does a side of refried beans or corn salad. For presentation, garnish with chopped cilantro, a squeeze of lime, and a sprinkle of cotija or extra cheddar.
These baked tacos are a Tex-Mex interpretation of traditional Mexican tacos, where the assembly and final crisping in the oven create a hybrid comfort dish that melds American convenience with Mexican-inspired flavors. The use of canned diced tomatoes with green chilies and a packet of seasoning reflects pantry-driven midcentury American adaptations, while the black beans and shredded cheddar nod to regional preferences. This style of baked taco became popular in home kitchens because it’s portable, easy to scale, and perfect for potlucks.
In summer, swap in fresh diced tomatoes and roasted corn for a brighter, sweeter filling; in fall, add roasted poblano and caramelized onions for depth. For winter entertaining, incorporate warm spices like smoked paprika or a dash of ancho chili powder and serve with roasted winter squash on the side. Holiday gatherings are a great time to make a double batch and keep a taco bar with warm fillings and lots of fresh toppings.
Pre-cook the meat and onion mixture and store it in the refrigerator for up to 3 days or freeze for up to 3 months. Keep individual topping bowls (lettuce, avocado, sour cream, salsa) ready so assembly and bake take less than 15 minutes. If you’re prepping for the week, assemble unbaked tacos in a disposable foil pan and refrigerate; bake only when you’re ready to eat for maximum crispness and freshness.
These baked tacos are forgiving, fast, and endlessly tweakable. Whether you keep it classic with beef and cheddar or swap in seasonal produce and proteins, this approach delivers a satisfying result every time. Gather friends, lay out a toppings spread, and enjoy the simple joy of warm, cheesy tacos fresh from the oven.
Pat black beans dry after rinsing to prevent soggy shells.
Par-bake shells for 3 to 5 minutes depending on your dish color to set them before filling.
Stir in a tablespoon of softened cream cheese at the end for a creamier, less crumbly filling.
Drain excess grease after browning the beef to keep the filling from pooling in the shells.
This nourishing baked tacos (stand 'n stuff style) recipe is sure to be a staple in your kitchen. Enjoy every moist, high protein slice — it is perfect for breakfast or as a wholesome snack any time.
This Baked Tacos (Stand 'N Stuff Style) recipe makes perfectly juicy, tender, and flavorful steak every time! Serve with potatoes and a side salad for an unforgettable dinner in under 30 minutes.
Drain and rinse 1 cup canned black beans thoroughly then spread on a paper towel-lined plate to remove surface moisture.
Preheat oven to 400°F. Stand 8 to 10 taco shells in a 9 x 13 inch dish and par-bake 3 minutes for a dark dish or 5 minutes for a light dish.
Cook and crumble 1 lb ground beef with 1 medium finely diced yellow onion over medium-high heat for 8 to 10 minutes until cooked through; drain excess grease.
Stir in 1 oz taco seasoning, the 10 oz can of diced tomatoes with green chilies (undrained), and 1/4 cup beef broth. Bring to a brief boil then reduce to simmer until most liquid evaporates.
Remove from heat and stir in 1 tablespoon softened cream cheese until melted and combined. The mixture should be moist but not watery.
Spoon black beans into the bottom of each shell, top with the beef mixture, and sprinkle 1 1/4 cups shredded cheddar evenly over the shells.
Bake uncovered for 7 to 10 minutes until cheese is melted and shells are crisp. Remove from oven and add desired toppings before serving.
Last Step: Please leave a rating and comment letting us know how you liked this recipe! This helps our business to thrive and continue providing free, high-quality recipes for you.
Leave a comment & rating below or tag
@whiskia on social media!

Tender, herb-laced meatballs baked to juicy perfection with Parmesan and garlic. Perfect over spaghetti, tucked into subs, or served with favorite dips.

Creamy, silky carbonara with smoky bacon, peppery bite, and perfectly coated spaghetti. Ready in 25 minutes for a comforting, crowd-pleasing dinner.

A rich, silky garlic pasta made in one pan with milk and Parmesan for a fast, comforting dinner that is ready in about 20 minutes.
Leave a comment & rating below or tag @whiskia on social media!
Enjoyed this recipe? Share it with friends and family, and don't forget to leave a review!
This recipe looks amazing! Can't wait to try it.
Comments are stored locally in your browser. Server comments are displayed alongside your local comments.

Join to receive our email series which contains a round-up of some of our quick and easy family favorite recipes.
