
>>

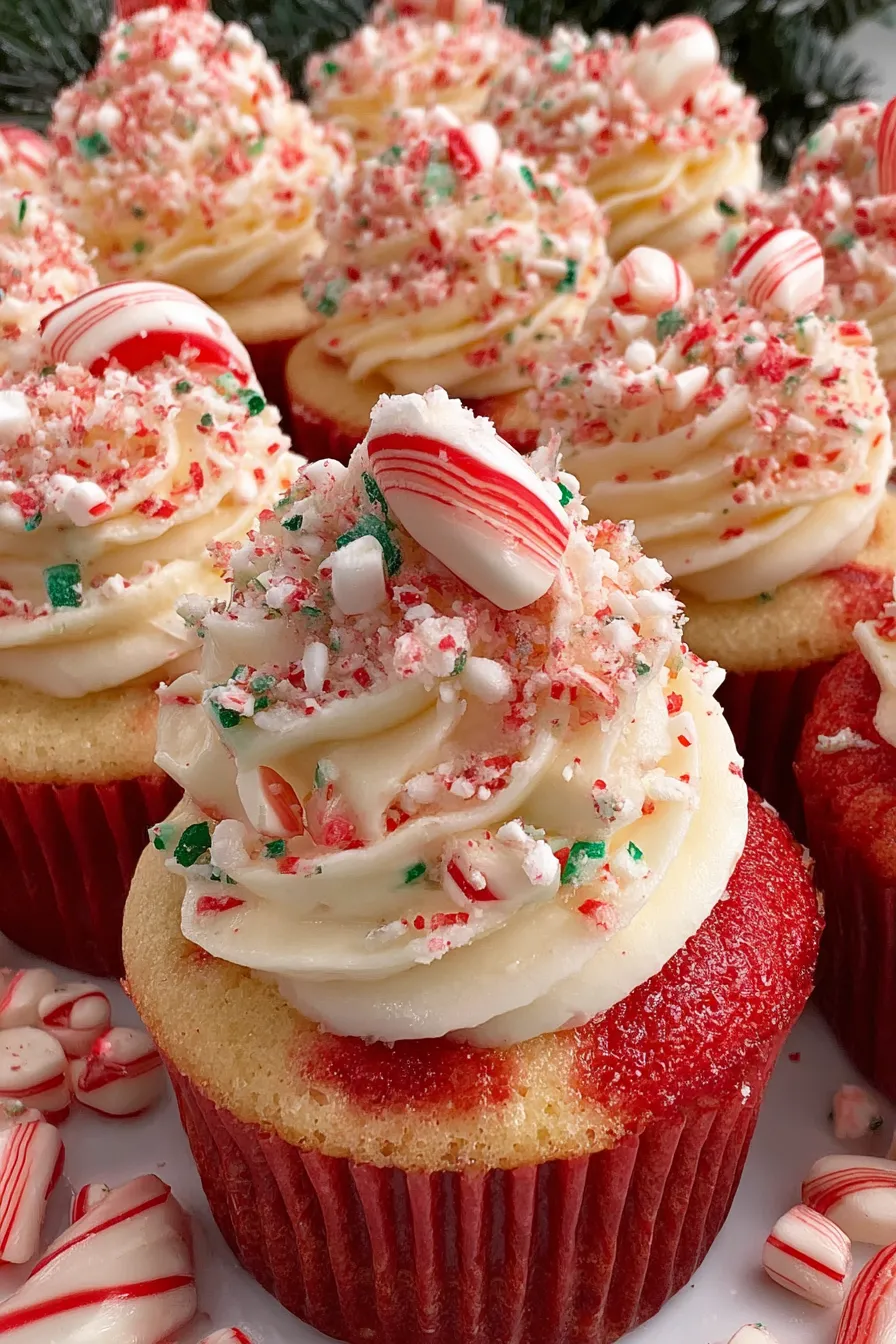
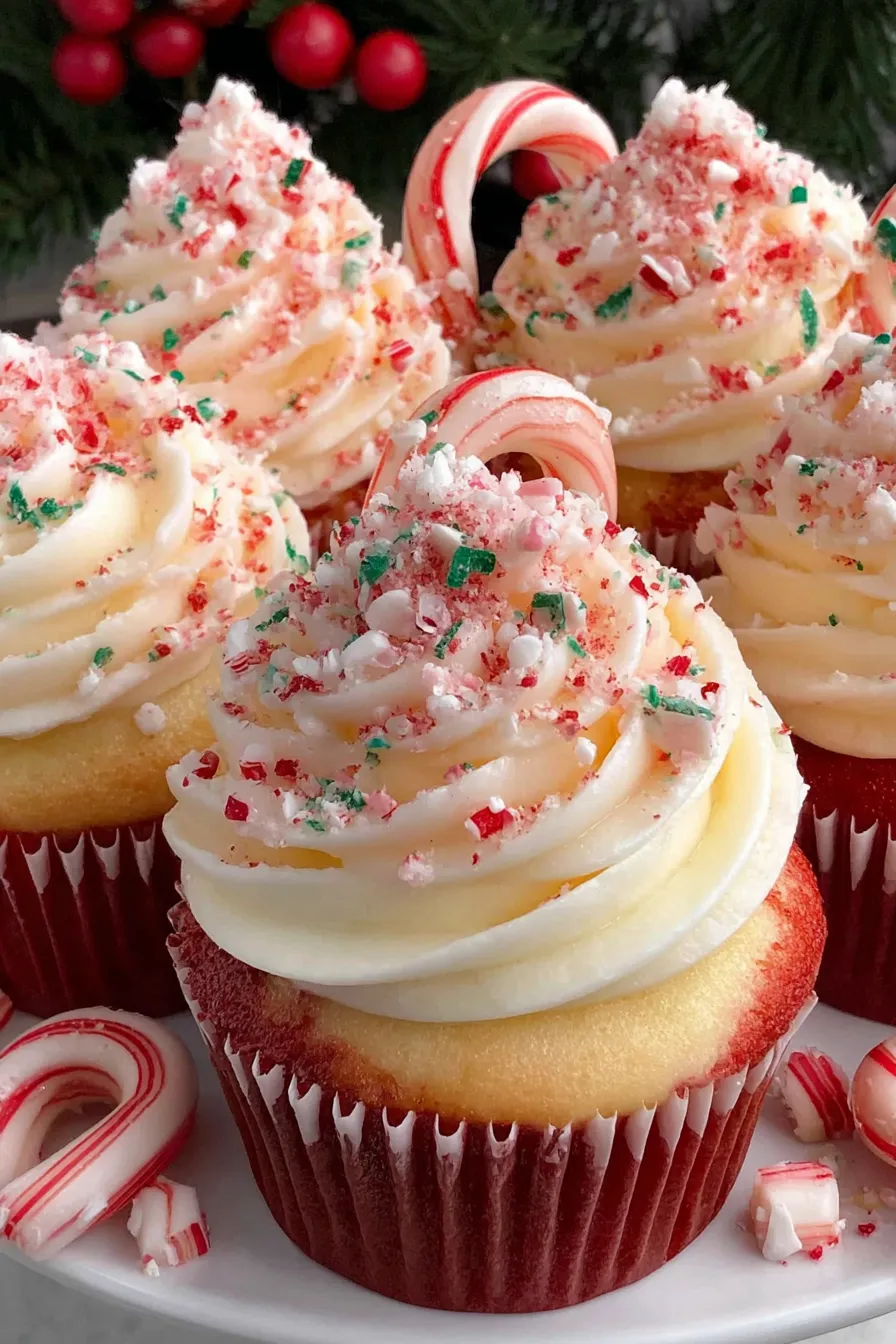
Festive swirl cupcakes with a peppermint-scented buttercream and candy-cane garnish — perfect for holiday gatherings and cozy dessert tables.

This recipe for Candy Cane Peppermint Cupcakes has been my holiday shorthand for instant cheer. I first developed this version during a frantic December when I wanted something that looked special but could be made from a single box of cake mix and a few pantry staples. The result was a playful red-and-white swirl inside each cake and a light, peppermint-forward buttercream on top. The texture is soft and tender; the flavor balances classic vanilla with a brisk peppermint finish. Guests always smile when the tiny candy cane arrives perched on the frosting — it makes ordinary cupcakes feel celebratory.
I discovered early on that the trick to a striking interior swirl is simple: separate the batter and color one half a candy-apple red, then alternate spoonfuls into the liners so each cake bakes with a marbled candy-cane effect. The frosting is a stabilized buttercream flavored gently with peppermint so it doesn’t overwhelm the cake. It’s rich but clean-tasting, and the peppermint lifts it into something refreshingly seasonal. These cupcakes have accompanied cookie exchanges, after-dinner coffee, and a few impromptu caroling nights; the aroma alone seems to pull people into the kitchen.
In my experience, these quickly became a holiday staple because they travel well and keep their structure when stacked in containers. Family members frequently request the peppermint version over plain vanilla, and the smallest guests always reach for the mini candy cane garnish first.
My favorite aspect is how these transform a simple cake mix into something heirloom-ready. I once brought a batch to a holiday office party and colleagues asked for the recipe by the end of the night. It’s the small details — the painted piping bag and the peppermint crunch — that create the most delight.
Store cupcakes in an airtight container at room temperature for up to 48 hours to preserve the tender crumb and frosting texture. For longer storage, refrigerate for up to 5 days; let cupcakes come to room temperature before serving for the best mouthfeel. Unfrosted cupcakes freeze well for up to 3 months: cool completely, wrap individually in plastic wrap, then place in a freezer-safe container. Thaw overnight in the refrigerator and bring to room temperature before frosting. Frosted cupcakes can also be frozen briefly, but the frosting may soften when thawed and should be re-whipped if needed.
If you need to reduce sodium or dairy, substitute a plant-based stick butter that measures the same as dairy butter, and use a vegan white cake mix. For a lighter frosting, replace half the butter with an equal weight of cream cheese and reduce confectioners’ sugar by 1/2 cup. If you prefer a stronger peppermint note, add crushed peppermint candy (finely ground) to the buttercream, but be cautious: too much candy will make the frosting gritty and very sweet. For a gluten-free version, use a certified gluten-free white cake mix and confirm your decorations are gluten-free.
Present these cupcakes on a tiered tray with a scattering of whole and crushed mini candy canes for texture. They pair beautifully with hot cocoa, espresso, or a lightly spiced tea. For a dessert buffet, serve alongside gingerbread cookies and shortbread for a classic holiday spread. Garnish each cupcake with a tiny mint sprig or edible silver dragee for an extra festive touch. They also make charming favors when boxed individually and tied with ribbon.
Peppermint-flavored confections are strongly associated with winter holidays in North America and Europe; candy canes originated as simple white sugar sticks and later adopted red stripes and peppermint flavoring in the late 19th century. Adapting the candy cane into desserts became popular in the 20th century with the rise of seasonal baking traditions. These cupcakes nod to that heritage by combining the visual stripes of the candy cane with the classic winter flavor of peppermint, making them a seasonal symbol as much as a dessert.
In winter, increase cinnamon or a pinch of cardamom in the buttercream for a warm, holiday feel. For a summer twist, leave out the peppermint and add a teaspoon of lemon extract with a lemon curd center for a bright, celebratory cupcake. At Valentine’s Day, swap the candy cane garnish for chocolate hearts and adjust the red marbling to a deeper crimson. These small changes adapt the base technique to any season while keeping the same crowd-pleasing structure.
For make-ahead ease, bake the cupcakes a day in advance and wrap them individually in plastic wrap, then store in a single layer in a sealed container. Prepare the frosting and keep it chilled; re-whip briefly before piping to restore volume. If transporting, place cupcakes in a shallow box with a folded towel beneath for cushioning, and add peppermint sugar at the host site so the sugar remains crisp. For event service, frost on-site to keep the tops pristine and shiny.
These Candy Cane Peppermint Cupcakes are a small ritual I return to every year. They’re reliable, customizable, and somehow manage to feel both nostalgic and new with every bite. Give them a try and make them your own — tweak the peppermint, add a filling, or decorate boldly. The kitchen memories you make will be the best garnish of all.
Use gel food coloring for vivid red without changing batter consistency.
Start with 1/2 teaspoon peppermint extract in the frosting and add more in 1/8-teaspoon increments to avoid overpowering the cake.
Sift confectioners' sugar to prevent lumps in the buttercream for a silky texture.
Rotate your pans halfway through baking to ensure even browning.
This nourishing candy cane peppermint cupcakes recipe is sure to be a staple in your kitchen. Enjoy every moist, high protein slice — it is perfect for breakfast or as a wholesome snack any time.
Yes. Unfrosted cupcakes can be frozen for up to 3 months. Wrap individually and store in a freezer-safe container. Thaw in the refrigerator overnight before frosting.
Use a small paintbrush or skewer to apply gel color inside the piping bag, and avoid using too much liquid color which can thin the buttercream.
This Candy Cane Peppermint Cupcakes recipe makes perfectly juicy, tender, and flavorful steak every time! Serve with potatoes and a side salad for an unforgettable dinner in under 30 minutes.
Position racks in the upper and lower thirds of the oven and preheat to 350°F (175°C). Line 18 cupcake cups in two 12-cup muffin tins with paper liners.
Mix cake batter according to package directions. Divide the batter into two bowls and tint one half with red gel food coloring until desired shade is reached.
Alternate spooning white and red batter into each liner until about half full, approximately 3 to 4 tablespoons per cup (45–60 ml).
Bake for 18–20 minutes, rotating tins halfway through. Test centers with a toothpick; it should come out clean. Cool completely on a wire rack.
Beat softened butter and salt until creamy, then gradually add sifted confectioners' sugar. Add heavy cream, vanilla, and peppermint extract; beat on medium-high until light and fluffy.
Paint two lines of red gel inside a piping bag fitted with a 1/2-inch round tip using a small brush or skewer. Fill the bag with frosting, twist the top, and pipe swirls onto cooled cupcakes.
Top each cupcake with a mini candy cane or a sprinkle of coarse peppermint sugar. Store in an airtight container or refrigerate for longer storage.
Last Step: Please leave a rating and comment letting us know how you liked this recipe! This helps our business to thrive and continue providing free, high-quality recipes for you.
Leave a comment & rating below or tag
@whiskia on social media!

Tender, herb-laced meatballs baked to juicy perfection with Parmesan and garlic. Perfect over spaghetti, tucked into subs, or served with favorite dips.

Creamy, silky carbonara with smoky bacon, peppery bite, and perfectly coated spaghetti. Ready in 25 minutes for a comforting, crowd-pleasing dinner.

A rich, silky garlic pasta made in one pan with milk and Parmesan for a fast, comforting dinner that is ready in about 20 minutes.
Leave a comment & rating below or tag @whiskia on social media!
Enjoyed this recipe? Share it with friends and family, and don't forget to leave a review!
This recipe looks amazing! Can't wait to try it.
Comments are stored locally in your browser. Server comments are displayed alongside your local comments.

Join to receive our email series which contains a round-up of some of our quick and easy family favorite recipes.
