
>>

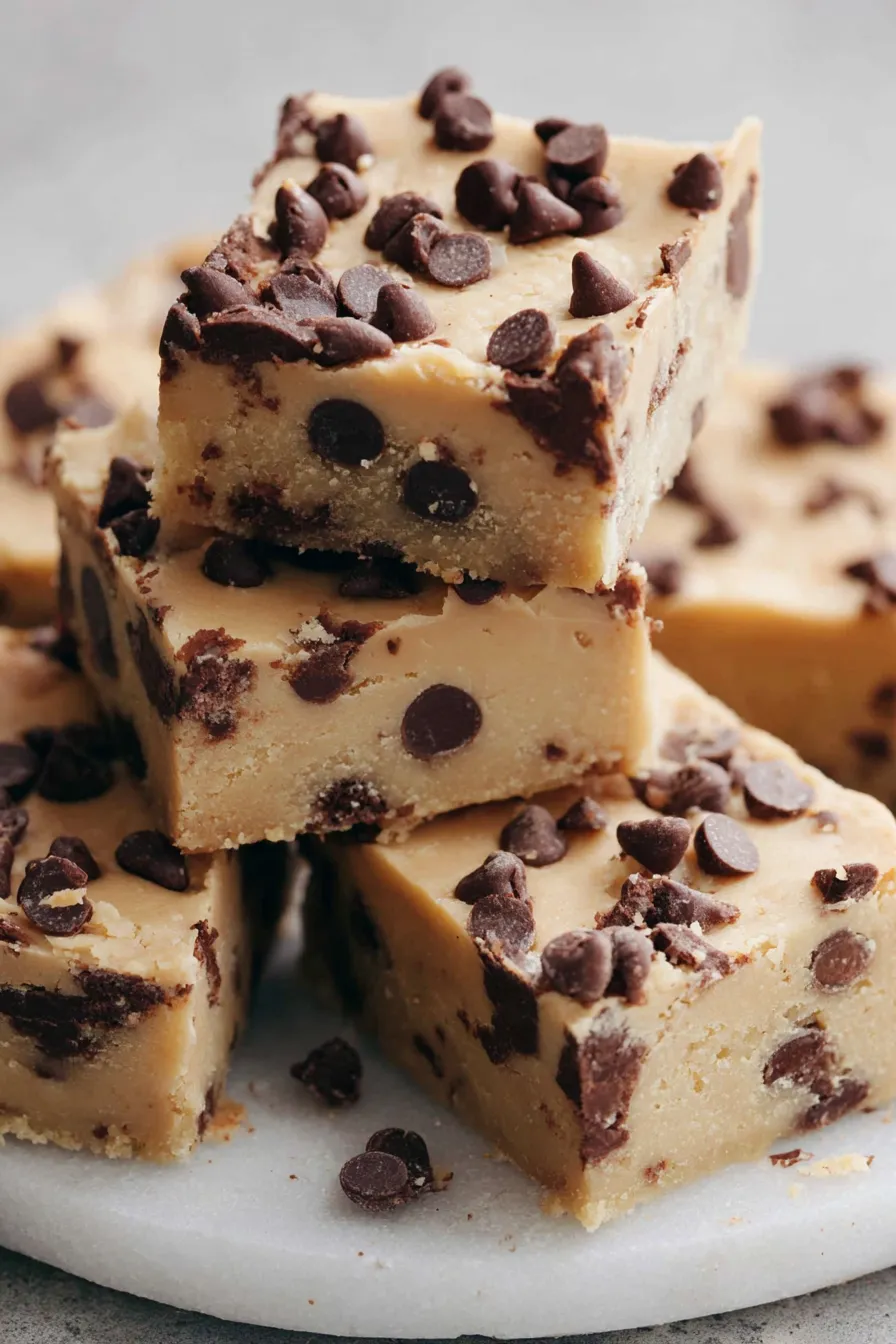
Chewy, no-bake bars with a classic cookie dough base, studded with mini chocolate chips and topped with a creamy peanut butter chocolate layer—ready after chilling.
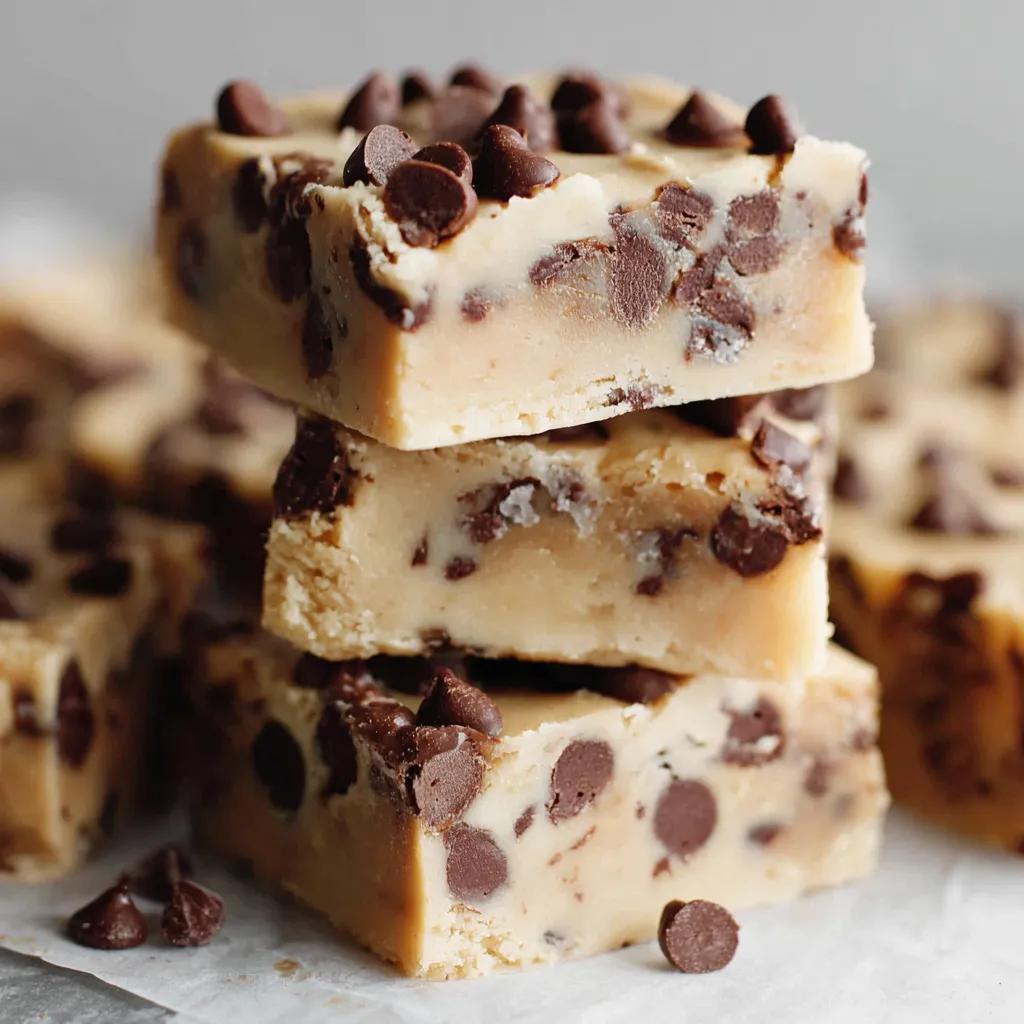
This recipe is my go-to when I want the nostalgic bite of raw cookie dough without the raw eggs and with the structure of a sliceable bar. I first developed this combination one summer when kids were home from school and wanted something quick, sweet, and transportable to picnics. The result—soft, slightly chewy cookie dough pressed into an 8 by 8 pan, chilled until firm, and dressed with a glossy peanut butter chocolate topping—became our household favorite for afternoon snacks and potluck contributions. The texture is dense but tender, and the sweetened condensed milk keeps the center moist without baking.
What makes these bars special is their balance of nostalgia and convenience. They capture the familiar sweetness and buttery mouthfeel of cookie dough while staying safe to eat as no-egg bars. The mini chocolate chips give tiny bursts of chocolate in every bite while a thin layer of melted milk chocolate blended with creamy peanut butter adds richness and a slightly salty counterpoint. They are easy to scale and forgiving with technique—perfect for a busy weeknight dessert or for making ahead for gatherings.
I learned early that pressing the dough evenly makes the difference between tidy bars and cracked tops. My children helped press the dough in one weekend and still talk about how proud they were of their neat slices. At a summer block party these bars disappeared first, and neighbors asked for the recipe before I’d even finished handing out napkins.
My favorite part is how quickly guests recognize the childhood comfort of cookie dough, then discover the grown-up finish of peanut butter and milk chocolate. I once brought a pan to a neighborhood bake sale and was asked to bring double the next week. These bars bridge the gap between nostalgia and sophistication without fuss.
Store leftovers in an airtight container in the refrigerator for up to five days. Place parchment sheets between layers to prevent sticking and keep the top layer looking pristine. For longer storage, wrap the whole slab tightly in plastic wrap and then foil before freezing; this protects against freezer burn. Thaw overnight in the refrigerator before slicing for best texture. When reheating a single bar briefly, 8 to 10 seconds in the microwave softens the topping but avoid overdoing it or the base will lose its structure.

If you need to adjust, a sturdy swap is natural almond butter for peanut butter to create a nutty, less-sweet topping; use a 1:1 ratio. For a dairy-free version, choose dairy-free butter and dairy-free condensed milk alternatives, though texture will vary. To make these gluten-free, use a gluten-free all-purpose blend measured by weight or spoon-and-level the cup. Dark chocolate chips increase bitterness and complexity if you prefer less-sweet bars—use the same volume as mini chips.
Serve chilled at room temperature for the best mouthfeel—about 10 minutes out of the fridge softens the base. Garnish with a light dusting of flaky sea salt for contrast, or a drizzle of additional melted chocolate for presentation. Pair with cold coffee, a milkshake, or a scoop of vanilla ice cream for a decadent dessert plate. For parties, present on a slate board with small parchment squares to make serving tidy.
No-bake bars and sliceable refrigerated sweets are a staple in American home baking, especially for potlucks and summer gatherings. These bars borrow from classic edible cookie dough traditions and the midcentury American fondness for sweet, portable tray bakes that travel well. The peanut butter and chocolate finish nods to beloved American flavor pairings and makes this version instantly recognizable across many regional potluck tables.
In winter, fold 1/2 teaspoon ground cinnamon and 1/8 teaspoon nutmeg into the flour for a warming spice note. For spring and summer, fold in toasted chopped peanuts or swap the milk chocolate topping for a tangy white chocolate and raspberry drizzle. Around holidays, press festive sprinkles into the top before the topping sets, or add orange zest to the base for a citrus-chocolate twist.
Make the base up to 48 hours in advance and keep it refrigerated, then melt and spread the topping just before guests arrive for a fresh shine. For individual portions, freeze the slab and slice while partially frozen—this produces cleaner edges. Use a ruler to mark even slices on the parchment before cutting to ensure uniform portions for gifting or packaging.
These bars are simple to make, easy to customize, and always a crowd-pleaser. Share them, swap a few ingredients, and make the recipe your own—the joy is in experimenting and watching faces light up with that first nostalgic bite.
If the dough is too sticky to press, chill it for 15 to 20 minutes to firm slightly before pressing into the pan.
For clean slices, heat a sharp knife under hot water, dry it, then slice; repeat between cuts for neat edges.
To reduce raw flour risk, spread flour on a baking sheet and heat at 250 F for 5 minutes before using.
This nourishing chocolate chip cookie dough bars recipe is sure to be a staple in your kitchen. Enjoy every moist, high protein slice — it is perfect for breakfast or as a wholesome snack any time.
This Chocolate Chip Cookie Dough Bars recipe makes perfectly juicy, tender, and flavorful steak every time! Serve with potatoes and a side salad for an unforgettable dinner in under 30 minutes.
Line an 8x8 inch pan with parchment paper or foil leaving an overhang for easy removal; lightly grease to help release the slab.
Beat softened butter and packed brown sugar on medium speed until light and fluffy, about 3 minutes. Add vanilla and mix briefly to combine.
On low speed, alternate adding flour and the can of sweetened condensed milk, starting and ending with flour, and mix until just combined to avoid tough texture.
Fold in mini chocolate chips, transfer dough to the prepared pan and press evenly to the sides; lightly flour hands if needed to smooth the surface.
Cover the pan tightly and refrigerate for at least 3 hours or overnight until firm; you may freeze for 45 minutes if short on time but avoid fully freezing.
Microwave peanut butter and milk chocolate chips in 30-second intervals, stirring between each, until smooth and pourable. Cool slightly before spreading.
Spread topping over chilled base, chill for at least 1 hour, then lift from pan using parchment and slice into 12 bars. Use a hot, wiped knife for clean cuts.
Last Step: Please leave a rating and comment letting us know how you liked this recipe! This helps our business to thrive and continue providing free, high-quality recipes for you.
Leave a comment & rating below or tag
@whiskia on social media!

Tender, herb-laced meatballs baked to juicy perfection with Parmesan and garlic. Perfect over spaghetti, tucked into subs, or served with favorite dips.

Creamy, silky carbonara with smoky bacon, peppery bite, and perfectly coated spaghetti. Ready in 25 minutes for a comforting, crowd-pleasing dinner.

A rich, silky garlic pasta made in one pan with milk and Parmesan for a fast, comforting dinner that is ready in about 20 minutes.
Leave a comment & rating below or tag @whiskia on social media!
Enjoyed this recipe? Share it with friends and family, and don't forget to leave a review!
This recipe looks amazing! Can't wait to try it.
Comments are stored locally in your browser. Server comments are displayed alongside your local comments.

Join to receive our email series which contains a round-up of some of our quick and easy family favorite recipes.
