>>

Sweet, bite-sized coconut centers enrobed in glossy dark chocolate — a no-bake treat that's simple to make, endlessly adaptable, and perfect for gifting or afternoon indulgence.
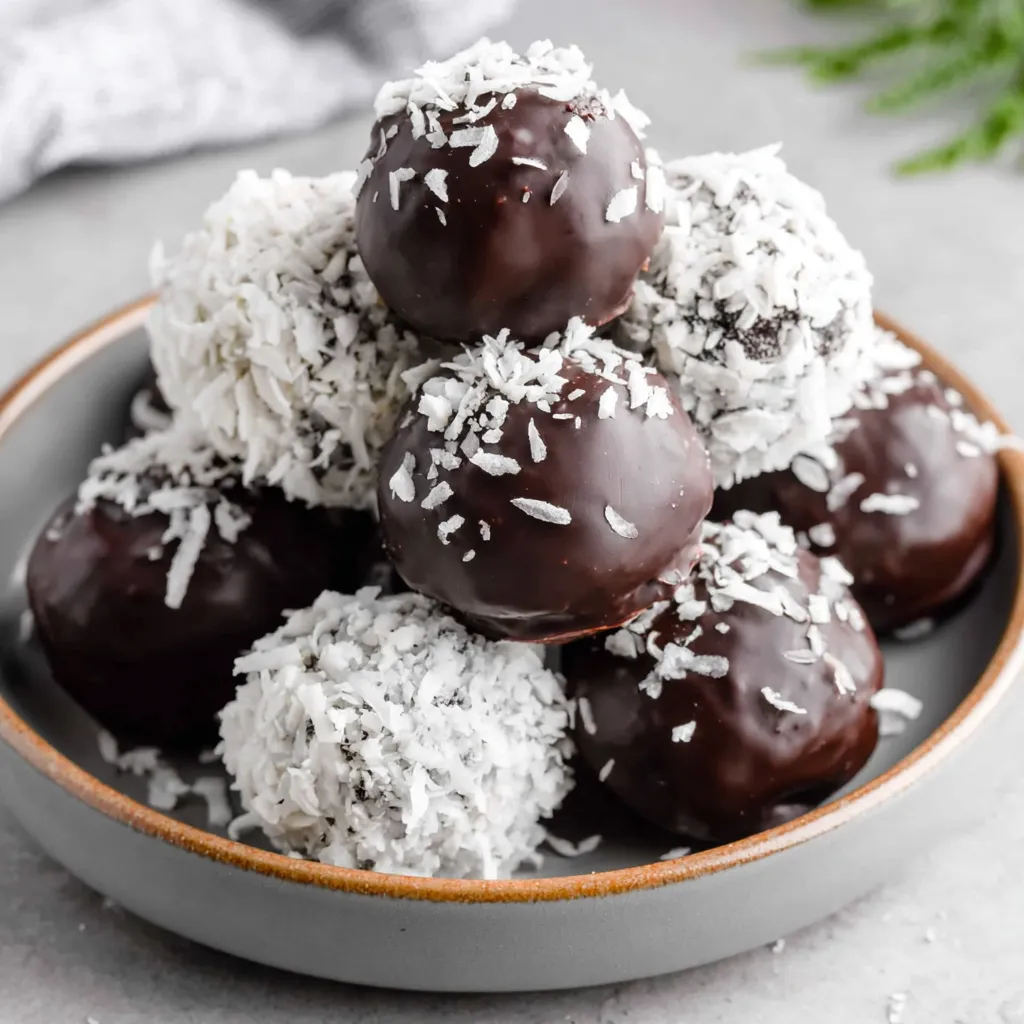
This recipe for Chocolate Coconut Balls sprang from a late-night craving and became an unexpected family favorite within days. I discovered the combination during a holiday baking session when I wanted something quick, portable, and utterly comforting without turning on the oven. The ratio of desiccated coconut to sweetened condensed milk creates a dense, chewy interior that contrasts beautifully with a crisp chocolate shell. Every batch has produced that satisfying snap followed by a soft, fragrant coconut center that always sends guests reaching for one more.
I first tested this version at a small potluck and walked away with requests for the recipe and an empty tray. What makes it special is the simplicity — pantry staples and a microwave are all you need — plus the ability to control sweetness and chocolate intensity. The texture is chewy rather than cakey, thanks to using desiccated coconut and condensed milk, and the chocolate coating can be adjusted from semi-sweet to deeply rich dark to suit your preference. These little bites are ideal for last-minute gifts, lunchbox treats, or when you want a no-fuss dessert that still feels indulgent.
In my kitchen these have become the go-to plate-filler during holiday gatherings. I remember a winter evening when a neighbor dropped by with hot cocoa and left with a tin of these; he later told me they vanished at his office potluck. They travel well, are forgiving with measurement, and reliably please both kids and adults, making them one of my most-requested sweets.
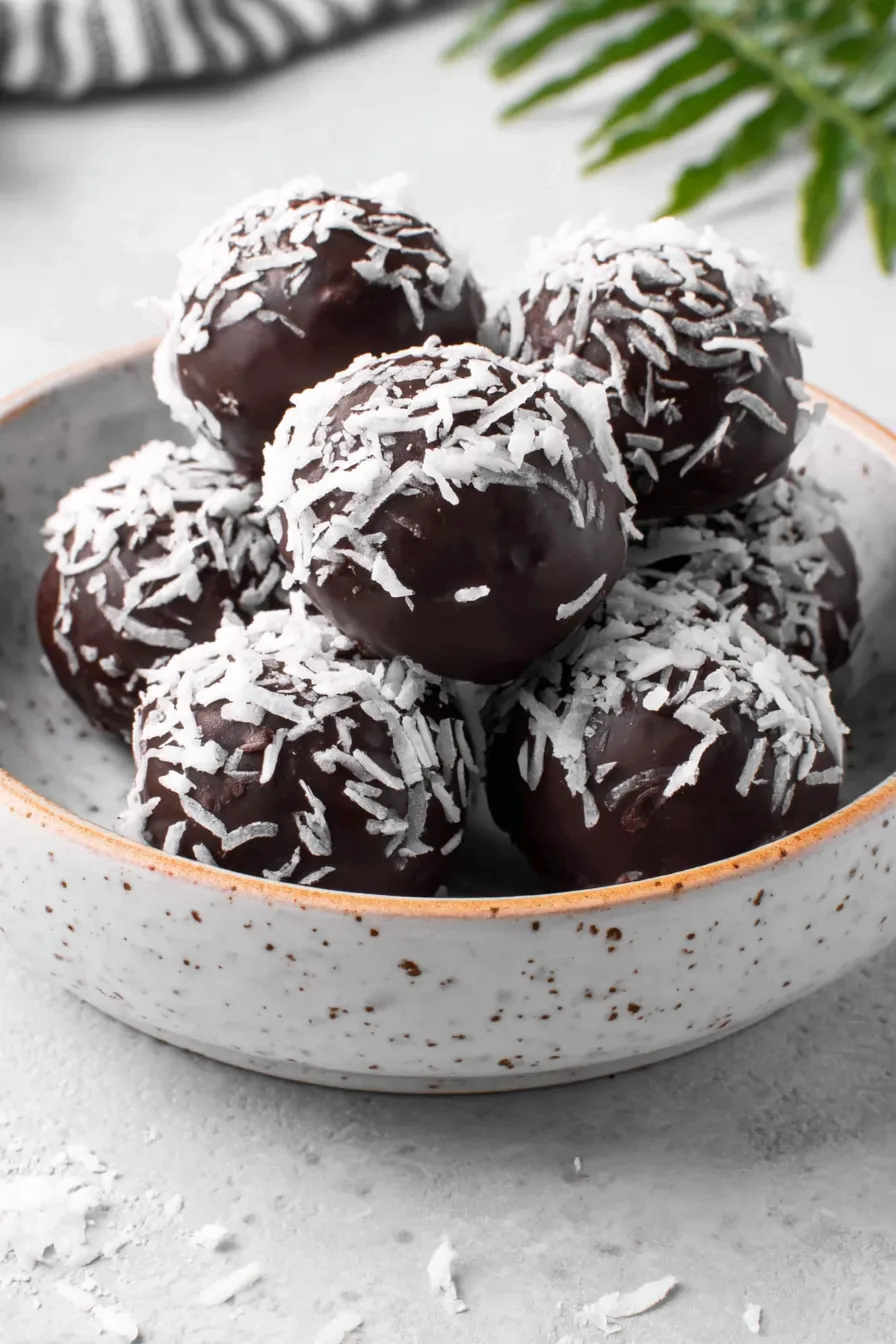
My favorite aspect is how forgiving the process is: the mixture tolerates small adjustments without failing. A friend once doubled the sugar by mistake and the balls still set after extra chilling; they were simply sweeter. Another time I swapped in bittersweet chocolate and added a pinch of flaky sea salt to each finished piece, which elevated the flavor and became the household favorite. Watching the tray disappear at gatherings never gets old.
Store the bites in a single layer or separated by parchment in an airtight container in the refrigerator for up to two weeks. For longer storage, freeze them on a tray until solid, then transfer to a freezer-safe container for up to three months. Thaw overnight in the fridge rather than at room temperature to avoid condensation, which can dull the chocolate. If transporting, keep them chilled in an insulated bag with ice packs to maintain the glossy coating and prevent melting.
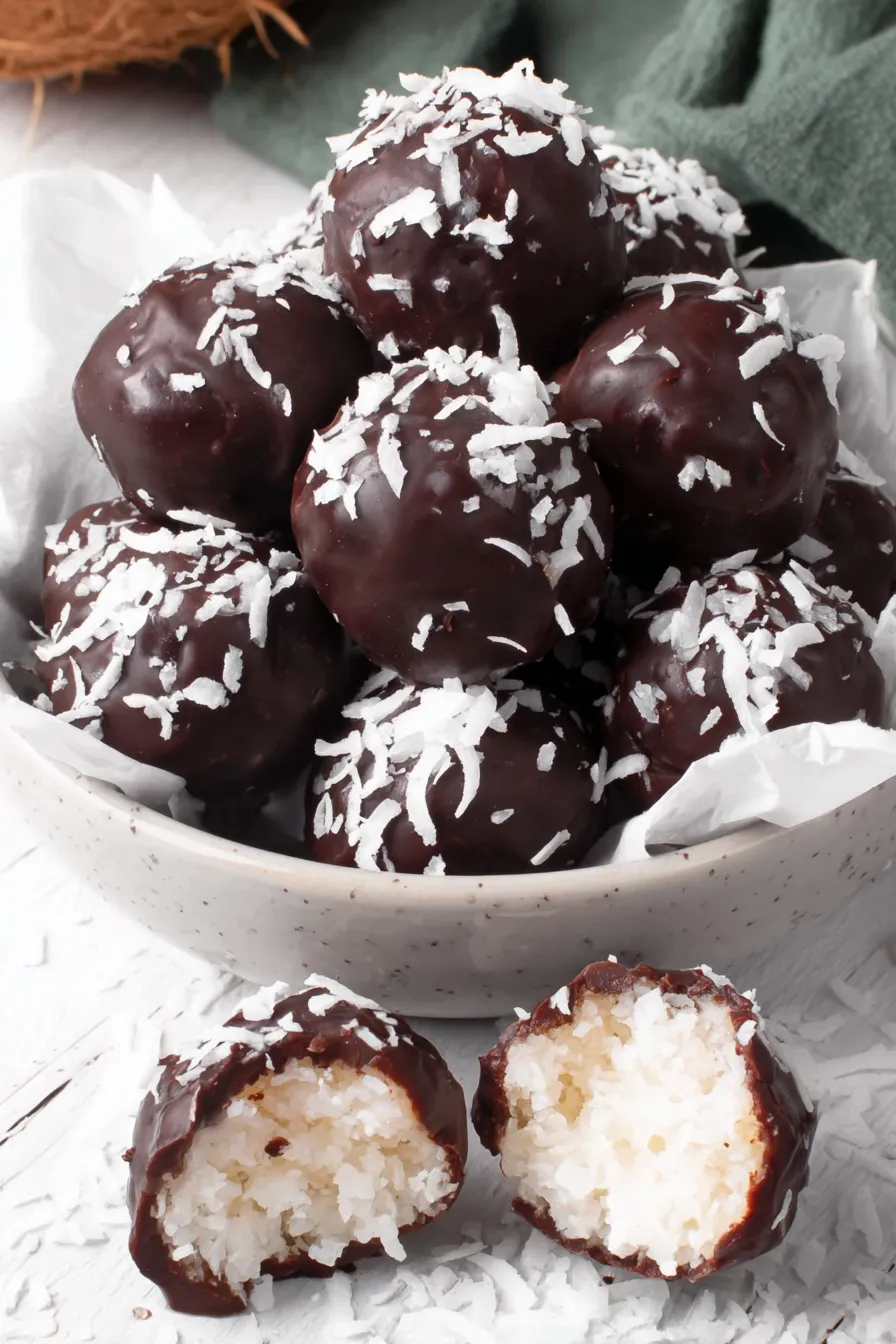
If you need to adjust ingredients, replace the shortening with coconut oil for a subtle coconut note — use the same volume but expect a slightly softer coating at warm room temperatures. For a lower-sugar version, reduce powdered sugar by up to 1/4 cup and add a tablespoon of unsweetened cocoa powder to compensate for structure; texture will be firmer and less sweet. Use sweetened shredded coconut instead of desiccated for a chewier interior but reduce condensed milk slightly. For dairy-free options, choose dairy-free chocolate chips and a vegan condensed milk substitute; results will be similar though slightly less creamy.
Serve chilled on a small platter dusted with cocoa or arranged in mini paper liners for a polished presentation. Pair with coffee, espresso, or a robust black tea to balance sweetness. They also work beautifully as part of a dessert board alongside nuts, dried fruit, and shortbread. For parties, arrange them in tiers or inside decorative tins for gifting; they make thoughtful homemade favors when tied with a ribbon.
Chocolate-coated coconut confections have global cousins — from European chocolate truffles to South American coconut sweets — and reflect a long tradition of pairing rich chocolate with tropical coconut. The technique of enrobing centers in tempered chocolate dates back to artisanal chocolatiers, but this simplified no-bake version brings the idea into the home kitchen. Regional variations often add nuts, citrus zest, or liqueurs to tailor the flavor to local palates.
In summer, swap dark chocolate for milk chocolate and add finely chopped freeze-dried strawberries or a dusting of toasted coconut for brighter flavors. During the holidays, stir in 1/4 teaspoon of ground cinnamon and a pinch of nutmeg to the base mixture and finish with crushed peppermint sprinkled on top. For spring gatherings, chill balls longer and serve alongside fresh berries for contrast.
Prepare the coconut centers ahead and freeze them uncoated on a tray. When ready to serve, dip frozen centers briefly in warm chocolate; the quick dip creates an even coating and limits condensation. This approach lets you break the process into stages: make centers one day, coat them another. Pack small portions into mason jars for grab-and-go snacks, keeping the jar chilled until ready to eat.
These chocolate coconut balls are simple pleasure made sophisticated by texture and chocolate choice. They embody the joy of small, well-made sweets and the delight of sharing something homemade. Try them plain, salted, or festively decorated — they are certain to become a staple in your collection of easy, crowd-pleasing treats.
Chill the centers thoroughly before dipping to prevent the chocolate from smearing or cracking.
Microwave chocolate in short bursts and stir frequently to avoid overheating and seizing.
Use slightly damp hands when rolling to keep the mixture from sticking to your palms.
If chocolate thickens while coating, stir in a small amount of warmed coconut oil or shortening to restore fluidity.
For glossy shells, allow chocolate to cool slightly before dipping and refrigerate immediately after coating.
This nourishing chocolate coconut balls recipe is sure to be a staple in your kitchen. Enjoy every moist, high protein slice — it is perfect for breakfast or as a wholesome snack any time.
This Chocolate Coconut Balls recipe makes perfectly juicy, tender, and flavorful steak every time! Serve with potatoes and a side salad for an unforgettable dinner in under 30 minutes.
Combine powdered sugar and desiccated coconut in a large bowl. Stir in sweetened condensed milk until the mixture forms a tacky, cohesive mass. Adjust texture with tiny additions of sugar or condensed milk as needed.
Form the mixture into 1-inch balls using slightly damp hands to prevent sticking. Arrange on a wax-paper-lined tray and refrigerate for at least 20 minutes until firm.
Place chocolate chips and shortening in a microwave-safe bowl. Heat in 20-second bursts, stirring between bursts, until smooth and glossy. Avoid overheating; stir until remaining chips melt from residual heat.
Dip chilled balls into melted chocolate using a fork, letting excess drip off. Return to waxed paper and optionally drizzle extra chocolate or sprinkle toppings before set.
Allow chocolate to set at room temperature briefly, then refrigerate until firm. Store in an airtight container in the fridge for up to two weeks or freeze for longer storage.
Last Step: Please leave a rating and comment letting us know how you liked this recipe! This helps our business to thrive and continue providing free, high-quality recipes for you.
Leave a comment & rating below or tag
@whiskia on social media!
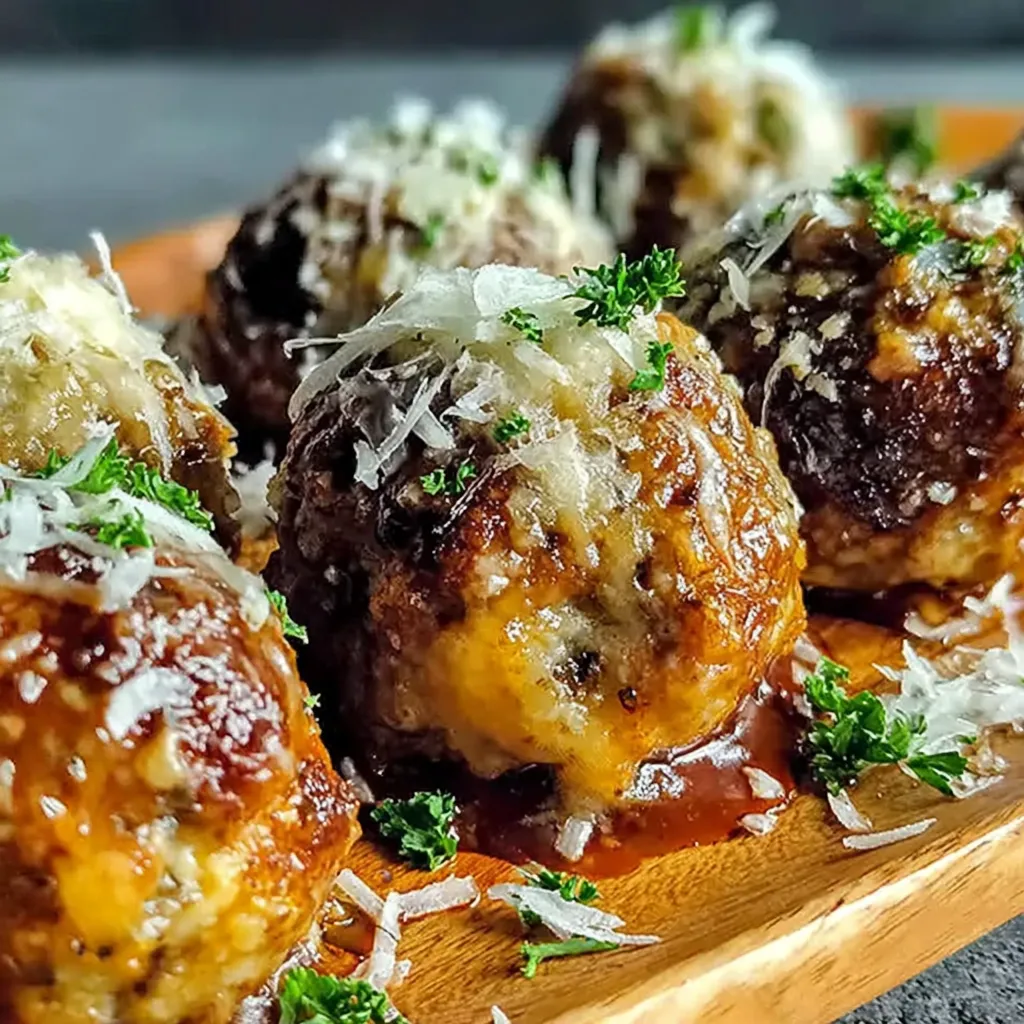
Tender, herb-laced meatballs baked to juicy perfection with Parmesan and garlic. Perfect over spaghetti, tucked into subs, or served with favorite dips.
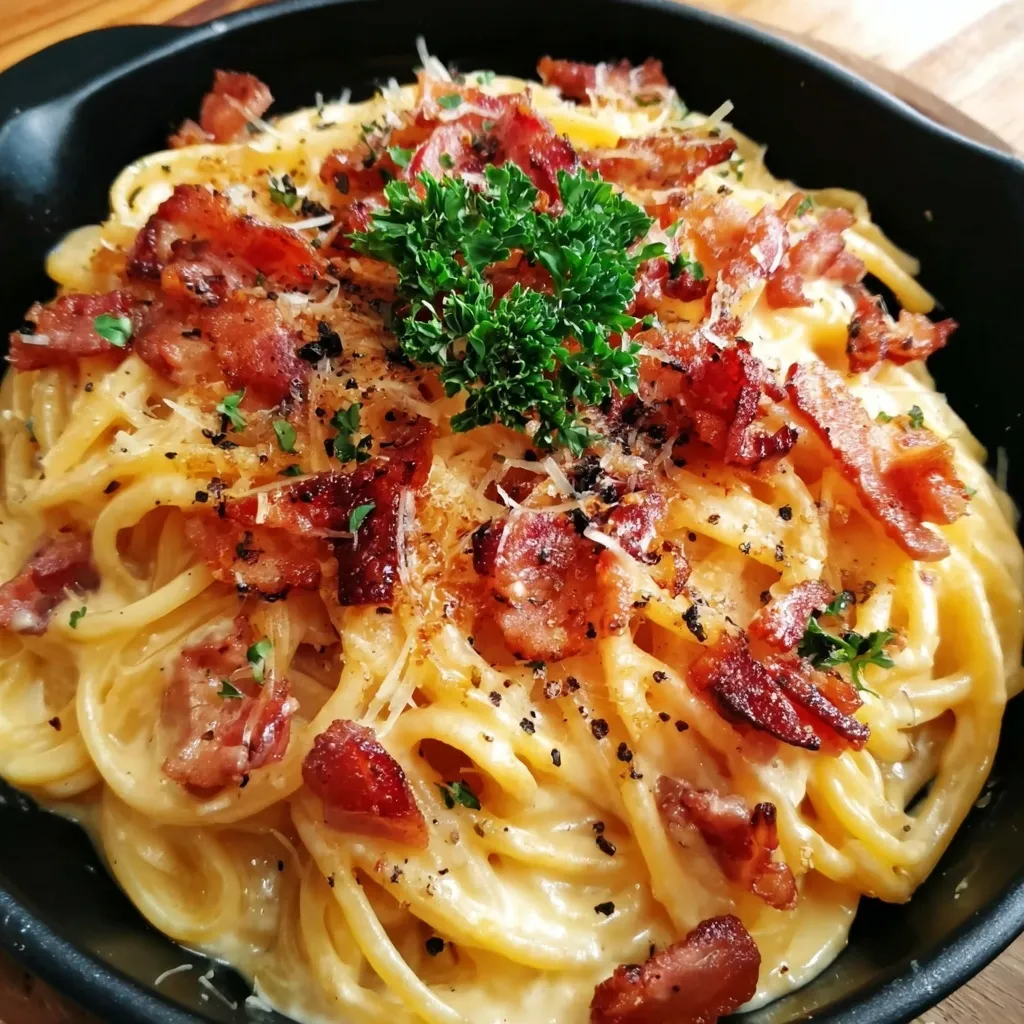
Creamy, silky carbonara with smoky bacon, peppery bite, and perfectly coated spaghetti. Ready in 25 minutes for a comforting, crowd-pleasing dinner.

A rich, silky garlic pasta made in one pan with milk and Parmesan for a fast, comforting dinner that is ready in about 20 minutes.
Leave a comment & rating below or tag @whiskia on social media!
Enjoyed this recipe? Share it with friends and family, and don't forget to leave a review!
This recipe looks amazing! Can't wait to try it.
Comments are stored locally in your browser. Server comments are displayed alongside your local comments.

Join to receive our email series which contains a round-up of some of our quick and easy family favorite recipes.