
Christmas Energy Bites

Festive no-bake energy bites studded with mini M&Ms — a quick, family-friendly snack perfect for holiday baking, lunchboxes, or last-minute hostess gifts.
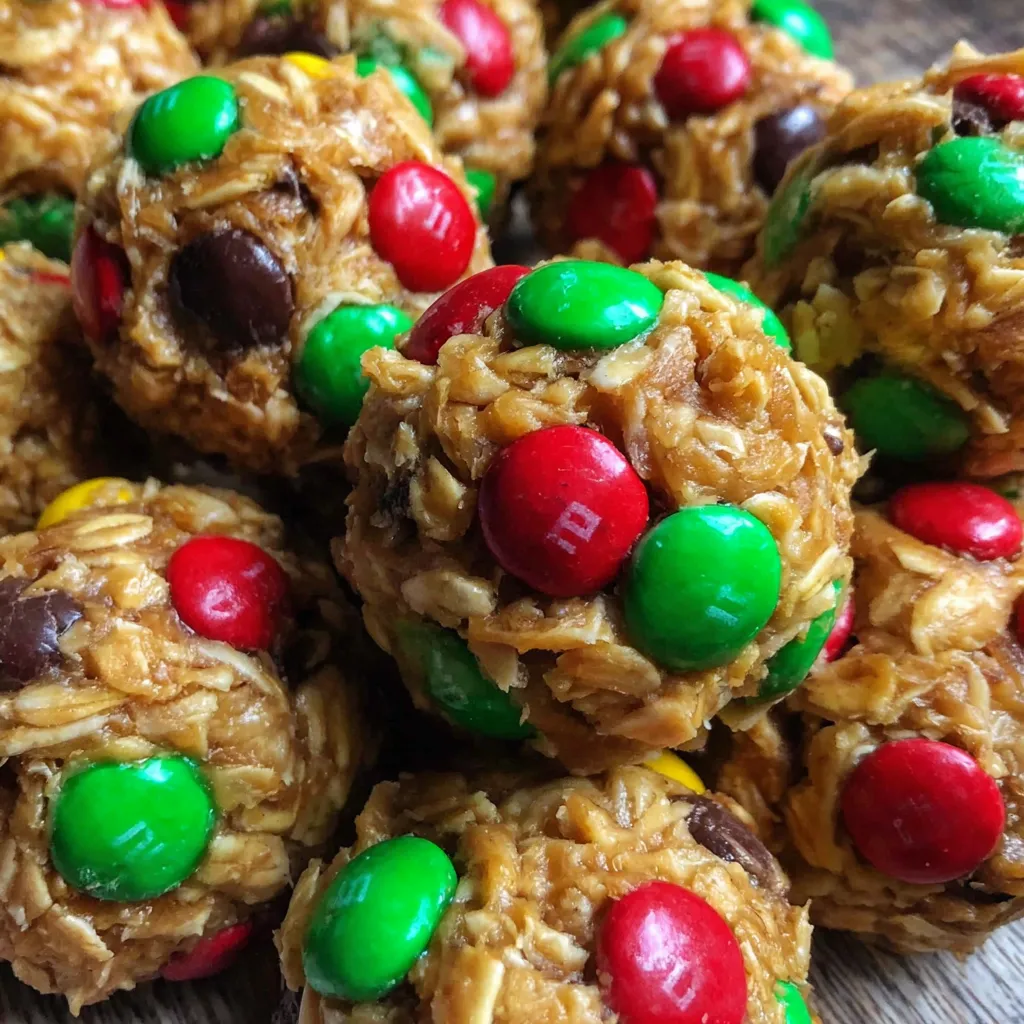
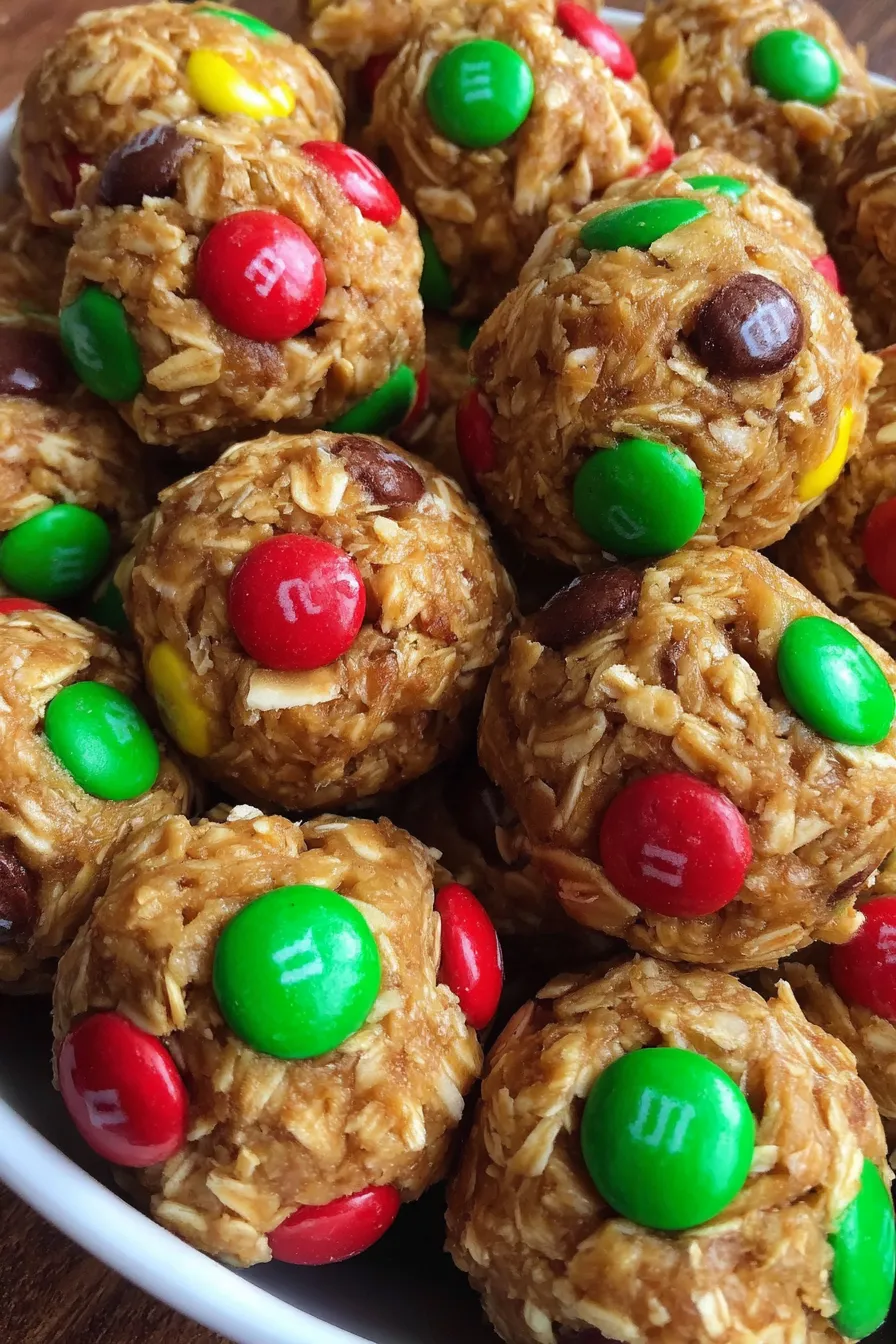
This holiday season I wanted a quick, cheerful treat that felt like baking but required no oven time. These Christmas Energy Bites came together the afternoon I wanted to deliver a small plate to neighbors: pantry-stable, colorful, and impossibly easy. I first mixed oats, creamy peanut butter, and honey on a whim, and the texture was exactly what I remembered from childhood no-bake bars — tender, slightly chewy, and perfectly balanced between nutty and sweet. Adding mini M&Ms felt festive and added a pleasant snap that both kids and adults loved.
I discovered this combination one December when snow trapped us indoors and the idea of a long baking session felt exhausting. These energy bites were my solution: minimal hands-on time, no baking, and immediate payoff. They have a soft interior body from the oats and peanut butter, a glossy outer sheen from the honey, and the little bursts of chocolate color from the mini candies. Every time I bring them to a gathering, they disappear fast; they're a holiday shortcut that still feels homemade.
Why You'll Love This Recipe
- Ready in about 10 minutes of hands-on time and no baking required — perfect for last-minute holiday trays and rushed afternoons.
- Uses pantry staples: quick oats, creamy peanut butter (Skippy or Jif work well), and honey — plus a festive touch with mini M&Ms.
- Make-ahead friendly: chill for firmer shaping, and these keep well refrigerated for easy grab-and-go snacking.
- Kid-tested and adult-approved — the mini candies add color and texture while keeping the recipe simple and approachable.
- Customizable for dietary needs: swap nut butter and candies to accommodate allergies or preferences.
- Minimal cleanup and equipment — a single large bowl and a spoon are all you need for a crowd-pleasing batch.
Personally, these bites became my go-to when I wanted to bring a cheerful plate to office parties without spending hours in the kitchen. My kids love pressing the M&Ms into each ball, which turns shaping into a little family production line. It feels like a festive craft as much as a snack.
Ingredients
- Quick oats (2 cups): Look for certified quick or rolled oats from brands like Quaker for consistent texture; quick oats bind well and create a slightly softer bite than large-flake rolled oats.
- Creamy peanut butter (1 cup): Use a smooth, spreadable variety such as Jif or Skippy for an even mix; natural peanut butter can be used but stir thoroughly to reincorporate oils and taste for sweetness.
- Honey (1/4 cup): Liquid honey helps bind and adds shine; mild clover or wildflower honey works well. If your honey is thick, warm briefly to loosen.
- Christmas Mini M&Ms (to taste): Mini colored candies provide festive color and a crunchy contrast; use a single 6-ounce bag or eyeball to preference. For dietary swaps, see substitutions below.
Instructions
Add the oats: Measure 2 cups of quick oats into a large mixing bowl. Use a bowl with plenty of space for stirring so you can fold without spilling — a 4-quart mixing bowl is ideal. The oats form the structural base, so leveled measuring keeps the texture consistent. Combine peanut butter and honey: Add 1 cup creamy peanut butter and 1/4 cup honey to the oats. Stir with a sturdy spoon or rubber spatula until the mixture is homogeneous. You want a dough that holds when pressed but is not oily; if it's too dry add a teaspoon of honey at a time, too wet add a tablespoon of oats. Chill (optional but recommended): If time permits, cover and chill the mixture for 30 minutes. Chilling firms the dough, making it easier to portion and shape. If you're in a hurry, you can skip chilling but expect stickier hands during rolling. Portion out the dough: Use a tablespoon measure to scoop even portions. Roll each portion between your palms into a smooth ball. A tablespoon-sized portion yields roughly 24 small bites from this batch. Aim for uniform size to ensure even texture and attractive presentation. Press M&Ms & finish: Gently press mini M&Ms into the surface of each ball; add a few on top and roll lightly to incorporate. Place finished bites on a parchment-lined baking sheet or plate. Chill 10 minutes to set if you like, then serve.
You Must Know
- High-protein snack: peanut butter adds protein while oats contribute fiber, making these a more satisfying treat than plain cookies.
- Storage window: refrigerate for up to 10 days in an airtight container, or freeze for up to 3 months on a baking sheet then transfer to a freezer bag.
- Make-ahead capability: prepare the mixture up to 2 days in advance and shape right before serving for the freshest appearance.
- Allergen note: contains peanuts and milk (from candies). Substitute as needed for allergies.
- Portion control: a tablespoon-sized ball is a sensible single-serving snack with roughly 100 to 140 calories depending on peanut butter brand.
What I love most is how these bites bridge holiday fun and practicality — they look festive on a platter yet come together while I tidy the kitchen. Once, I assembled a dozen with my neighbor's kids during a quick drop-off; their excitement pressing the candies into each ball made the whole exchange feel like a tiny holiday party.
Storage Tips
Store finished bites in a single layer or separated with parchment paper in an airtight container. At room temperature they will stay fresh for 24 hours, but refrigeration extends shelf life to about 10 days. For freezing, place bites on a parchment-lined tray until firm (1 hour), then transfer to a freezer-safe bag; they thaw in 10 to 20 minutes at room temperature or briefly in the fridge. Avoid stacking too many layers without parchment to prevent sticking and appearance loss. If the bites soften when warmed, chill them for 10 minutes before serving to restore shape.
Ingredient Substitutions
If you have allergies or dietary preferences, swap creamy peanut butter for almond butter or sunbutter (seed butter) to keep the same texture while eliminating peanuts. Replace honey with maple syrup for a vegan option, though the texture will be slightly looser and may need extra oats to compensate. Use dairy-free chocolate chips or allergy-friendly candy instead of mini M&Ms. For a grain-free version, try finely ground oats made from certified gluten-free oats or substitute with oat flour plus chopped nuts, keeping in mind the end texture will be firmer.
Serving Suggestions
Serve on a festive platter lined with parchment or in small paper bake cups for gifting. Pair with warm drinks like hot cocoa or spiced apple cider for a cozy holiday pairing. For a holiday breakfast board, include fruit, cheese, and hard-boiled eggs alongside the bites to balance the sweet with savory elements. Garnish with a sprinkle of flaky sea salt for an elevated sweet-salty contrast or a dusting of powdered sugar for a snowy look.
Cultural Background
No-bake oat bites have roots in quick-cook home traditions that prioritize pantry ingredients and minimal hands-on time. They are a modern twist on classic no-bake cookie ideas that date back to the early 20th century, adapted to include contemporary convenience candies. Their portability and simplicity made them popular in home baking circles for holiday gift-giving and school parties, especially when oven access is limited or time is short.
Seasonal Adaptations
Customize colors and flavors by season: use red and green candies at Christmas, pastel candies at Easter, or pumpkin-spice mix-ins in autumn. Swap honey for maple syrup and fold in chopped dried cranberries and pecans for a Thanksgiving version. For winter, add a pinch of cinnamon or orange zest to the base mixture for a warm aromatic note. The basic formula is forgiving — small changes yield distinctly seasonal variations.
Meal Prep Tips
To streamline for the week, double the ingredients and store shaped bites in two shallow containers for easy access. Portion into individual snack-sized containers or zip-top bags for school lunches and on-the-go snacks. Use a tablespoon scoop for uniformity and freeze half of the batch; thaw only what you need each day. Label containers with date prepared to track freshness. Keep a small container of extra candies on hand so kids can decorate their own servings when ready to eat.
These Christmas Energy Bites are a holiday essential in my house now: simple, bright, and full of little moments — like kids pressing candies or neighbors smiling when I drop off a tin. Try them once and you will find a dozen small ways to adapt and share them throughout the season.
Pro Tips
Use a tablespoon scoop for consistent sizing and faster shaping.
If the mixture seems too dry, add honey by the teaspoon until it binds; if too wet, add oats by the tablespoon.
Press candies into the surface rather than rolling them in to preserve their color and minimize melting.
Chill the dough for 30 minutes to make rolling easier and neater.
This nourishing christmas energy bites recipe is sure to be a staple in your kitchen. Enjoy every moist, high protein slice — it is perfect for breakfast or as a wholesome snack any time.
FAQs about Recipes
Why should I chill the mixture?
Chilling firms the dough and makes it easier to roll. If the mixture is too sticky, chill for 20-30 minutes or add 1 tablespoon extra oats at a time.
Can I freeze these bites?
Freeze on a tray until firm, then transfer to a freezer bag for up to 3 months. Thaw in the fridge or at room temperature before serving.
How do I get uniform-sized bites?
Yes. Use a tablespoon scoop to keep bites uniform and press candies gently to avoid breaking the candy shell.
Tags
Christmas Energy Bites
This Christmas Energy Bites recipe makes perfectly juicy, tender, and flavorful steak every time! Serve with potatoes and a side salad for an unforgettable dinner in under 30 minutes.
Ingredients
Base
Mix-ins & Topping
Instructions
Add the oats
Measure 2 cups quick oats into a large mixing bowl to provide the structural base for the mixture.
Combine peanut butter and honey
Add 1 cup creamy peanut butter and 1/4 cup honey to the oats and stir until evenly combined into a cohesive dough.
Chill the dough (optional)
Cover and chill for 30 minutes to firm the mixture, which makes it easier to portion and shape; skip if in a hurry.
Portion into balls
Use a tablespoon scoop to portion dough and roll between palms into uniform balls; this batch yields about 24 bites.
Press M&Ms and set
Gently press mini M&Ms into each ball and roll lightly to smooth. Chill 10 minutes to set if desired, then serve or store.
Last Step: Please leave a rating and comment letting us know how you liked this recipe! This helps our business to thrive and continue providing free, high-quality recipes for you.
Nutrition
Did You Make This?
Leave a comment & rating below or tag
@whiskia on social media!
Categories:
You might also like...

Savory Baked Meatballs
Tender, herb-laced meatballs baked to juicy perfection with Parmesan and garlic. Perfect over spaghetti, tucked into subs, or served with favorite dips.

Classic Bacon Carbonara Pasta
Creamy, silky carbonara with smoky bacon, peppery bite, and perfectly coated spaghetti. Ready in 25 minutes for a comforting, crowd-pleasing dinner.

One Pot Creamy Garlic Pasta
A rich, silky garlic pasta made in one pan with milk and Parmesan for a fast, comforting dinner that is ready in about 20 minutes.
Did You Make This?
Leave a comment & rating below or tag @whiskia on social media!
Rate This Recipe
Share This Recipe
Enjoyed this recipe? Share it with friends and family, and don't forget to leave a review!
Comments (1)
This recipe looks amazing! Can't wait to try it.
Comments are stored locally in your browser. Server comments are displayed alongside your local comments.

Hi, I'm Victoria!
What's Popular

30-Minute Meals!
Join to receive our email series which contains a round-up of some of our quick and easy family favorite recipes.