
>>

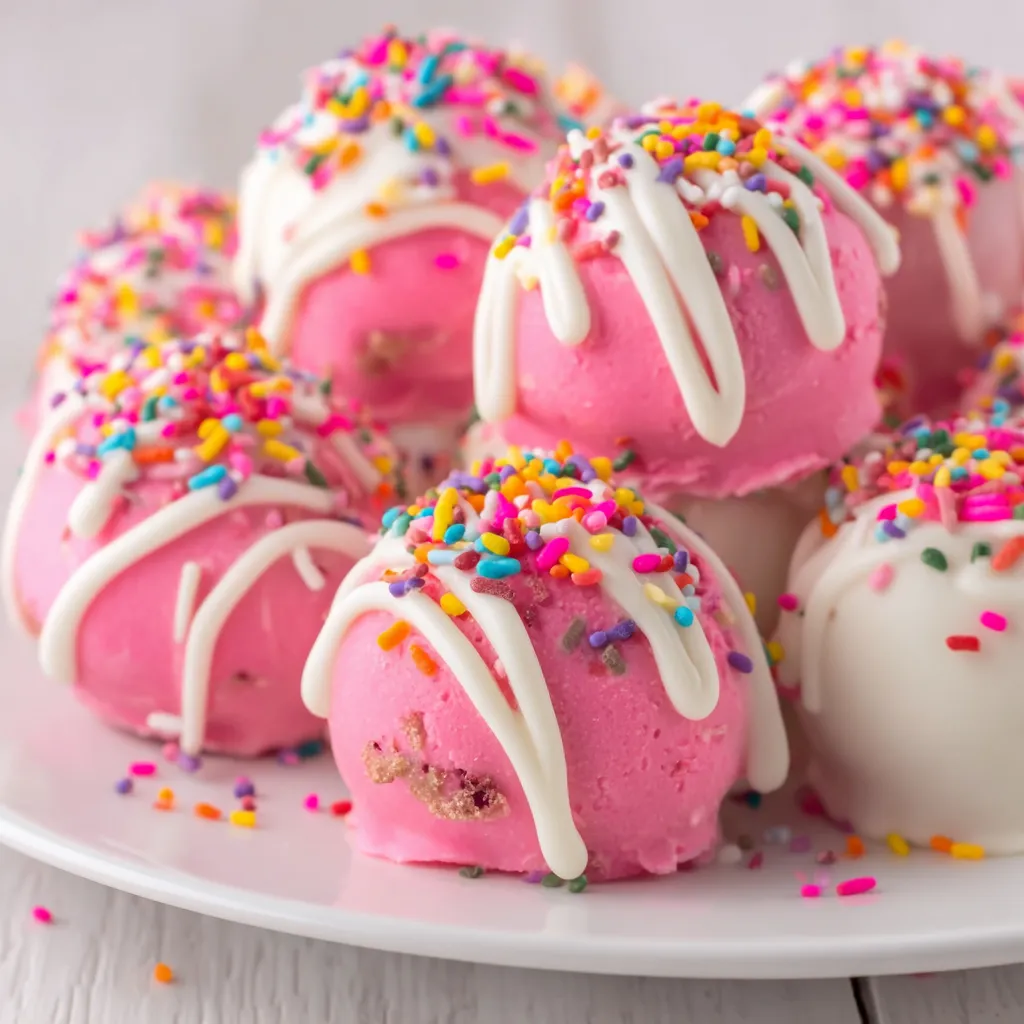
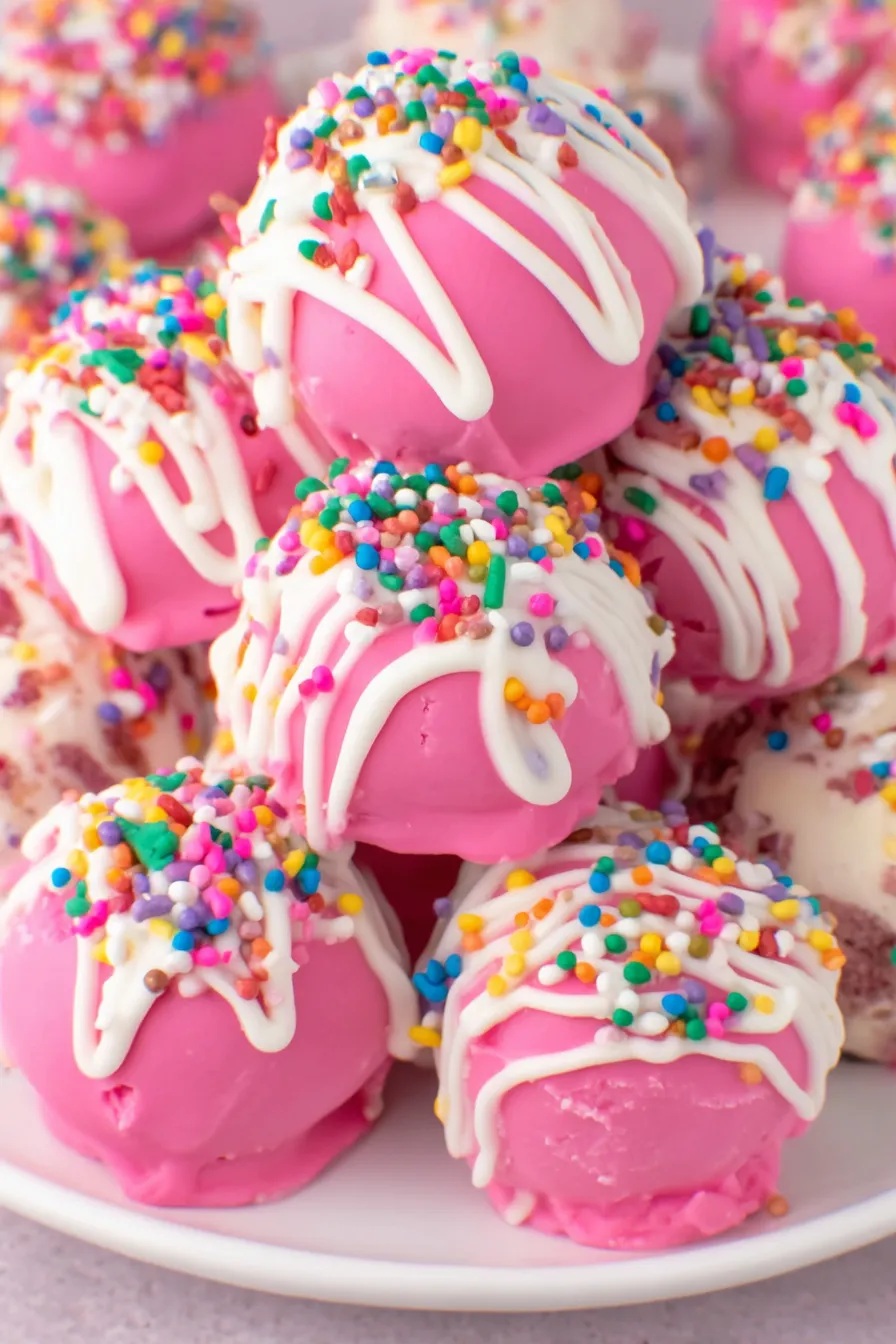
Sweet, colorful truffle bites made from frosted circus animal cookies and cream cheese, dipped in hot pink and white coatings and finished with rainbow nonpareils.
This recipe for Circus Animal Cookie Truffles started as a playful experiment for a birthday party and quickly became a staple whenever I want a sweet bite that’s easy to make and impossible to resist. The combination of crunchy, frosted cookies with creamy, slightly tangy cream cheese produces a texture that’s both nostalgic and sophisticated — a little like a cookie-meets-cheesecake in miniature. I first discovered this pairing when I had leftover frosted animal cookies after a picnic; blending them with cream cheese produced a dough that rolled into perfectly bite-sized morsels and held up beautifully to a candy coating.
These truffles are special because they capture the childhood charm of frosted circus animal cookies while delivering an adult-friendly finish through candy melts and almond bark. The pink coating adds a festive pop of color and the white coating balances the presentation, while rainbow nonpareils lend crunch and whimsy. They look terrific on a dessert tray, travel well to potlucks, and are an unbeatable last-minute party favor. After making them for a neighborhood bake sale, everyone wanted the recipe — and now I’m sharing it with you.
I remember placing a tray of these on a picnic blanket and watching neighbors’ faces light up when they realized the interior was soft and cookie-forward rather than pure chocolate. At a recent birthday, the pink-dipped ones disappeared first. Making them reminds me of simple joys — a childhood cookie reinvented into an elegant little treat that’s both easy to transport and delightful to share.
My favorite part is how reliably they bring smiles: whether for a school fundraiser or a family brunch, the colors draw people in and the soft, cookie-rich interior keeps them coming back. One time I brought a batch to a picnic and a neighbor asked for three consecutive rounds; that’s when I knew I had a keeper.
Store finished truffles in a single layer in an airtight container in the refrigerator for up to 5 days. If stacking is necessary, separate layers with parchment to prevent sticking. For longer storage, freeze in a single layer on a baking sheet until firm, then transfer to a freezer-safe bag or container for up to 3 months; thaw in the refrigerator before serving. Room temperature is fine only for short periods (1–2 hours), as the soft centers and candy coating can become tacky in warm conditions. To refresh a slightly soft coating, chill for 15–20 minutes before serving.
If you need dairy-free or vegan versions, swap full-fat cream cheese for an equal amount of a firm plant-based cream cheese and choose dairy-free candy coating. For gluten-free, replace the frosted cookies with a certified gluten-free frosted sugar cookie and confirm coatings are gluten-free. If you prefer a less sweet option, reduce the amount of candy coating slightly or use a thinner layer; you can also substitute dark chocolate melts for the white almond bark for a richer contrast. Keep ratios equal: use 6 ounces of any alternative coating per the recipe.
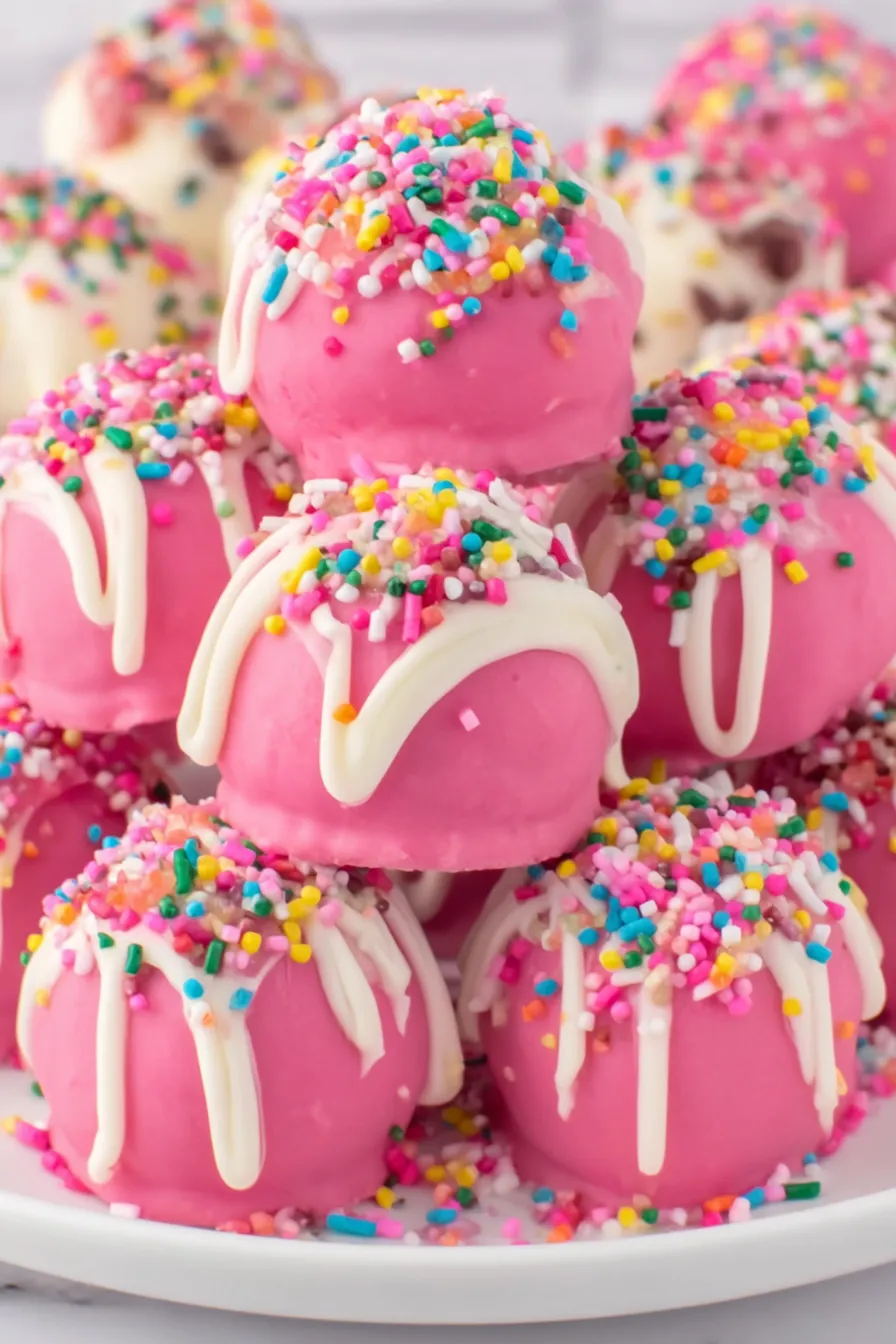
Arrange these truffles on a tiered dessert stand or in mini cupcake liners for a pretty presentation. They pair beautifully with hot coffee or lightly sweetened tea; for brunch, serve alongside fresh berries to cut through the sweetness. For parties, alternate pink- and white-coated pieces on the platter for a festive look. Garnish with edible gold dust for an upscale twist, or use themed sprinkles to match holidays — red and green for Christmas, pastel pearls for Easter, or metallics for New Year’s.
While not rooted in an established culinary tradition, these truffles borrow from classic American dessert techniques: combining cookie crumbs with a soft binder to create no-bake confections (think cheesecake balls or cookie truffles). Frosted circus animal cookies themselves have a nostalgic history in American snack culture, evoking mid-century packaging and childhood lunches. This adaptation channels that nostalgia into bite-sized treats that honor the playful appearance of the original cookie while applying modern candy-coating techniques commonly seen in confectionery and pâtisserie.
Change coatings and sprinkles to reflect the season: swap the hot pink candy melts for pastel shades in spring or pumpkin spice–colored melts in autumn. Incorporate seasonal extracts — a drop of orange extract in the coating for winter citrus notes or a hint of almond extract in the cookie mixture for holiday depth. For summer gatherings, reduce coating thickness to keep them light and serve chilled on crushed ice to prevent melting in hot weather.
Form the truffle centers up to two days in advance and refrigerate them on a baking sheet covered with plastic. On the day you plan to serve, melt coatings and complete the dipping step about 1–2 hours before guests arrive, then chill until firm. For gifting or bake sales, individually package chilled truffles in small boxes lined with parchment, and include a note that they should be refrigerated if not consumed immediately. Use a small cookie scoop for consistent sizing to streamline baking sheet layout and chilling times.
Readers have told me these truffles were a hit at baby showers, bake sales, and school parties. One friend swapped the white almond bark for melted white chocolate and added freeze-dried strawberry powder to the pink coating for an extra burst of flavor — a simple change that became her signature. Another reader writes that the recipe converted a skeptical co-worker into a fan of all things pink and sweet. These small victories make this recipe one of my go-to easy treats.
Whether you’re making them for a crowd or just a small indulgence, these truffles are joyful, quick to assemble, and delightfully nostalgic. They invite experimentation while reliably delivering on taste and texture — I hope they become a new favorite in your rotation.
Let cream cheese come to room temperature so it blends smoothly with the crumbs and prevents lumps.
Chill formed truffles for at least 30 minutes before dipping to avoid cracking and ensure a neat finish.
Work in small batches when dipping; if coating thickens, warm it gently in the microwave for 10 seconds and stir.
This nourishing circus animal cookie truffles recipe is sure to be a staple in your kitchen. Enjoy every moist, high protein slice — it is perfect for breakfast or as a wholesome snack any time.
Yes. Form the truffle centers and refrigerate them overnight before dipping. Bring coatings back to temper by microwaving 10–15 seconds and stirring until smooth.
They are best kept refrigerated; allow them to sit at room temperature 10–15 minutes before serving for a softer bite.
Recipe data validation failed
Please check the recipe data format. See console for details.

Tender, herb-laced meatballs baked to juicy perfection with Parmesan and garlic. Perfect over spaghetti, tucked into subs, or served with favorite dips.

Creamy, silky carbonara with smoky bacon, peppery bite, and perfectly coated spaghetti. Ready in 25 minutes for a comforting, crowd-pleasing dinner.

A rich, silky garlic pasta made in one pan with milk and Parmesan for a fast, comforting dinner that is ready in about 20 minutes.
Leave a comment & rating below or tag @whiskia on social media!
Enjoyed this recipe? Share it with friends and family, and don't forget to leave a review!
This recipe looks amazing! Can't wait to try it.
Comments are stored locally in your browser. Server comments are displayed alongside your local comments.

Join to receive our email series which contains a round-up of some of our quick and easy family favorite recipes.
