
>>

Comforting baked ziti layered with a rich meat sauce, creamy ricotta, and golden melted mozzarella for a family friendly weeknight dinner.
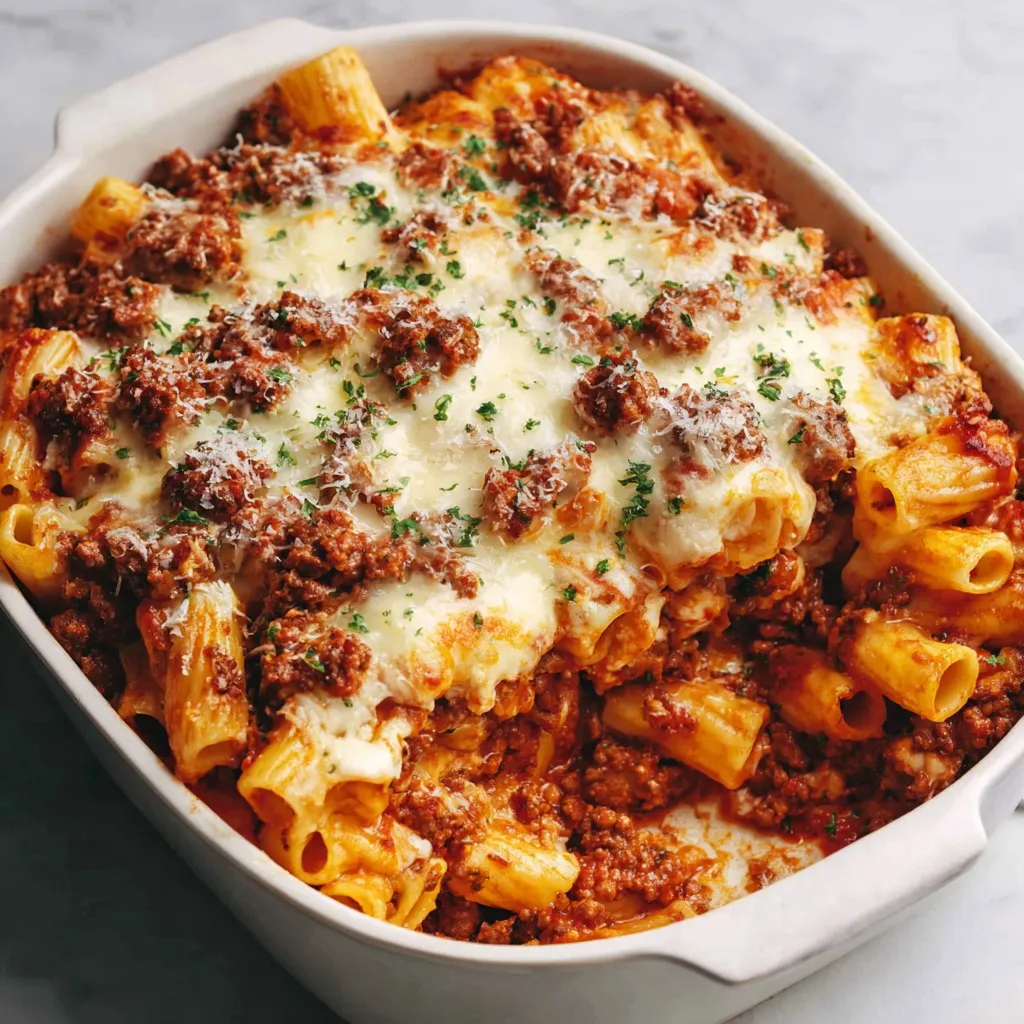
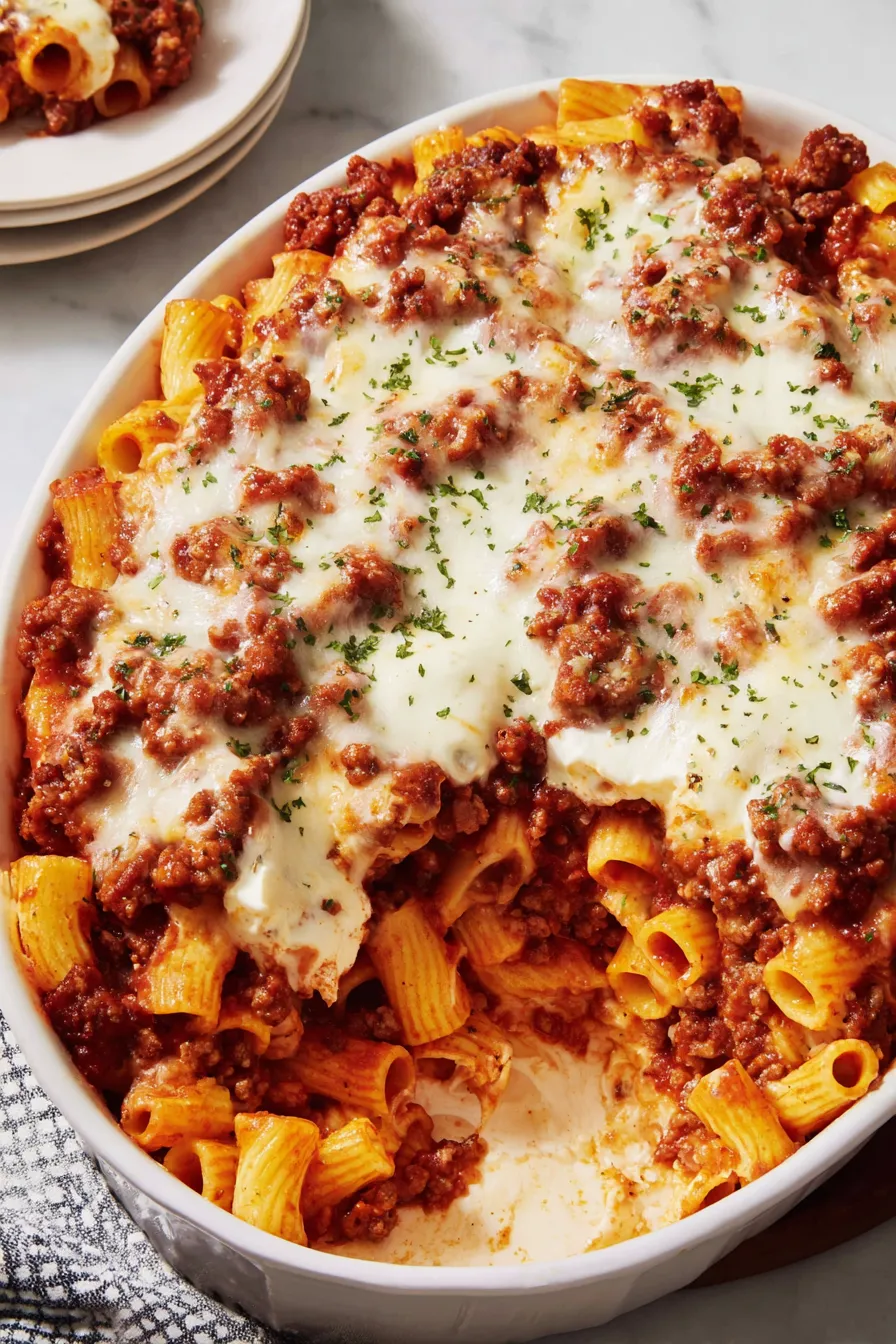
In my kitchen this recipe has become the answer when I need something warm and satisfying that does not require babysitting. My partner loves the crunchy cheese top and my children enjoy scooping generous portions. Over the years I adjusted the ratio of sauce to cheese to find a balance that keeps the bake creamy while avoiding sogginess. That little balancing act is what makes this a consistently requested meal.
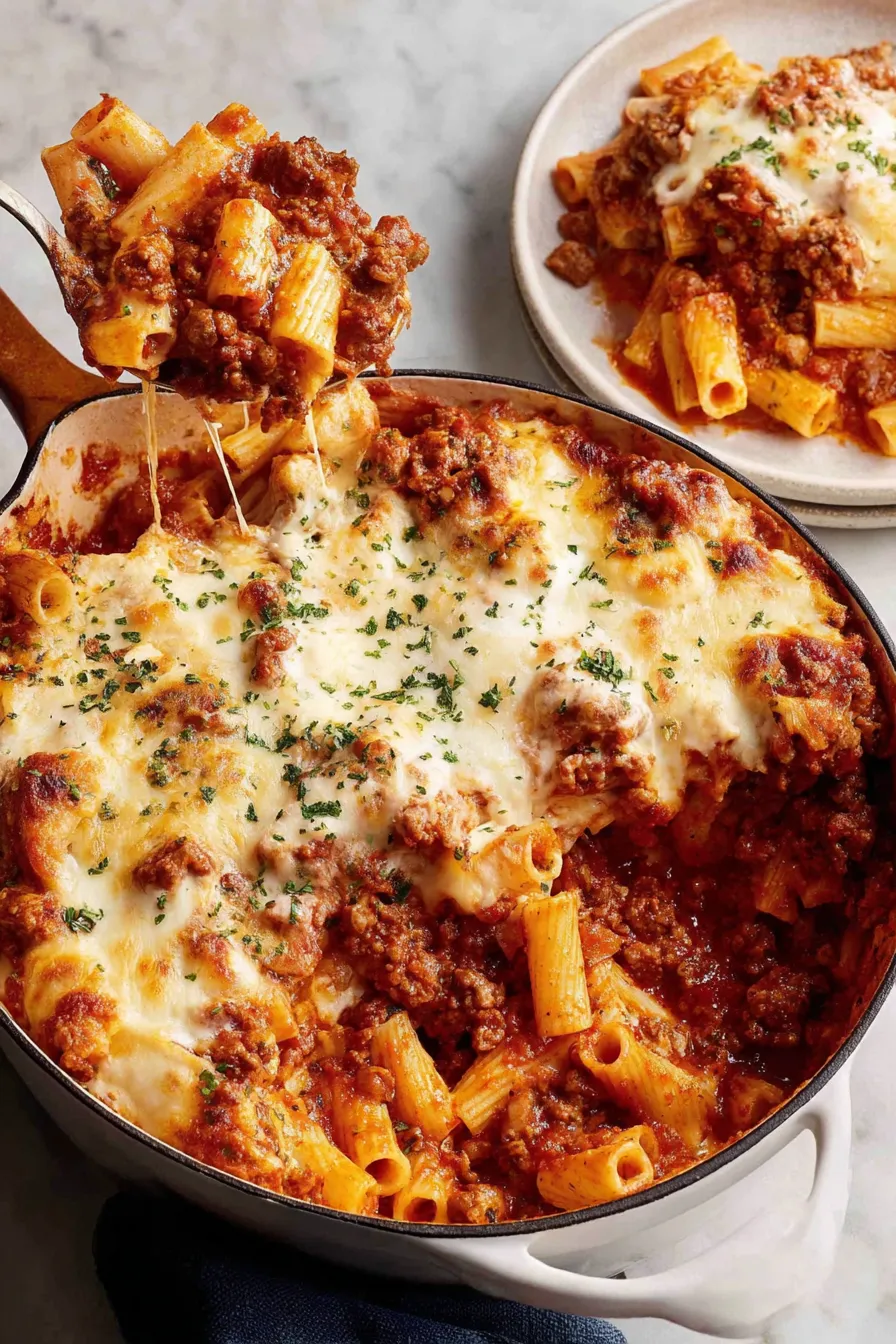
My favorite part is the way the top bubbles and browns while the interior remains creamy. I frequently double this when feeding company because it scales well and reheats beautifully in the oven. Every time I make this I remember a weekend when friends stayed late and we kept reaching for another slice while talking long into the night. That warm, shared meal feeling is exactly why I keep returning to this formula.
Cool the dish at room temperature no more than two hours then cover tightly and refrigerate. Store in an airtight container or cover the baking dish with plastic wrap followed by foil for best protection. To reheat place individual portions in a microwave or bake at three hundred fifty degrees Fahrenheit until warmed through approximately fifteen to twenty minutes for a single portion. If frozen, thaw overnight in the refrigerator then reheat in the oven at three hundred fifty for about thirty to forty minutes until piping hot. Look for bubbling cheese and a hot center as indicators that it is fully reheated.
If you prefer a lighter version swap ground beef for ground turkey or chicken to reduce fat. For a vegetarian option replace meat with a mixture of sautéed mushrooms and lentils and increase the seasoning. Use cottage cheese in place of ricotta for a lighter texture though the flavor will be slightly different. For a gluten free dinner choose gluten free ziti or penne and verify jarred sauces are labeled gluten free. If you want extra herb brightness add chopped fresh basil to the sauce at the end or stir fresh spinach into the ricotta layer for added vegetables.
Serve this with a bright green salad dressed with lemon and olive oil to cut through the richness. Garlic bread or a crusty baguette are classic partners for soaking up any extra sauce. For a more rounded dinner add steamed green vegetables such as broccoli or roasted Brussels sprouts. Garnish with chopped fresh parsley or basil and a light dusting of extra parmesan for presentation. This plate works well for casual family dinners and makes a warm centerpiece for potluck style gatherings.
While baked pasta dishes have roots across Italy this particular layered formula evolved in Italian American kitchens where pantry staples like jarred sauce and ricotta became everyday ingredients. Versions vary widely from region to region and family to family with some using meatballs or sausage and others adding vegetables. The technique of layering cooked pasta with cheese and sauce resembles traditional casseroles and offers a comforting translation of old country flavors adapted to available ingredients and busy modern life.
Adjust this dish by swapping in seasonal vegetables. In summer stir roasted cherry tomatoes and zucchini into the sauce for brightness. In autumn add roasted butternut squash and sage to the ricotta layer for a cozy harvest flavor. During winter fold wilted kale or chard into the pasta mixture to add nutrition. For holiday dinners top with a sprinkling of toasted breadcrumbs mixed with herbs for a festive crunchy finish.
Assemble the bake in the morning or the night before then cover and refrigerate. Bring to room temperature before baking and add a few extra minutes to the covered baking time if it is cold from the fridge. Portion into individual containers for easy lunches and reheat in the microwave or oven. Use glass or metal baking dishes for even heating and allow portions to rest after reheating so the filling firms slightly and slices hold together.
Warm, cheesy, and endlessly comforting this baked ziti is a recipe you will return to time and again. It is forgiving, family friendly, and a splendid answer when you want a satisfying meal with little stress. Make it your own by swapping proteins or adding seasonal vegetables then enjoy the smiles at the table when you serve it.
Drain the pasta well and toss immediately with a little sauce to prevent sticking
Use low moisture shredded mozzarella for best melting without excess liquid
Allow the bake to rest five to ten minutes before slicing so it sets cleanly
To avoid a soggy top remove foil for the last ten minutes to brown the cheese
If doubling the recipe use a larger baking dish and increase baking time by ten to fifteen minutes
This nourishing classic baked ziti recipe is sure to be a staple in your kitchen. Enjoy every moist, high protein slice — it is perfect for breakfast or as a wholesome snack any time.
Yes the dish can be assembled a day ahead cover and refrigerate then bake when ready adding a few extra minutes to the covered bake time.
Yes freeze portions in airtight containers for up to three months and thaw overnight in the refrigerator before reheating.
Use gluten free ziti or penne and verify sauces are labeled gluten free. The texture may differ slightly depending on the pasta brand.
This Classic Baked Ziti recipe makes perfectly juicy, tender, and flavorful steak every time! Serve with potatoes and a side salad for an unforgettable dinner in under 30 minutes.
Preheat oven to 350 degrees Fahrenheit and position rack in the center for even baking
Boil 16 ounces ziti in well salted water until al dente then drain and set aside
Brown 1/2 pound ground beef with 1 chopped onion and 2 minced garlic cloves then drain excess fat. Stir in 24 ounces spaghetti sauce 8 ounces tomato sauce and 1 teaspoon oregano then simmer briefly
Mix 1 cup of sauce with cooked pasta place half in baking dish spread 15 ounces ricotta over top sprinkle 1 cup mozzarella and 1 cup sauce then add remaining pasta and sauce
Cover with foil and bake for 20 minutes to keep the interior moist and allow cheeses to meld
Remove foil sprinkle 1/2 cup parmesan and 1/2 cup mozzarella then bake uncovered for 10 minutes to brown the top. Rest 5 to 10 minutes before serving
Last Step: Please leave a rating and comment letting us know how you liked this recipe! This helps our business to thrive and continue providing free, high-quality recipes for you.
Leave a comment & rating below or tag
@whiskia on social media!

Tender, herb-laced meatballs baked to juicy perfection with Parmesan and garlic. Perfect over spaghetti, tucked into subs, or served with favorite dips.

Creamy, silky carbonara with smoky bacon, peppery bite, and perfectly coated spaghetti. Ready in 25 minutes for a comforting, crowd-pleasing dinner.

A rich, silky garlic pasta made in one pan with milk and Parmesan for a fast, comforting dinner that is ready in about 20 minutes.
Leave a comment & rating below or tag @whiskia on social media!
Enjoyed this recipe? Share it with friends and family, and don't forget to leave a review!
This recipe looks amazing! Can't wait to try it.
Comments are stored locally in your browser. Server comments are displayed alongside your local comments.

Join to receive our email series which contains a round-up of some of our quick and easy family favorite recipes.
