
>>

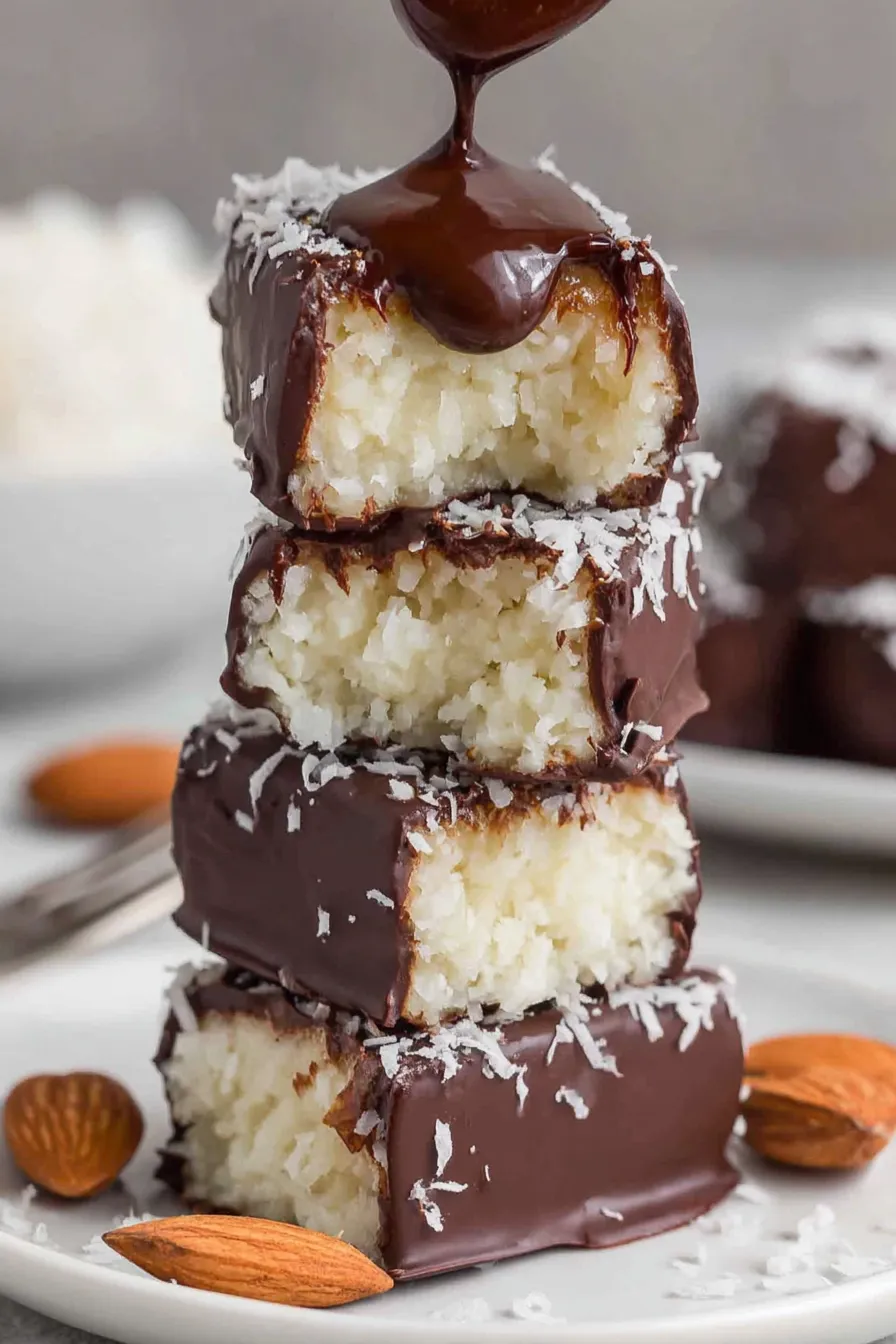
Chewy coconut logs coated in glossy chocolate with a whole almond on top—an easy, no-bake treat inspired by the classic candy bar.
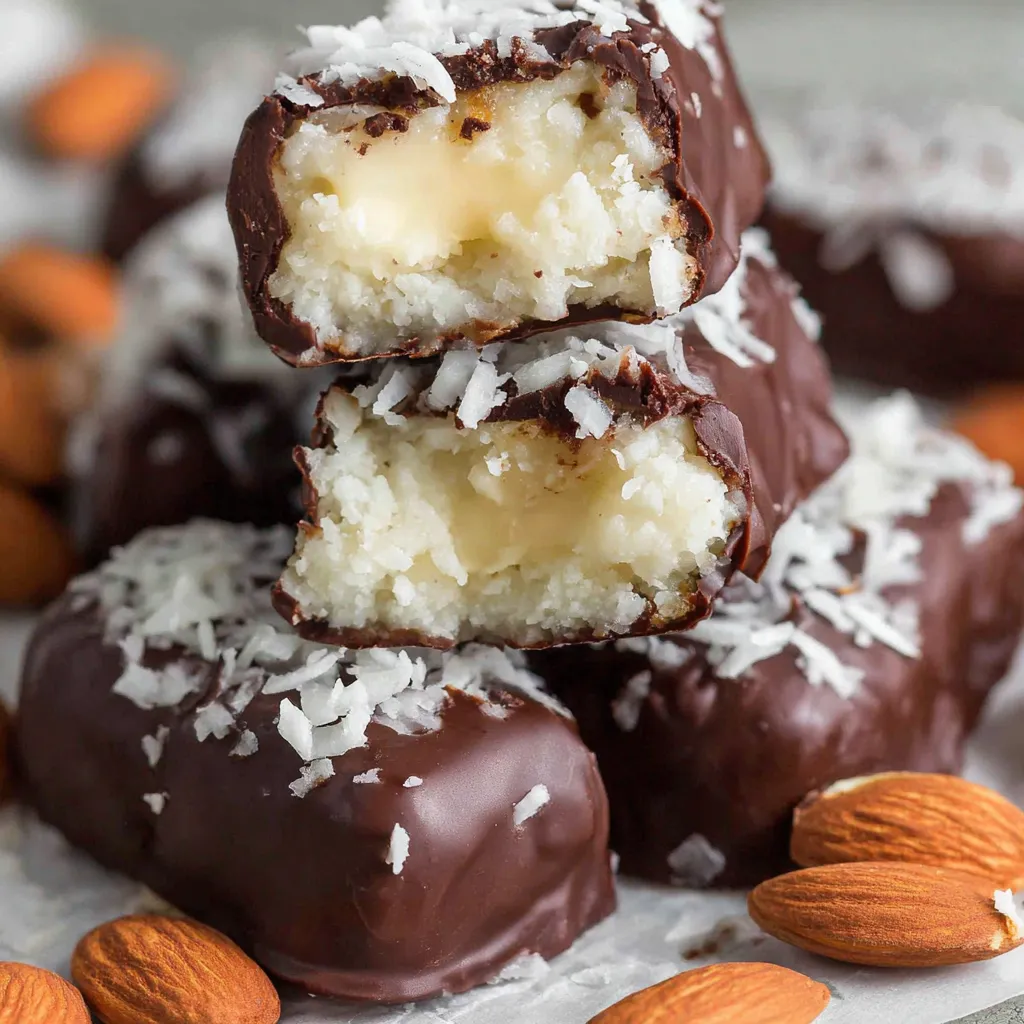
This Almond Joy take on a classic candy bar became my go-to when I wanted something nostalgic, simple, and entirely homemade. I first made these one rainy afternoon while craving the sweet combination of coconut, chocolate, and almonds but without the long list of processed ingredients. The result is a chewy, coconut-forward center with a satisfying snap of chocolate and the toasted note of a whole almond perched on top. It is exactly what you want when you need a portable treat that feels indulgent but is quick to assemble.
I discovered how forgiving this method is while testing different chocolates and almond placements. Once, I used roasted, lightly salted almonds and the tiny contrast of salt elevated the sweetness in a way my family still talks about. These bars are special because they taste like a candy shop favorite yet come together in about 30 minutes of active time, with a short chill to set. They are the kind of recipe you can pull out for an after-school snack, an impromptu dessert, or a small gift tucked into a lunchbox.
In my kitchen, these became the recipe I turn to when someone arrives with a sudden sweet tooth. Neighbors, kids, and weekend guests all reach for the plate first. The technique is forgiving, so I learned to change the chocolate temperature and dipping speed to get a uniformly glossy finish. The memory of the first time my son proclaimed, 'These taste better than store-bought,' still makes me smile.
What I love most is how forgiving the method is. I once forgot to chill the bars long enough and the chocolate picked up fingerprints, but a quick return to the fridge rescued them. Family members appreciate the textural contrast and I often get requests to make an extra batch for weekend picnics. The combination of chewy coconut and whole almond makes each bite feel intentional and homey in a way store-bought bars rarely capture.
Store finished bars in an airtight container lined with parchment to prevent sticking. Keep them refrigerated for up to 7 days; the cool environment preserves the chocolate shine and the coconut texture. For longer storage, arrange bars on a baking sheet in a single layer and flash-freeze for 30 minutes before transferring to a freezer-safe bag or container. Frozen bars will keep for up to 3 months. To serve from frozen, let them sit in the refrigerator for 30 minutes or at room temperature for 10 minutes to soften slightly without losing structure.
Swap canned coconut milk for refrigerated coconut cream if you prefer a thicker filling; reduce quantity to maintain the right consistency. Replace maple syrup with agave or honey, keeping in mind that honey will add a distinct floral note and is not vegan. Use pecans or macadamia halves instead of almonds for a different textural profile. For a lower-sugar option, try a dark chocolate with a higher cacao percentage or use a sugar-free chocolate substitute, though this can change mouthfeel and melting behavior.
These bars work beautifully on a dessert platter alongside fresh berries and roasted nuts. For holiday gifting, stack them in a small box with parchment and tie with twine. Pair with a cup of coffee, espresso, or a robust black tea to balance the sweetness. For an adult dessert, serve a slice with a small scoop of vanilla ice cream and a drizzle of warm espresso or caramel.

The combination of coconut and chocolate has a long history across tropical and Western confections. The Almond Joy candy bar, introduced in the United States during the 20th century, married coconut with chocolate and an almond garnish to create an iconic American treat. Homemade versions reflect regional adaptations, such as toasting coconut in Southern kitchens or adding local nuts like pecans. This recipe nods to that commercial classic while emphasizing whole ingredients and simple technique.
In summer, chill the bars thoroughly and serve cold with citrus-forward accompaniments like candied orange. During winter holidays, press a sprinkle of flaky sea salt or a pinch of cinnamon onto the wet chocolate for festive warmth. You can fold in a tablespoon of crushed peppermint candy at holiday time, or add a teaspoon of instant espresso powder to the chocolate to amplify depth for colder months.
To prepare ahead, shape and freeze the coconut logs until solid, then store frozen in a airtight container. Melt chocolate and dip directly from frozen for minimal mess. This approach lets you make multiple batches a day before serving. For portion control, keep bars individually wrapped in parchment or small reusable silicone cups. Reheat dipped bars very briefly if needed to remove condensation after refrigeration to maintain a glossy finish.
These bars are simple to personalize and bring joy to everyday moments. Try them once and adapt the details to your taste—they handle experimentation well and reward creative tweaks.
Enjoy sharing these with friends, tucking them into lunch boxes, or placing a few on the dessert table at your next gathering. They may look fancy, but they are truly one of the easiest handmade treats you can keep in your repertoire.
Chill the coconut logs before dipping to prevent the filling from softening the chocolate.
Warm the chocolate slowly in short bursts and stir to avoid seizing.
Use parchment or a silicone mat to prevent sticking and make cleanup easier.
Toast almonds lightly for added aroma and crunch, but cool them before placing on bars.
This nourishing homemade almond joy bars recipe is sure to be a staple in your kitchen. Enjoy every moist, high protein slice — it is perfect for breakfast or as a wholesome snack any time.
This Homemade Almond Joy Bars recipe makes perfectly juicy, tender, and flavorful steak every time! Serve with potatoes and a side salad for an unforgettable dinner in under 30 minutes.
Place shredded coconut, chilled canned coconut milk, and maple syrup in a high speed blender or food processor. Pulse until the mixture becomes cohesive and slightly sticky, about 1 to 2 minutes. Add a teaspoon of coconut cream if needed to reach a moldable consistency.
Using slightly damp hands, form the mixture into 12 rectangular logs and place them on a parchment-lined plate. Press a whole almond into the top of each log. Freeze for 15 minutes to firm the centers for easier dipping.
Melt the chocolate chips in a microwave-safe bowl using 20 to 30 second bursts, stirring between each interval, until smooth. Alternatively, melt over low heat in a small saucepan or double boiler, keeping the chocolate between 105 and 115 degrees F for optimal dipping.
Remove the chilled logs and, using two forks, submerge each one in the melted chocolate until fully coated. Tap off excess chocolate and return to the lined plate. Refrigerate for 10 to 15 minutes until the chocolate has firmed.
Last Step: Please leave a rating and comment letting us know how you liked this recipe! This helps our business to thrive and continue providing free, high-quality recipes for you.
Leave a comment & rating below or tag
@whiskia on social media!

Tender, herb-laced meatballs baked to juicy perfection with Parmesan and garlic. Perfect over spaghetti, tucked into subs, or served with favorite dips.

Creamy, silky carbonara with smoky bacon, peppery bite, and perfectly coated spaghetti. Ready in 25 minutes for a comforting, crowd-pleasing dinner.

A rich, silky garlic pasta made in one pan with milk and Parmesan for a fast, comforting dinner that is ready in about 20 minutes.
Leave a comment & rating below or tag @whiskia on social media!
Enjoyed this recipe? Share it with friends and family, and don't forget to leave a review!
This recipe looks amazing! Can't wait to try it.
Comments are stored locally in your browser. Server comments are displayed alongside your local comments.

Join to receive our email series which contains a round-up of some of our quick and easy family favorite recipes.
