>>

Crunchy, cheesy shells rolled around a creamy chicken, bacon and ranch filling — a fast low-carb crowd-pleaser ready in minutes.
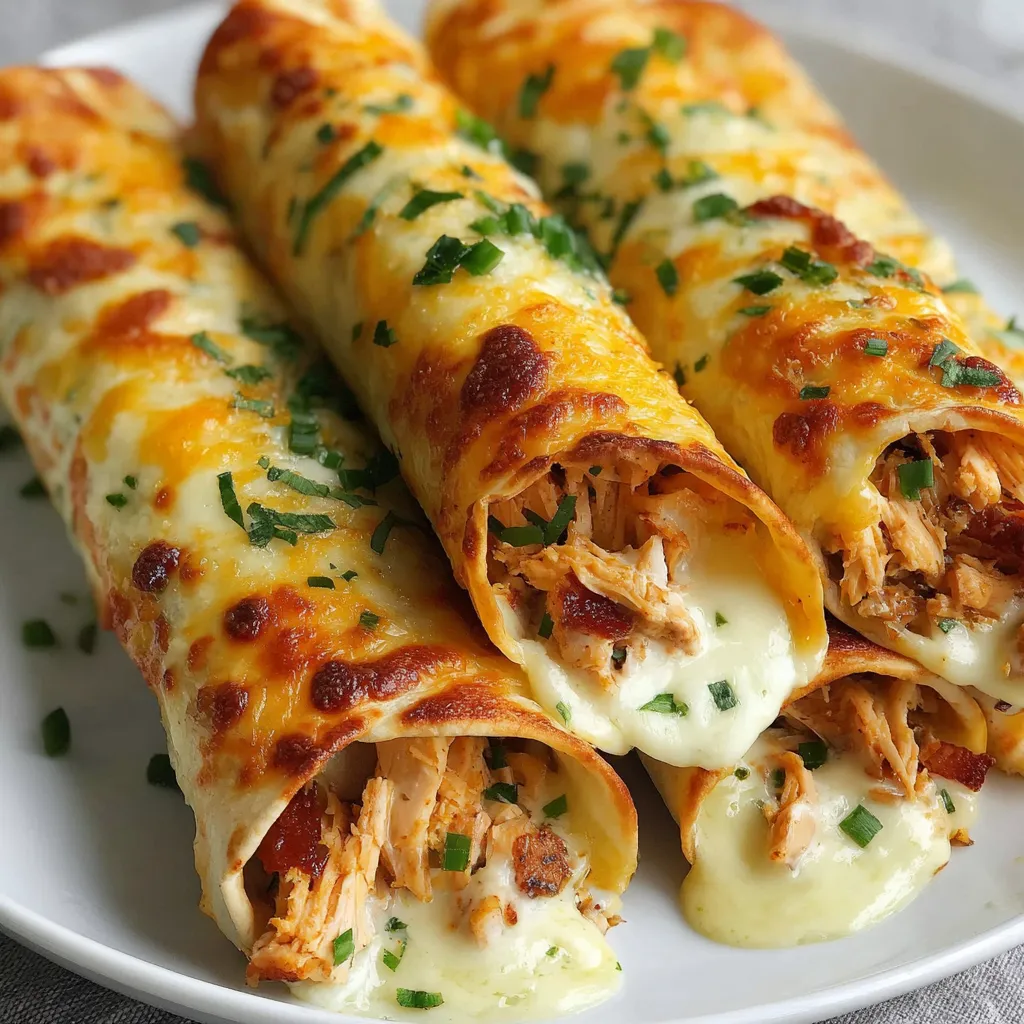
This recipe started as a pantry rescue on a busy weeknight and quickly became a regular at our gatherings. I discovered the idea of using baked slices of mozzarella as low-carb shells when I wanted a handheld snack without the carbs of tortillas. The combination of shredded chicken, smoky bacon and tangy low-carb ranch felt indulgent but clean, and rolling everything into warm, pliable cheese makes a perfect crisp-and-creamy contrast that keeps you coming back for another. It is the sort of recipe I make when friends stop by unexpectedly because it looks impressive while being ridiculously simple.
I first made these during football season when we wanted an appetizer that everyone could enjoy, including those watching carbs. The taquitos deliver bright salty notes from the bacon, the savory richness of the chicken, and the ranch ties it all together with a cool herb finish. Texturally they are fantastic: the cheese shells crisp at the edges and remain slightly tender where they fold, while the filling stays moist. My teenage niece declared them "the best low-carb snack ever," and they disappeared within ten minutes at our last party.
When I serve these, people assume I spent hours on them. In reality, the effort is minimal: shredding chicken, crumbling bacon and melting cheese. The contrast of warm cheese shell and cool ranch-y filling always gets a delighted reaction at the table.
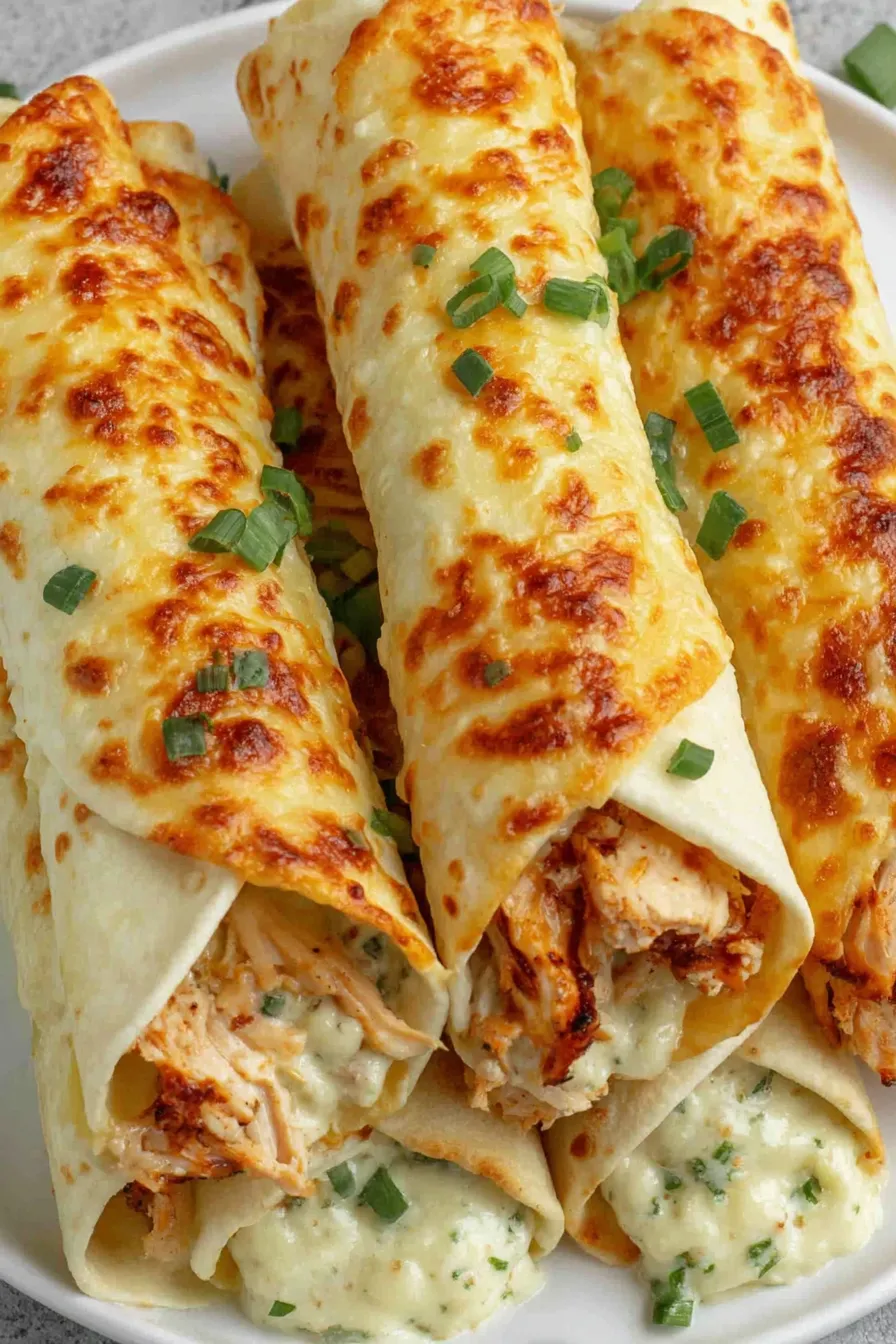
My favorite thing about this dish is the speed combined with the "wow" factor. Guests expect complicated work because the result looks gourmet, but the technique is simple. The first time I made these for a potluck someone asked for the recipe twice and then texted a photo of their empty serving platter within 20 minutes.
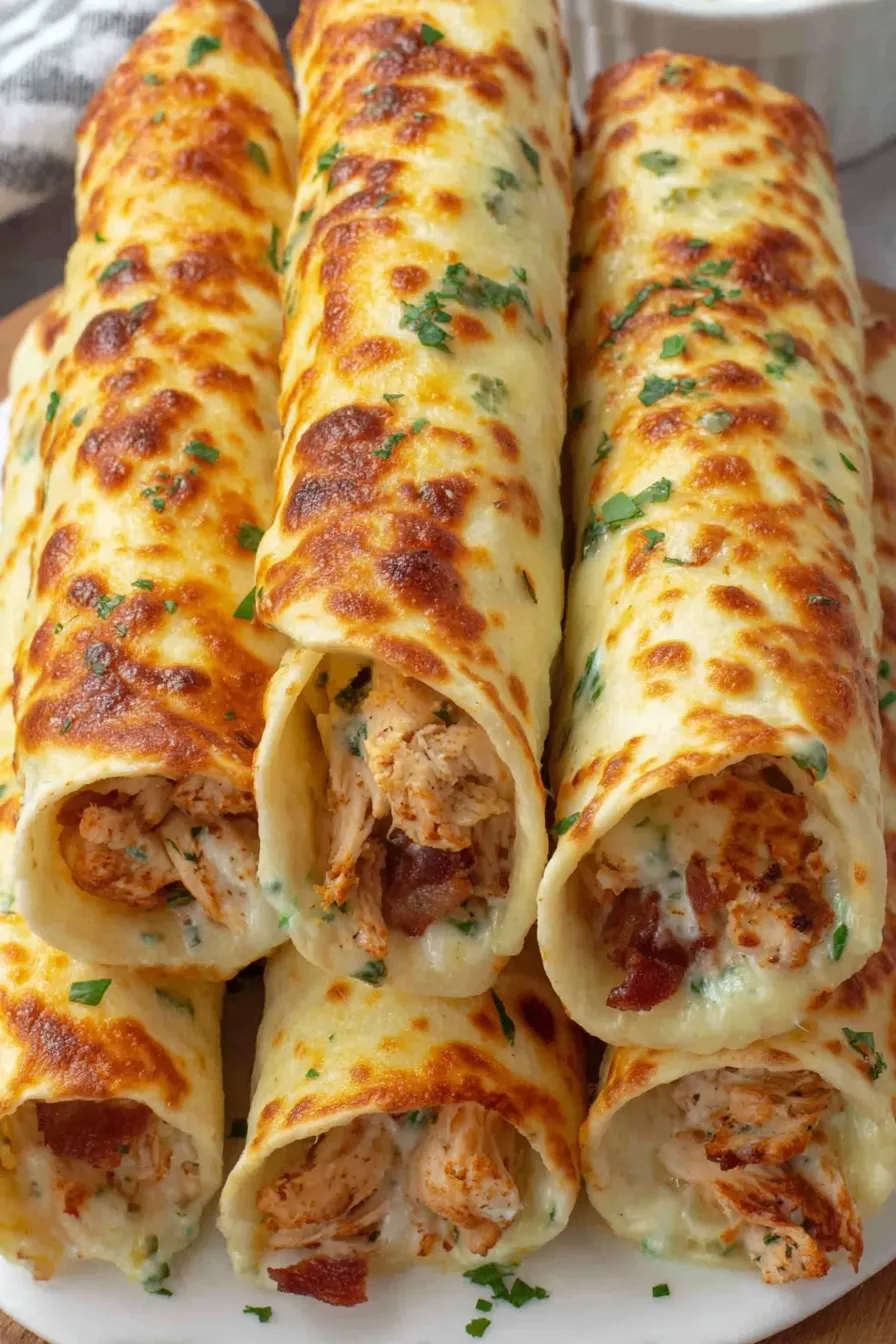
To retain the best texture, store components separately. Keep the filling in an airtight container in the refrigerator for up to 3 days. Store unbaked cheese shells at room temperature briefly only if you plan to assemble immediately; otherwise, assemble and then refrigerate for up to 24 hours if necessary. Reheat assembled taquitos in a 325°F oven for 5 to 8 minutes to re-crisp the cheese. Do not microwave if you want crispness; microwaving makes the cheese chewy. For longer storage, freeze the filling in portioned bags for up to 3 months and thaw overnight before using.
If you cannot find pre-sliced mozzarella, slice a block into six even pieces about 4 inches long. Swap the chicken for shredded turkey or canned chicken in a pinch — adjust salt accordingly. For a dairy-free version, experiment with thin slices of a vegan melty cheese, though results will vary; coconut-based cheeses often do not crisp the same way. Use turkey bacon for reduced fat or diced ham for a sweeter flavor. If you need lower sodium, rinse pre-cooked bacon briefly under hot water and pat dry, then re-crisp in a skillet.
Serve these as an appetizer, game day snack, or as a low-carb lunch. Pair with a simple green salad and extra low-carb ranch for dipping. Garnish with chopped chives, a sprinkle of smoked paprika or a spoonful of sugar-free salsa for heat. They also work well as finger food on a grazing board next to olives, nuts and pickled vegetables. For a heartier platter, add sliced avocado, celery sticks and pickled jalapeños.
Taquitos are traditionally a Mexican snack comprised of small rolled tortillas filled with meat and fried. This adaptation keeps the roll-and-crisp format but leans into American low-carb ingenuity by using baked cheese as the wrapper and classic American flavors like ranch and bacon. It is a cross-cultural riff that honors the handheld convenience of taquitos while adapting to modern dietary preferences.
In summer, emphasize fresh herbs: add chopped cilantro and a squeeze of lime to the filling. For fall and winter, fold in a tablespoon of warm roasted garlic or a pinch of smoked paprika to deepen the flavors. Holiday variations can include cranberry jalapeño relish inside for a festive sweet-heat contrast or swapping bacon for prosciutto for an elegant touch.
Make the filling ahead and portion into small containers for quick assembly during the week. Prepare the bacon and chicken in large batches then keep refrigerated for up to three days; assemble taquitos the night you plan to serve for maximum crispness. For party service, warm shells and have filling in a shallow bowl so guests can roll their own — this interactive setup is fun and keeps shells fresh longer.
These taquitos are a perfect example of how simple swaps can produce highly satisfying, low-carb food that still feels indulgent. Give them a try the next time you want something fast, impressive and crowd-friendly.
Use pre-cooked rotisserie chicken to save time and add extra flavor.
Work one cheese slice at a time to ensure shells are warm and pliable for rolling.
Place the seam side down after rolling so the taquito stays closed and keeps its shape while serving.
This nourishing keto chicken bacon ranch taquitos recipe is sure to be a staple in your kitchen. Enjoy every moist, high protein slice — it is perfect for breakfast or as a wholesome snack any time.
If the cheese cools and hardens before you roll it, return it to the oven for 10 to 20 seconds to soften. Work quickly while warm.
Yes. Store filling and shells separately. Assembled taquitos will lose crispness in the fridge.
This Keto Chicken Bacon Ranch Taquitos recipe makes perfectly juicy, tender, and flavorful steak every time! Serve with potatoes and a side salad for an unforgettable dinner in under 30 minutes.
Combine 1 1/2 cups shredded chicken, 1/4 cup crumbled bacon, 1 tablespoon low-carb ranch and 1 teaspoon chopped green onion in a bowl. Mix until evenly coated; adjust seasoning as needed.
Preheat oven to 350°F (175°C). Line a baking sheet with a silicone mat or parchment paper to prevent sticking.
Place six mozzarella slices on the prepared sheet spaced apart. Bake 5 to 7 minutes until edges brown and cheese is bubbly and set.
Remove from oven and let cheese cool about 1 minute until warm and pliable but not rigid. If too cool, return briefly to the oven to soften.
Place 2 to 3 tablespoons of filling on each cheese slice edge and roll tightly. Place seam side down to seal and serve immediately or reheat in a 325°F oven for 5 minutes to re-crisp.
Last Step: Please leave a rating and comment letting us know how you liked this recipe! This helps our business to thrive and continue providing free, high-quality recipes for you.
Leave a comment & rating below or tag
@whiskia on social media!
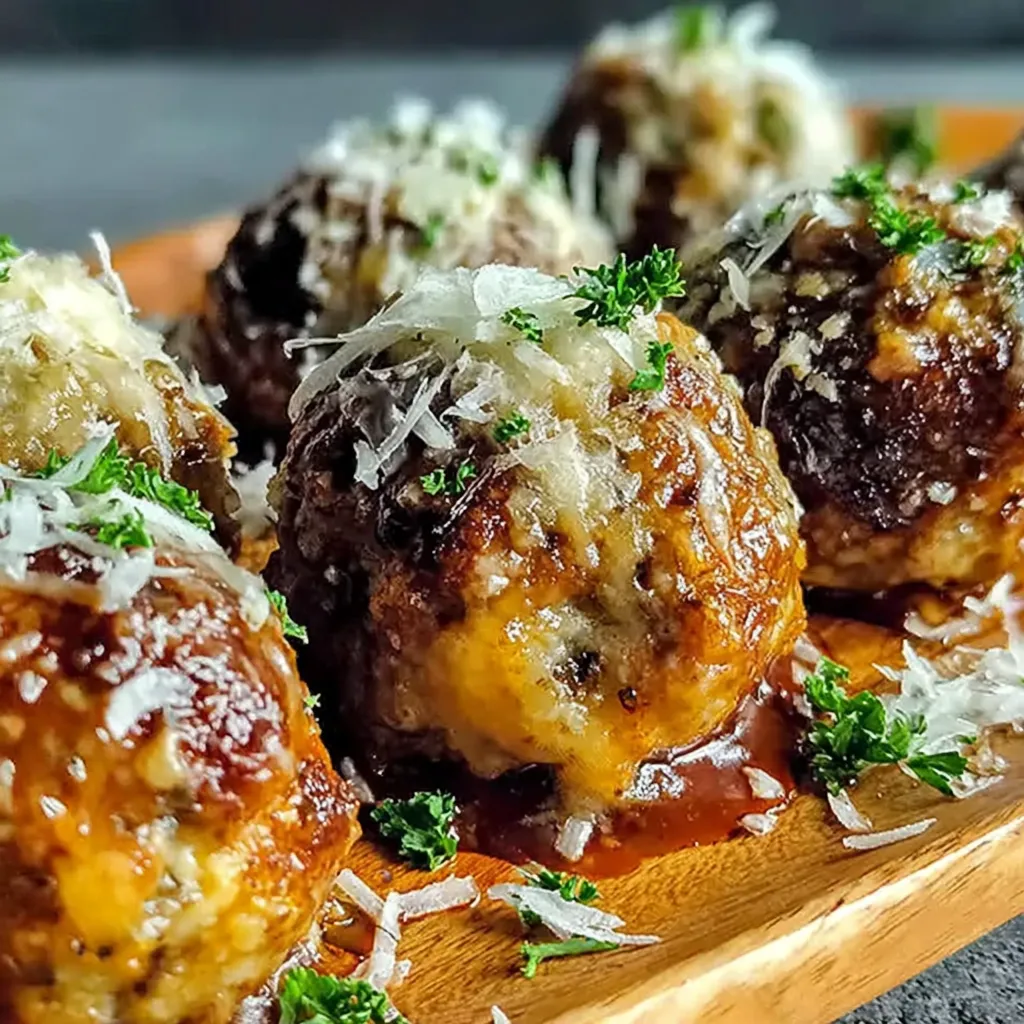
Tender, herb-laced meatballs baked to juicy perfection with Parmesan and garlic. Perfect over spaghetti, tucked into subs, or served with favorite dips.
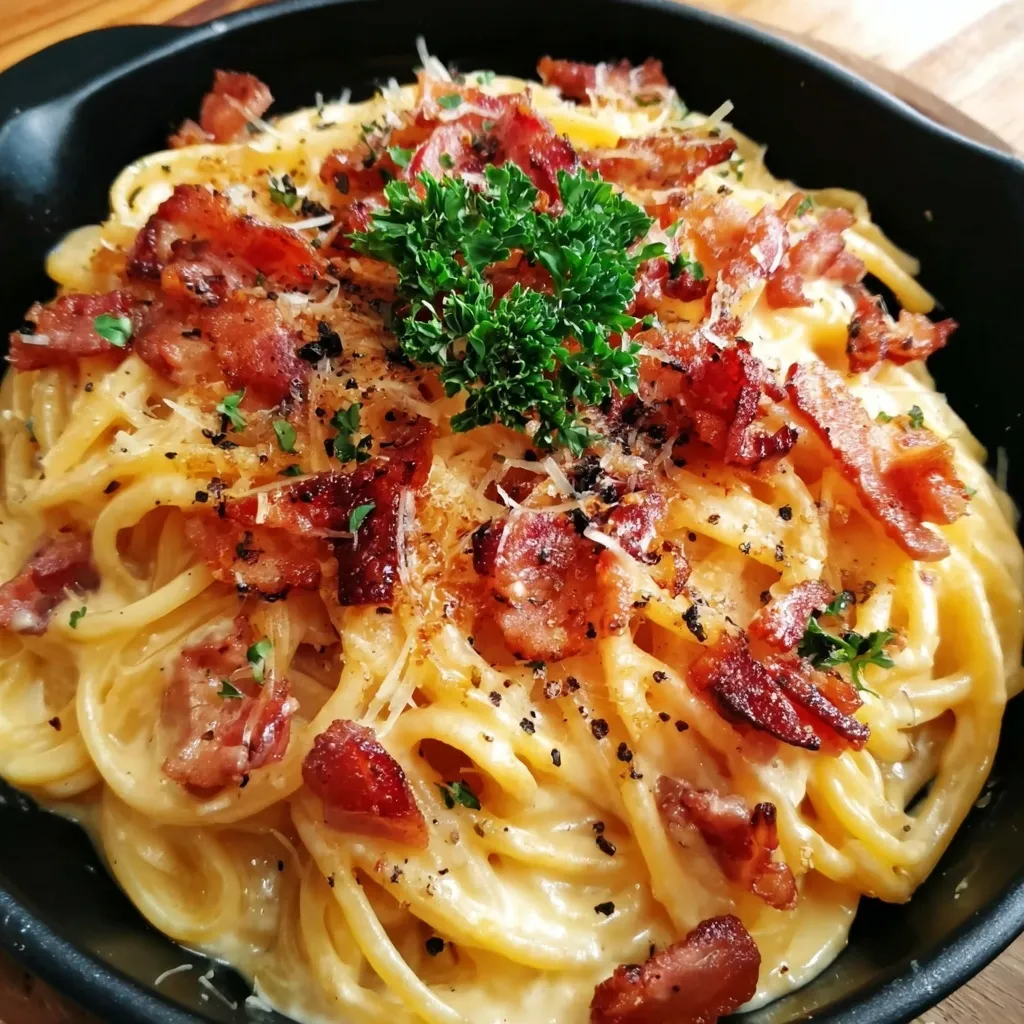
Creamy, silky carbonara with smoky bacon, peppery bite, and perfectly coated spaghetti. Ready in 25 minutes for a comforting, crowd-pleasing dinner.

A rich, silky garlic pasta made in one pan with milk and Parmesan for a fast, comforting dinner that is ready in about 20 minutes.
Leave a comment & rating below or tag @whiskia on social media!
Enjoyed this recipe? Share it with friends and family, and don't forget to leave a review!
This recipe looks amazing! Can't wait to try it.
Comments are stored locally in your browser. Server comments are displayed alongside your local comments.

Join to receive our email series which contains a round-up of some of our quick and easy family favorite recipes.