
>>

Buttery red velvet bases filled with creamy cheesecake — bite-sized indulgence perfect for parties, bake sales, or an everyday sweet craving.
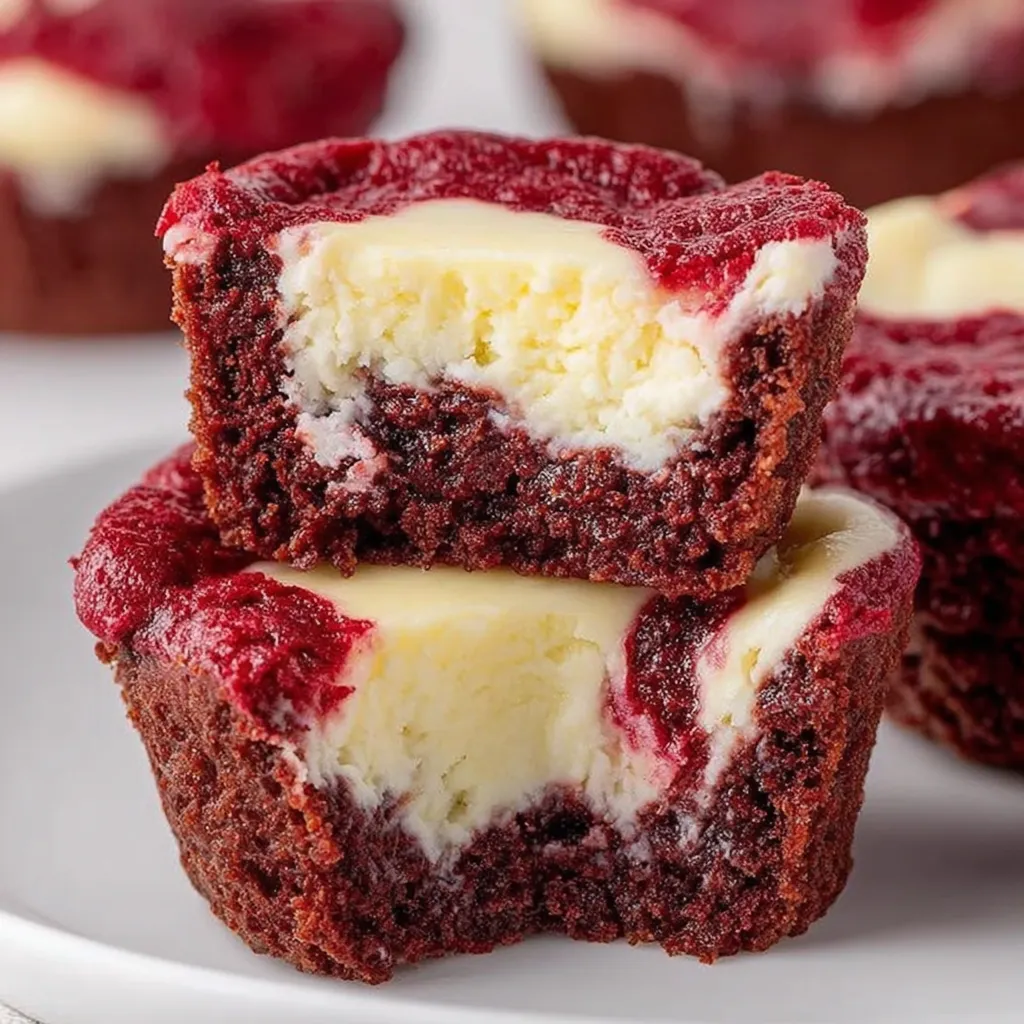
This little tray of Mini Red Velvet Cheesecake Bites has been my weekend pick-me-up and party standby for years. I first developed this combination on a rainy afternoon when I wanted something festive but not fussy: a soft, cocoa-tinged red cake shell hugging a silky cream cheese center. The contrast of tender crumb and tangy filling is what keeps me coming back — each bite is moist yet clean, rich but balanced, and small enough to finish without guilt.
I remember the first time I brought these to a book club; everyone circled the platter so fast I barely had time to snap a photo. They loved the pop of color from the gel food coloring and the surprise of cheesecake in the middle. Over time I refined the technique — measuring the base by tablespoon to keep size consistent, beating the cream cheese just long enough to avoid air pockets, and using a piping bag to get a neat, centered filling. These tips make the difference between a pretty, professional-looking bite and a messy one, and I share them below so your batch turns out perfectly every time.
In my kitchen these bites are a staple when I want something that looks special but doesn't require an entire afternoon. Guests always comment on the creamy center and the tender cake shell. I love making them in batches on a Sunday and having a sweet treat ready to go all week.
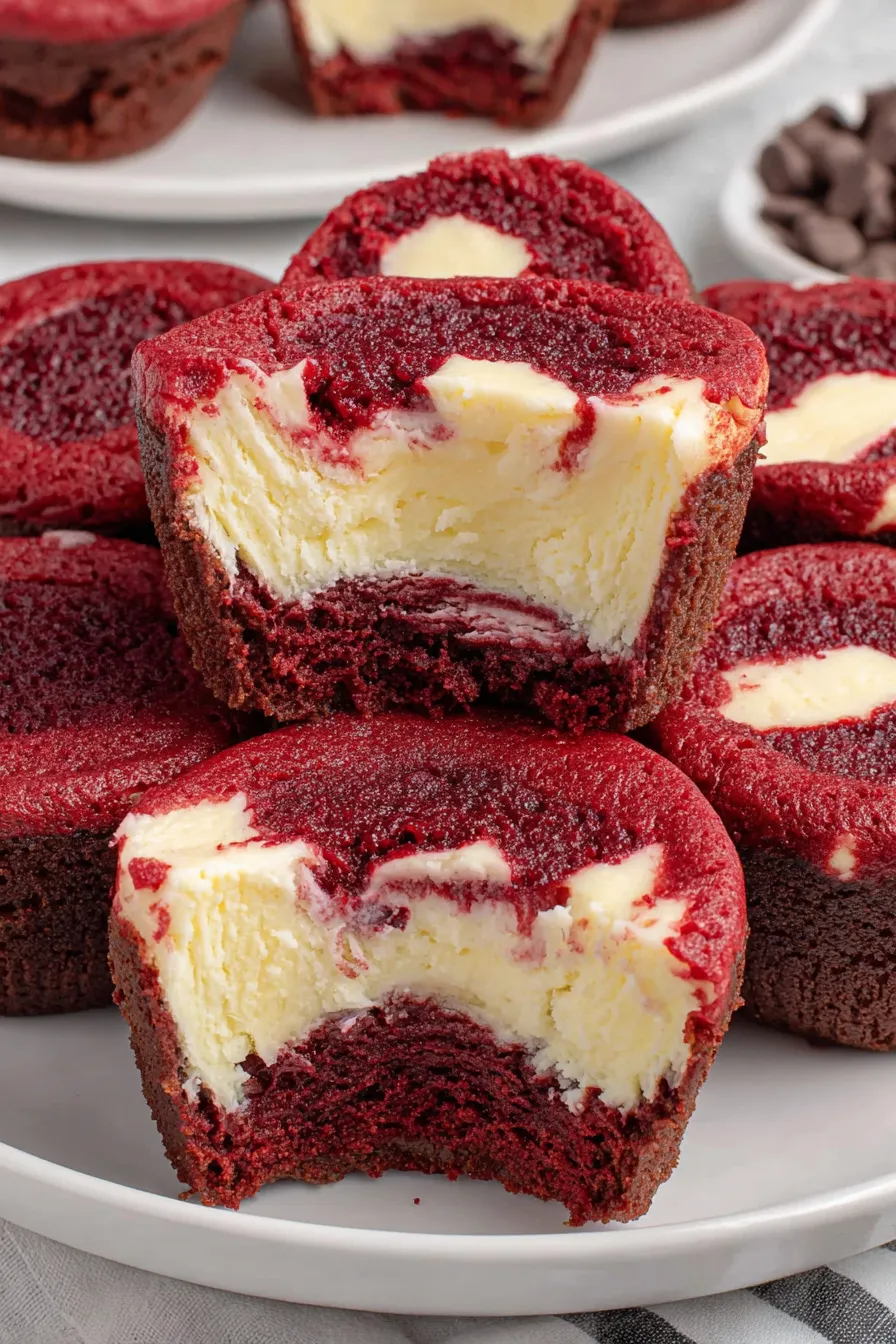
My favorite part of these bites is how portable they are — they travel well to neighborhood parties and never arrive dry. One winter I packed a dozen for teachers at school and got requests for the recipe the next week. The technique is simple but the presentation feels special, which is why I make them for both casual gatherings and holidays.
Store cooled bites in an airtight container in the refrigerator for up to 4 days. For longer storage, arrange pieces in a single layer on a baking sheet and freeze until firm, then transfer to a freezer-safe container or zip-top bag with parchment between layers to prevent sticking; they will keep for up to 3 months. To serve from frozen, thaw in the refrigerator overnight. If you need to refresh slightly before serving, let sit at room temperature for 15–20 minutes to soften the filling.
If you prefer unsalted butter, add 1/8 teaspoon salt to the base to balance sweetness. For a lower-sugar filling, reduce the filling sugar by 2 tablespoons — expect a tangier center. Use reduced-fat cream cheese for a lighter bite, but texture will be slightly less creamy. For a natural red color, consider beet powder or concentrated beet juice (start with a small amount, as liquid additions change batter viscosity).
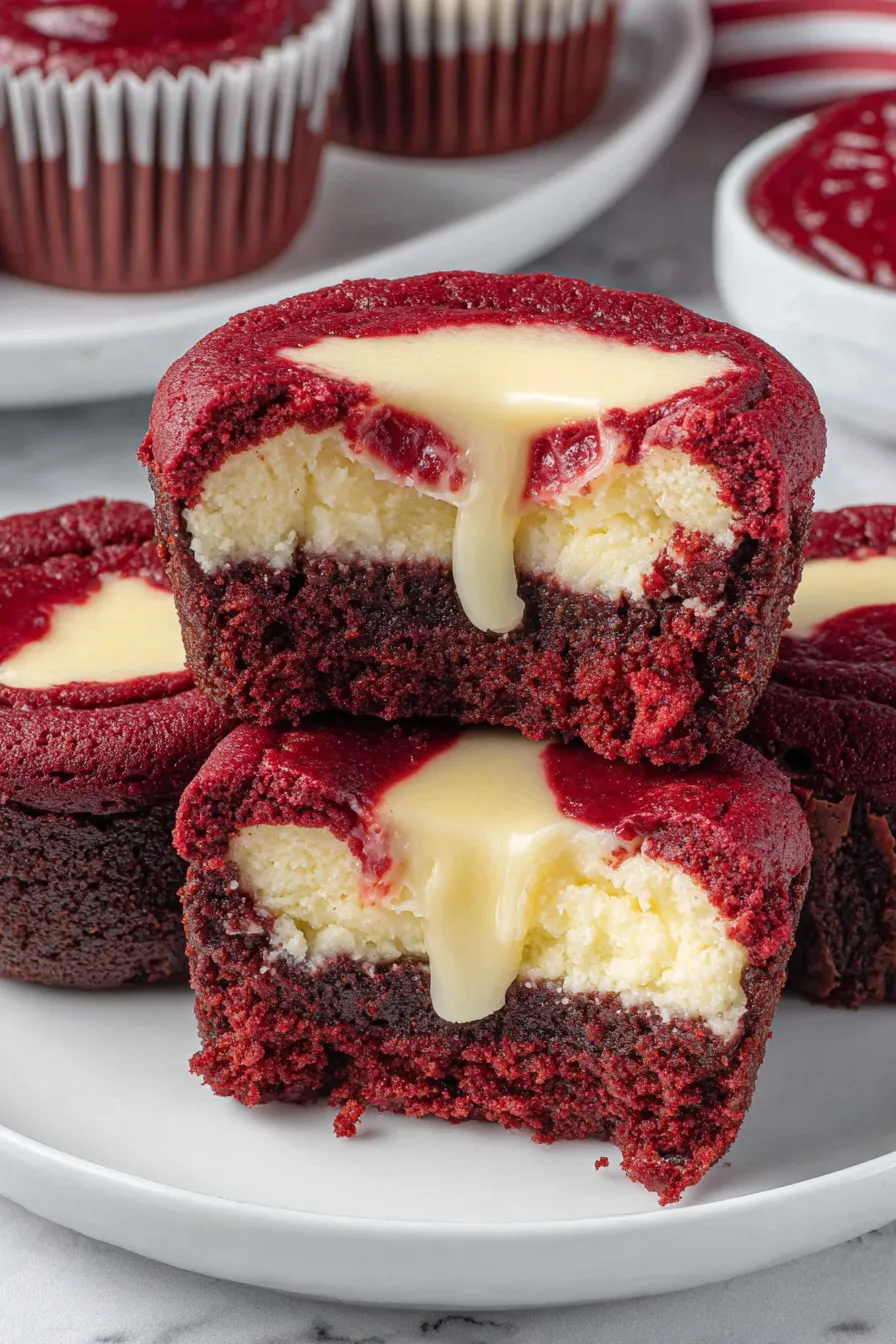
Serve chilled on a decorative platter garnished with a dusting of cocoa or a tiny dot of whipped cream and a fresh raspberry for contrast. These are perfect with coffee or dessert wine. For a festive touch, top with white chocolate shavings or a sprinkle of edible glitter for holidays. They also pair beautifully with a bright fruit compote or a drizzle of chocolate sauce for an upscale dessert course.
Red velvet is an American classic with roots in Southern baking; the striking red hue and subtle cocoa flavor became widely popular in the 20th century and are now associated with celebration cakes and holidays. Adding a cheesecake center blends this Southern favorite with the rich, creamy textures of New York–style cream cheese desserts — a mash-up that feels both nostalgic and modern. This miniature format takes inspiration from bite-sized party confections and modern plating trends that favor small, elegant portions.
In winter, enhance the filling with a pinch of cinnamon and orange zest for warmth; in summer, top with a quick macerated berry mixture to add brightness. For Valentine’s Day, increase the red color slightly and use heart-shaped liners. Around Thanksgiving, swap the cocoa in the base for a teaspoon of pumpkin pie spice and reduce the red color for an earthy, fall-appropriate tone.
Make the bases and filling a day ahead: store the base batter refrigerated in a piping bag and fill/ bake the next day for fresh texture. Alternatively, bake the shells and freeze untoasted; when ready to serve, thaw and pipe filling into warmed shells, then briefly bake to set. Use a consistent tablespoon measure or small cookie scoop to keep sizes uniform, and label containers with dates to track freshness.
These Mini Red Velvet Cheesecake Bites are small in size but big on flavor and personality — perfect for sharing, gifting, and savoring. Try them once and they’ll become a staple in your baking rotation.
Beat cream cheese just until smooth to avoid incorporating air that can cause cracking.
Use a tablespoon measure for the base and a teaspoon measure for the filling to keep sizes consistent.
Cool in the pan for 20–30 minutes before removing to prevent collapse and maintain shape.
Freeze on a sheet first before transferring to containers to avoid sticking and preserve appearance.
This nourishing mini red velvet cheesecake bites recipe is sure to be a staple in your kitchen. Enjoy every moist, high protein slice — it is perfect for breakfast or as a wholesome snack any time.
This Mini Red Velvet Cheesecake Bites recipe makes perfectly juicy, tender, and flavorful steak every time! Serve with potatoes and a side salad for an unforgettable dinner in under 30 minutes.
Preheat oven to 350°F and spray a mini muffin pan with nonstick spray or line with mini liners. Having the pan ready before mixing speeds the process.
Whisk together 1 cup flour and 1/4 cup plus 1 tablespoon cocoa in a small bowl until evenly combined. Sifting is optional but gives a lighter texture.
In a medium bowl combine 3/4 cup melted cooled butter, 1 1/4 cups sugar, 1 tablespoon red gel color, 2 teaspoons vanilla, and 2 beaten eggs. Whisk until smooth and glossy.
Fold the dry mixture into the wet ingredients until just combined. Stop mixing as soon as flour is incorporated to avoid developing gluten.
Beat 8 ounces softened cream cheese at medium-high speed for 1 minute. Add 1/4 cup sugar and 1 teaspoon vanilla and beat 1 to 1 1/2 minutes. Add 1 egg yolk and mix briefly until no yellow streaks remain.
Place about 1 tablespoon of base batter into each mini cup. Transfer filling to a piping bag, snip the tip, and pipe about 2 teaspoons into the center of each base.
Bake 8–9 minutes at 350°F until bases are set and centers slightly jiggle. Cool in the pan for 20–30 minutes, then transfer to a wire rack to cool completely.
Last Step: Please leave a rating and comment letting us know how you liked this recipe! This helps our business to thrive and continue providing free, high-quality recipes for you.
Leave a comment & rating below or tag
@whiskia on social media!

Tender, herb-laced meatballs baked to juicy perfection with Parmesan and garlic. Perfect over spaghetti, tucked into subs, or served with favorite dips.

Creamy, silky carbonara with smoky bacon, peppery bite, and perfectly coated spaghetti. Ready in 25 minutes for a comforting, crowd-pleasing dinner.

A rich, silky garlic pasta made in one pan with milk and Parmesan for a fast, comforting dinner that is ready in about 20 minutes.
Leave a comment & rating below or tag @whiskia on social media!
Enjoyed this recipe? Share it with friends and family, and don't forget to leave a review!
This recipe looks amazing! Can't wait to try it.
Comments are stored locally in your browser. Server comments are displayed alongside your local comments.

Join to receive our email series which contains a round-up of some of our quick and easy family favorite recipes.
