>>

Crispy oven-baked panko-coated chicken cutlets with a Parmesan crunch—easy weeknight dinner that stays juicy and pairs beautifully with a squeeze of fresh lemon.
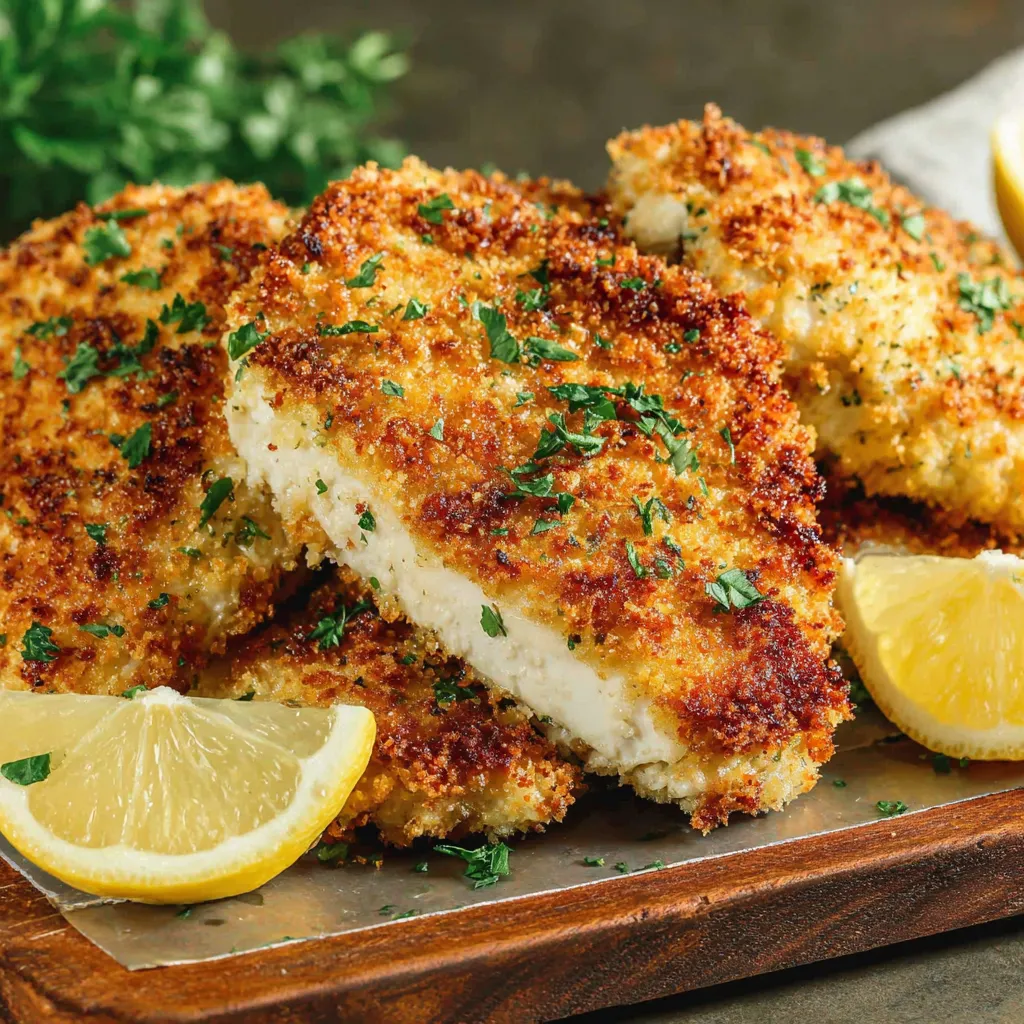
I’ve served this cutlet at large family dinners and quiet weeknights; the response is the same. People always compliment the crunchy texture and ask for the lemon trick I use at the end. That small squeeze of lemon brightens the rich savory crust and makes the dish sing.
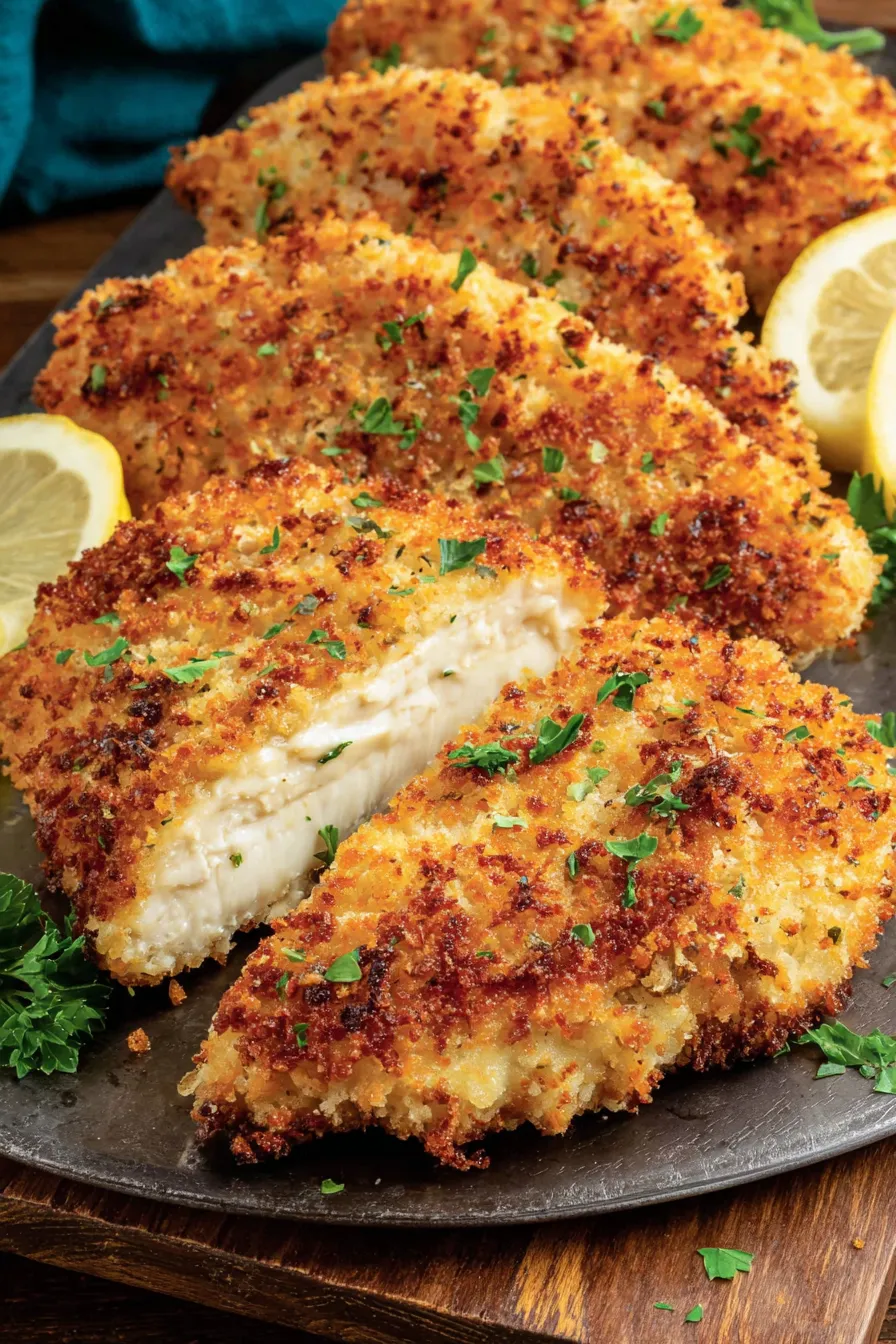
One of my favorite things about this approach is how forgiving it is. I’ve plated these for both casual family dinners and a small dinner party. Guests always notice the texture contrast between the airy panko crust and the moist meat. The simple lemon finish transforms the dish, cutting the richness and making it feel brighter and lighter on the palate.

Store leftovers in a shallow airtight container in the refrigerator for up to four days. To keep the crust crisp, separate layers with parchment paper and reheat in a preheated 375°F oven for 8 to 12 minutes until warm and crunchy. For freezing, cool completely, wrap each cutlet in plastic wrap and foil, and freeze up to three months. Reheat from frozen at 375°F for 18 to 22 minutes, checking internal temperature to reach 165°F.
If you need gluten-free, substitute certified gluten-free panko and use a 1 to 1 ratio of rice flour or a gluten-free all-purpose blend for the dredge. To make the coating dairy-free, omit Parmesan and increase panko by 2 tablespoons with an extra pinch of salt and a teaspoon of nutritional yeast for a savory boost. For lower sodium, reduce the added salt and use a lower-sodium Parmesan alternative.
Serve these cutlets with a simple green salad and roasted potatoes for a hearty weeknight meal, or pair with lemon-herb orzo and steamed vegetables for a more composed plate. A quick slaw with a vinegar dressing provides a crunchy contrast, and a smear of Dijon mustard or a garlic-lemon aioli makes an excellent dipping partner.
Panko breadcrumbs originate in Japanese cuisine and are prized for their light, airy texture. The idea of breaded and fried or baked cutlets appears in many traditions, like Italian cotoletta and Austrian schnitzel. Combining panko with Parmesan is a modern fusion that brings the best of both worlds: the delicate crisp of Japanese crumbs and the savory, nutty profile of Italian cheese.
In spring and summer, dress the plated cutlets with fresh herb gremolata and lemon slices. In colder months, pair with roasted root vegetables and a warm mustard vinaigrette. For a holiday twist, add finely chopped fresh herbs like sage and rosemary into the panko for an aromatic finish that complements richer side dishes.
To streamline weeknight cooking, bread the cutlets up to eight hours ahead and refrigerate on a sheet tray uncovered to allow the crust to dry slightly; this results in a crisper finish when baked. Portion the sides and store in meal prep containers. Reheat in the oven to revive texture. If you prefer to pack lunches, include a lemon wedge and a small container of dressing for finishing at the table.
These panko cutlets are a small technique win that delivers big on texture and flavor. Whether you are feeding kids who love the crunch or adults who want a lighter alternative to fried chicken, this method is flexible, dependable, and delicious. Give it a try and make it your own with the garnish or side that suits your table best.
Pound cutlets to an even 3/4-inch thickness to ensure uniform cooking and prevent dryness.
Coat the panko with olive oil so crumbs brown evenly in the oven without frying.
Use an instant-read thermometer and pull the cutlets at 165°F to avoid overcooking.
For extra-crisp results, let coated cutlets rest on a wire rack for 10 minutes before baking.
This nourishing crispy panko chicken cutlets recipe is sure to be a staple in your kitchen. Enjoy every moist, high protein slice — it is perfect for breakfast or as a wholesome snack any time.
This Crispy Panko Chicken Cutlets recipe makes perfectly juicy, tender, and flavorful steak every time! Serve with potatoes and a side salad for an unforgettable dinner in under 30 minutes.
Preheat the oven to 425°F and line a rimmed baking tray with aluminum foil. Position the oven rack in the center to allow even heat circulation. Using a hotter oven shortens cooking time and browns the coating quickly.
Arrange three shallow dishes. In the first, combine the flour with garlic powder, onion powder, salt, and pepper. In the second, beat the eggs until uniform. In the third, mix panko, grated Parmesan, and olive oil until crumbs are evenly coated.
Coat both sides of each cutlet in the flour mixture, tapping off excess. Dip into the beaten eggs, then press into the panko mixture on both sides so each piece is evenly coated. Place on the prepared tray and repeat.
Bake for 18 to 22 minutes at 425°F, checking for a light golden color. Use an instant-read thermometer to confirm the internal temperature reaches 165°F at the thickest part. Turn the tray halfway if necessary for even browning.
Let the cutlets rest for 3 to 5 minutes to redistribute the juices. Garnish with chopped parsley and serve with lemon wedges for brightness.
Last Step: Please leave a rating and comment letting us know how you liked this recipe! This helps our business to thrive and continue providing free, high-quality recipes for you.
Leave a comment & rating below or tag
@whiskia on social media!
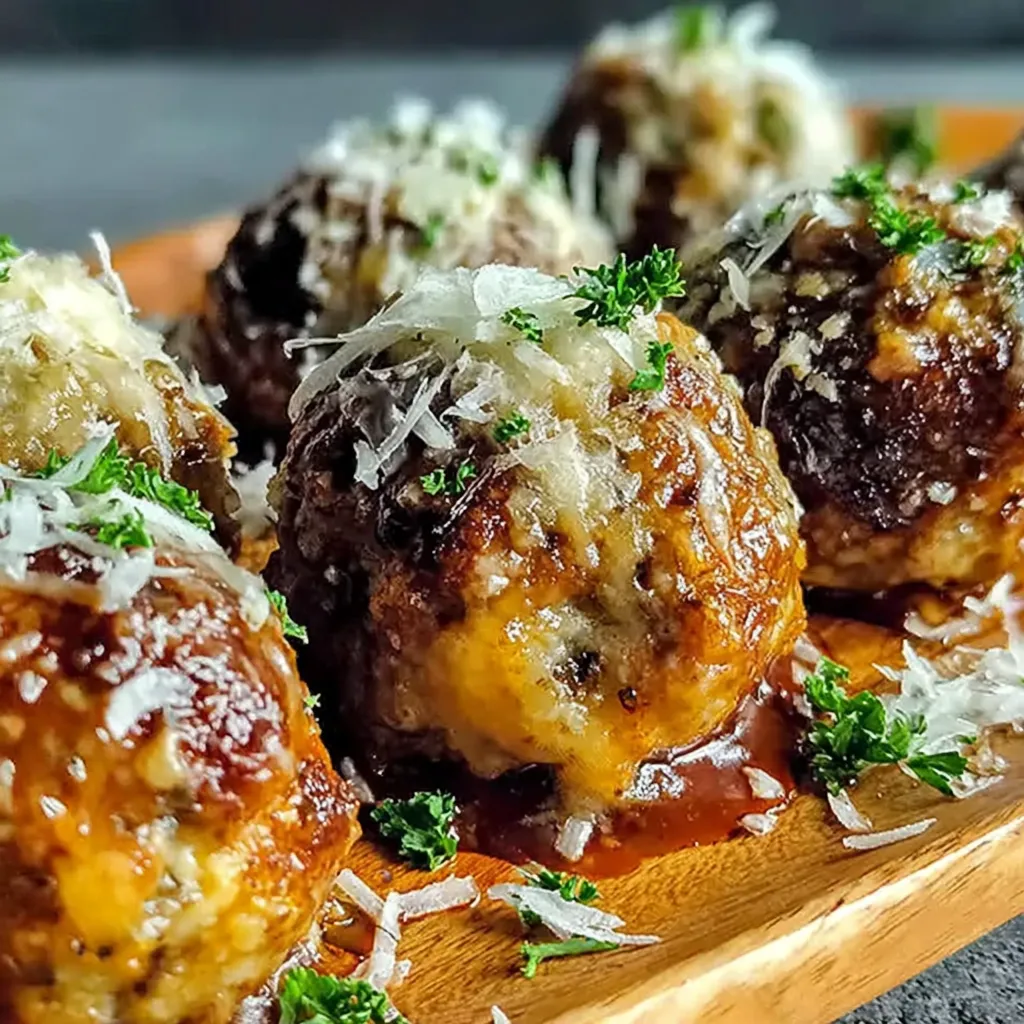
Tender, herb-laced meatballs baked to juicy perfection with Parmesan and garlic. Perfect over spaghetti, tucked into subs, or served with favorite dips.
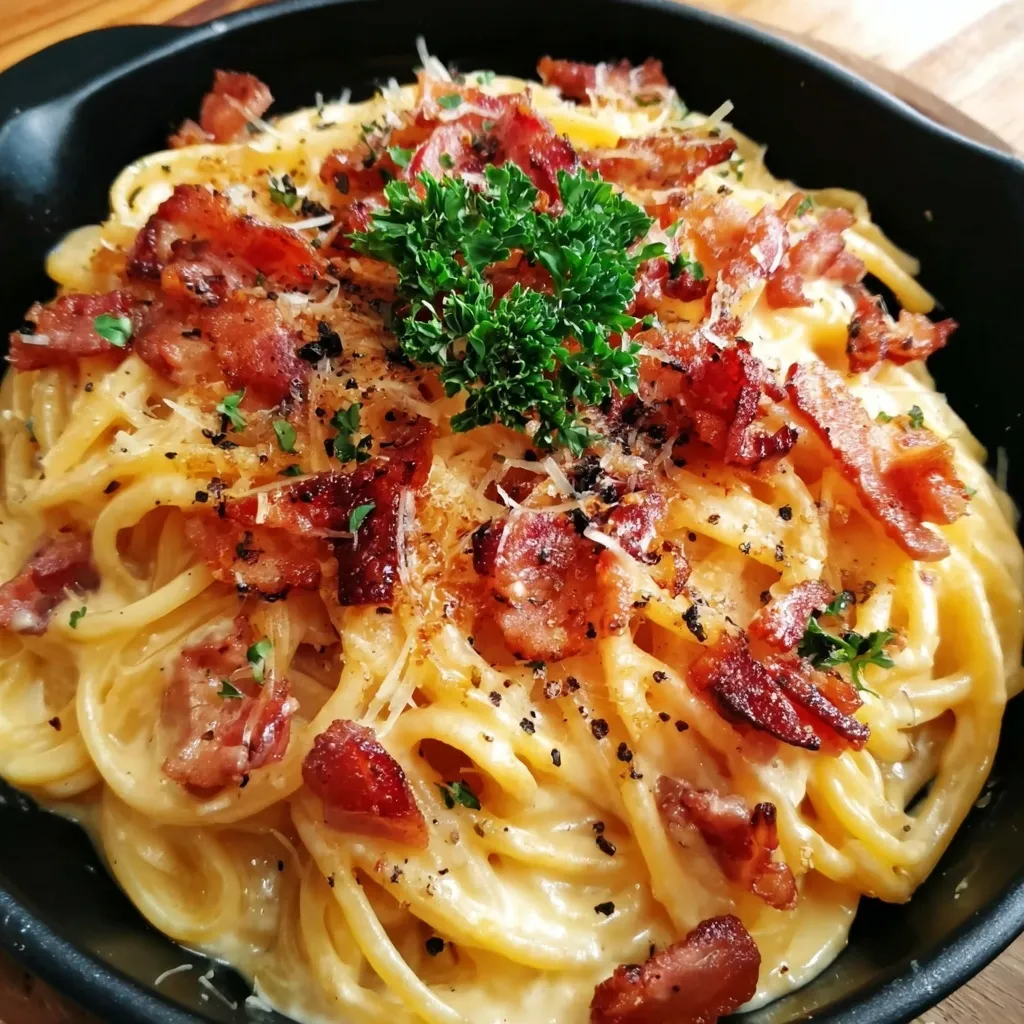
Creamy, silky carbonara with smoky bacon, peppery bite, and perfectly coated spaghetti. Ready in 25 minutes for a comforting, crowd-pleasing dinner.

A rich, silky garlic pasta made in one pan with milk and Parmesan for a fast, comforting dinner that is ready in about 20 minutes.
Leave a comment & rating below or tag @whiskia on social media!
Enjoyed this recipe? Share it with friends and family, and don't forget to leave a review!
This recipe looks amazing! Can't wait to try it.
Comments are stored locally in your browser. Server comments are displayed alongside your local comments.

Join to receive our email series which contains a round-up of some of our quick and easy family favorite recipes.