>>

A no-bake, crowd-pleasing layered dessert with a crunchy cookie base, tangy cream cheese layer, silky peanut butter pudding, and an indulgent whipped topping — perfect for parties and potlucks.
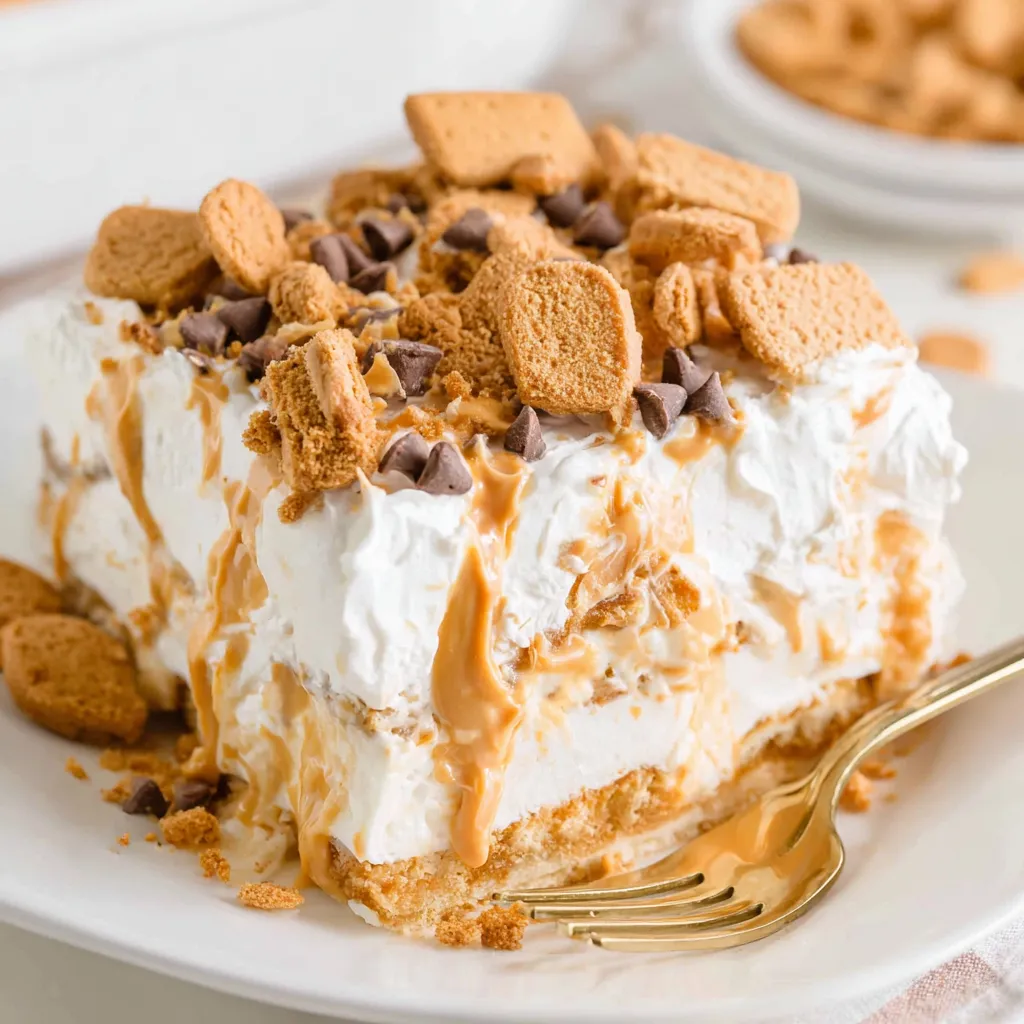
This Peanut Butter Lasagna became my go-to dessert the first winter I needed something effortless but celebratory. I discovered this combination while cleaning out the pantry between holiday baking sessions: a box of peanut butter sandwich cookies, a tub of whipped topping, and a jar of creamy peanut butter. The first bite — crunchy cookie, smooth tangy cream cheese, and a lush peanut butter pudding — sent everyone at the table into full-on applause. It’s one of those recipes that looks like you fussed for hours, but in reality it comes together quickly and keeps well, which makes it my favorite for potlucks and weeknight celebrations.
What elevates this dish is texture contrast: the cookie crust gives a firm, slightly salty bite, the cream cheese layer adds bright creaminess, and the peanut butter pudding brings silkiness with a satisfying peanut flavor. I often make it ahead and let the flavors marry overnight; the cookies soften just enough to be sliceable while keeping a hint of crunch from the reserved cookie pieces and chips on top. Family members always ask for a second slice and guests mistake it for a more complicated, baked creation — which is the best compliment of all.
My family so often requests this for birthdays and summer barbecues that I keep the ingredients on hand. I once doubled the recipe for a holiday buffet and the pan was gone in under 20 minutes — it’s a true crowd-pleaser and deceptively simple to execute.
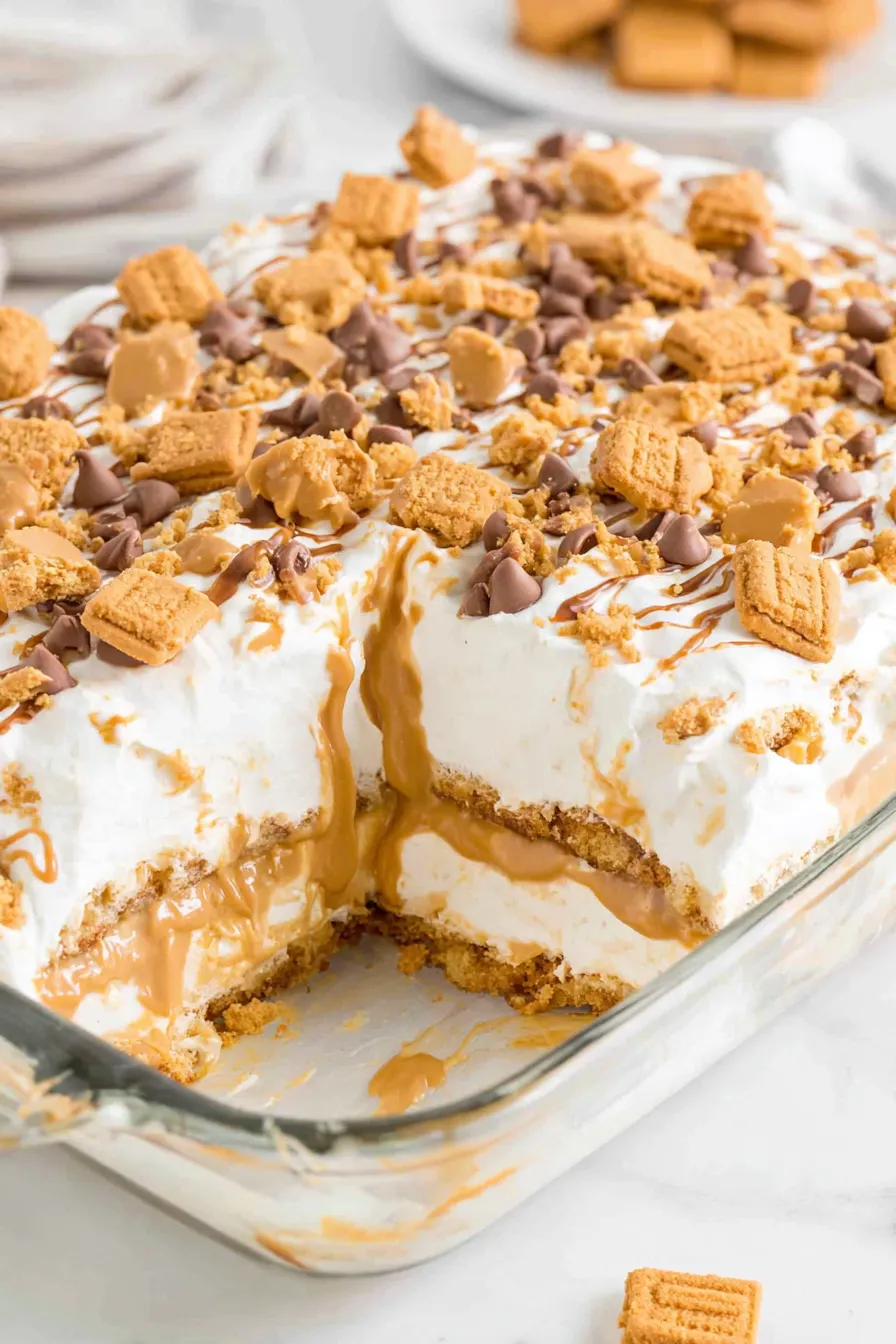
I love how simple swaps — like using a crunchy peanut butter drizzle or switching to chocolate peanut butter chips — change the experience. At my last backyard party, I served half a pan and saved the rest for friends; by the end of the night nearly every bite was gone, and a neighbor asked for the recipe immediately.
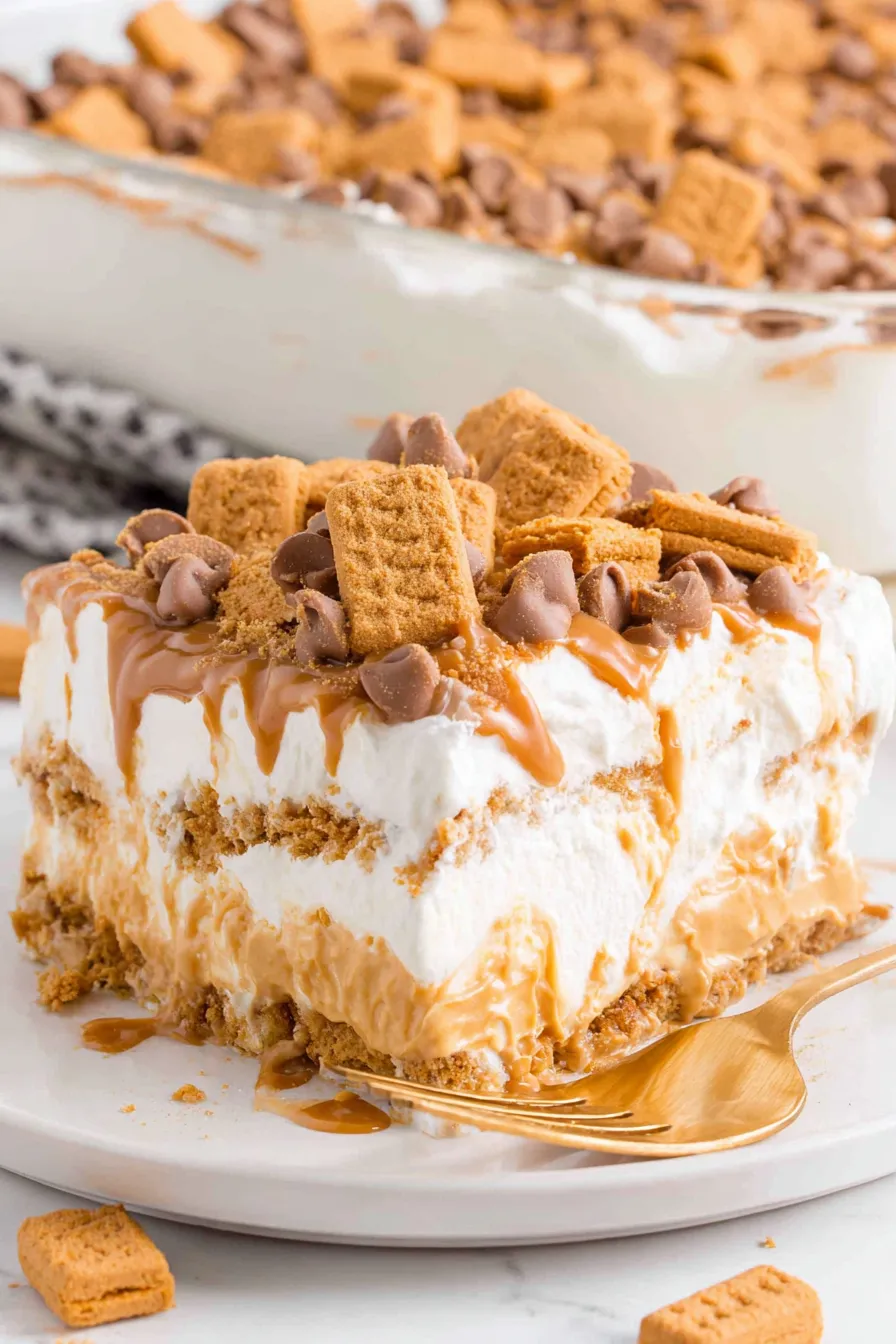
Store the pan covered tightly with plastic wrap or an airtight lid in the refrigerator for up to 3 days. For longer storage, portion slices and wrap each tightly in plastic and then foil; freeze for up to 3 months. To thaw, move wrapped pieces to the refrigerator overnight. If you prefer to serve slightly firmer slices, pop the pan in the freezer for 15–20 minutes right before serving. Avoid leaving the dish at room temperature for more than two hours because of the cream cheese and whipped topping.
To make a gluten-free version, use a certified gluten-free peanut butter sandwich cookie or a crushed gluten-free graham cracker blended with a tablespoon of melted butter for binding. For lower sugar, substitute sugar-free instant vanilla pudding and use a powdered sugar substitute in the cream cheese layer. To reduce fat, choose light cream cheese and low-fat whipped topping, though the texture will be slightly less rich. If allergic to peanuts, swap peanut butter for almond or sunflower seed butter and use compatible sandwich cookies.
Serve chilled with a cup of strong coffee or cold milk for a classic pairing. For a party, plate squares with a sprig of mint and an extra drizzle of warm chocolate or peanut butter. This dish also pairs well with fresh berries to cut through the richness — sliced strawberries or raspberries add bright acidity and look beautiful against the creamy top.
Layered, no-bake desserts like this are staples of American potlucks and holiday tables, where convenience and make-ahead ease are prized. The idea of layering sandwich cookies as a base echoes traditional refrigerator desserts that evolved in mid-20th-century American kitchens, when instant puddings and whipped toppings became household conveniences. This version leans into the beloved American flavor of peanut butter, celebrating a pantry-friendly comfort taste.
In summer, make this chilled dish as a cool celebration offering; swap some of the peanut butter chips for chopped frozen bananas for a banana-peanut twist. For winter holidays, add a sprinkle of chopped toasted pecans on top or mix a teaspoon of cinnamon into the cream cheese layer for warmth. You can swap vanilla pudding for chocolate to create a richer, holiday-style layered dessert.
Assemble the layers up to 24 hours ahead and keep refrigerated; this reduces day-of work. Keep the cookie pieces and chips separate until just before serving if you want maximum crunch. For individual portions, layer the components in small jars or cups and chill; they travel well for picnics or potlucks and make serving effortless.
In short, this Peanut Butter Lasagna is a reliable, crowd-pleasing centerpiece for dessert tables — decadent without being complicated, sweet but balanced, and endlessly adaptable to your pantry and preferences. Give it a try and watch how quickly it becomes a requested repeat.
Soften cream cheese to room temperature for a lump-free cream layer; cold cream cheese won't whip smooth.
Chill the pan between layers to keep edges clean and make spreading the next layer easier.
Dip your knife in hot water and dry it between slices for cleaner cuts and prettier squares.
Reserve cookie pieces and chips until just before serving to retain maximum crunch.
This nourishing peanut butter lasagna recipe is sure to be a staple in your kitchen. Enjoy every moist, high protein slice — it is perfect for breakfast or as a wholesome snack any time.
This Peanut Butter Lasagna recipe makes perfectly juicy, tender, and flavorful steak every time! Serve with potatoes and a side salad for an unforgettable dinner in under 30 minutes.
Grease a 9x13-inch glass dish. Arrange a single layer of peanut butter sandwich cookies to line the base (about 22 cookies). Ensure the layer is even and flat so it supports the next layers.
Beat softened cream cheese with powdered sugar until smooth, then fold in 1 cup whipped topping. Spread evenly over the cookie base and smooth with an offset spatula.
Place the dish in the freezer for 15 minutes to firm the cream cheese layer, making it easier to spread the peanut butter layer without disturbing the base.
Whisk instant vanilla pudding mix with 1½ cups cold whole milk until it begins to thicken. In a separate bowl, blend peanut butter with 1 cup whipped topping, then fold into the pudding until uniform.
Spread the peanut butter pudding over the chilled cream cheese layer. Return to the freezer for another 15 minutes so the layer firms slightly before the final topping.
Spread remaining 2 cups whipped topping over the peanut butter layer. Sprinkle peanut butter chips and chopped reserved cookies. Drizzle melted peanut butter over the top. Chill in the refrigerator for 30 minutes or freezer for 15 minutes before serving.
Use a hot, wiped knife for clean slices and serve chilled. Store leftovers covered in the refrigerator for up to 3 days or freeze wrapped for up to 3 months.
Last Step: Please leave a rating and comment letting us know how you liked this recipe! This helps our business to thrive and continue providing free, high-quality recipes for you.
Leave a comment & rating below or tag
@whiskia on social media!
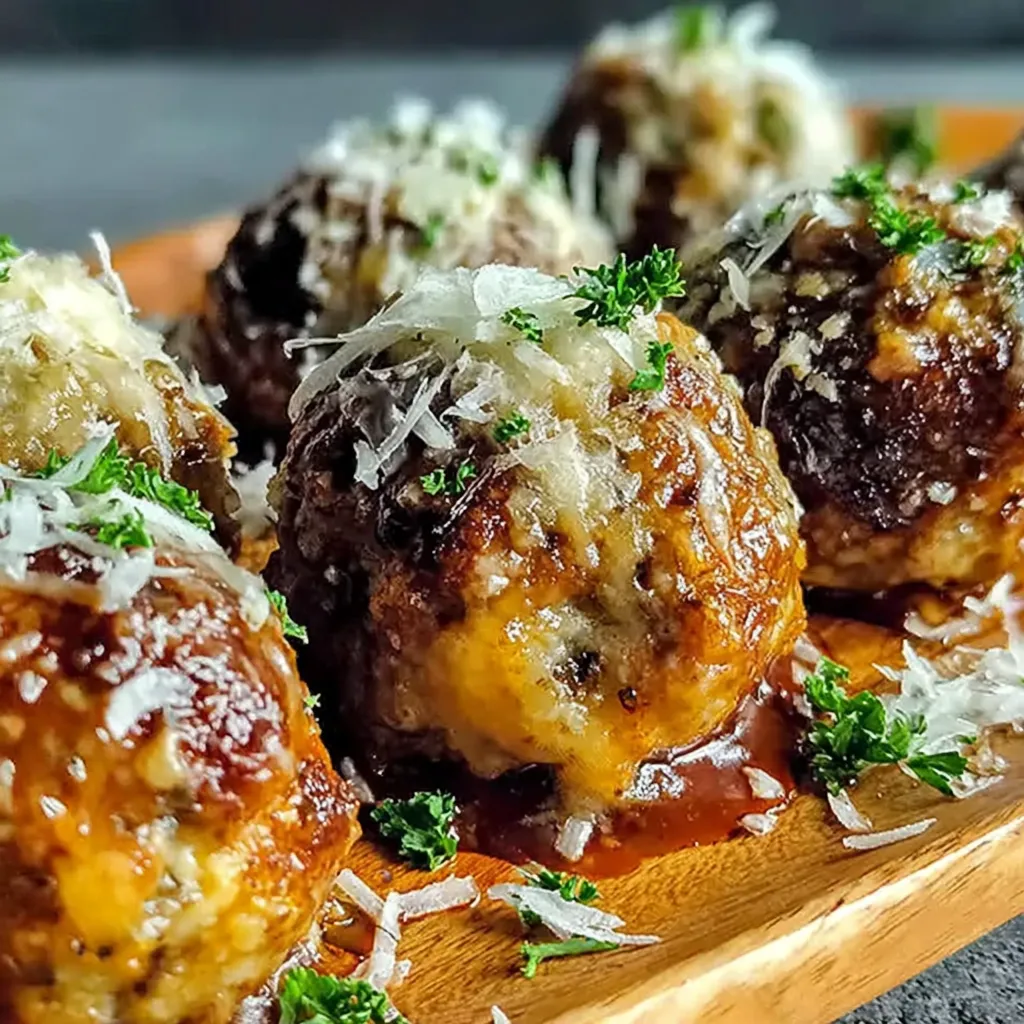
Tender, herb-laced meatballs baked to juicy perfection with Parmesan and garlic. Perfect over spaghetti, tucked into subs, or served with favorite dips.
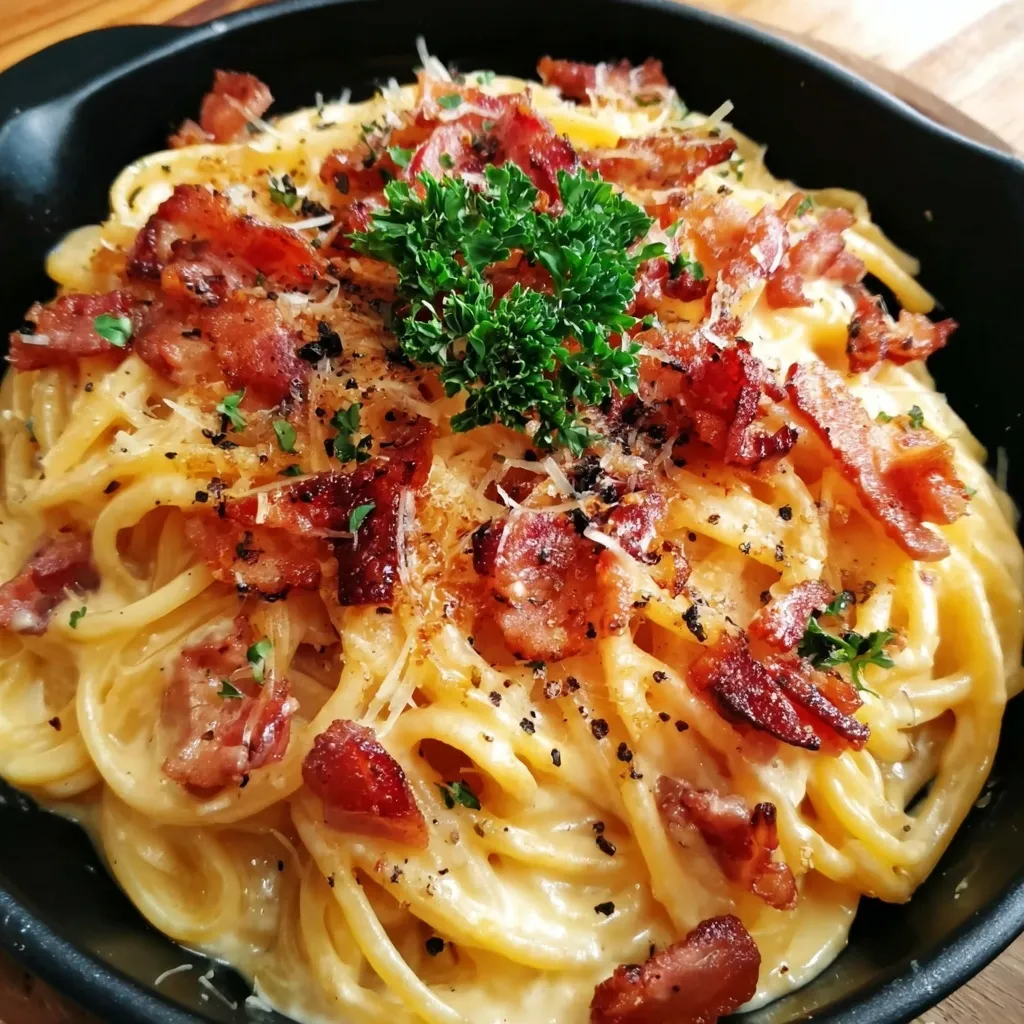
Creamy, silky carbonara with smoky bacon, peppery bite, and perfectly coated spaghetti. Ready in 25 minutes for a comforting, crowd-pleasing dinner.

A rich, silky garlic pasta made in one pan with milk and Parmesan for a fast, comforting dinner that is ready in about 20 minutes.
Leave a comment & rating below or tag @whiskia on social media!
Enjoyed this recipe? Share it with friends and family, and don't forget to leave a review!
This recipe looks amazing! Can't wait to try it.
Comments are stored locally in your browser. Server comments are displayed alongside your local comments.

Join to receive our email series which contains a round-up of some of our quick and easy family favorite recipes.