
Perfect Mini Quiche

Buttery mini crusts filled with a silky egg custard, savory add-ins, and melty cheese—ideal for brunch, parties, or meal prep.

Why You'll Love This Recipe
- Ready-to-serve in about one hour from start to finish, including shaping crusts and baking, which makes it a reliable option for hosting last-minute guests.
- Uses pantry staples like eggs, milk, and pie dough so you can assemble them without a special grocery run; perfect for weekending and refrigerator cleanouts.
- Highly adaptable: swap proteins, vegetables, or cheeses for dietary needs or to use up leftovers; they work equally well warm or at room temperature.
- Make-ahead friendly: crusts can be rolled the day before and custard held in the refrigerator until assembly, saving time when you need it most.
- Crowd-pleasing bite size: a single batch yields about 48 pieces, ideal for parties, brunch spreads, or freezing in portions for quick breakfasts.
- Hands-on steps are simple and teach basic pastry and custard techniques that are useful across many baking projects.
I still remember the first time I served these at a small family brunch; neighbors lingered for extra helpings and one child declared them better than pizza. Making different flavor trays—vegetarian, ham, and a spicy cheese tray—became my way to test new combinations and share them around. The recipe’s reliability has meant it’s one I teach friends when they ask for an easy, impressive make-ahead option.
Ingredients
- Unbaked pie crust: I recommend using two store-bought flaky pie crusts or an all-butter crust if you prefer deeper, richer flavor. Look for crusts labeled for two-crust pies, kept cold in the refrigerator section; an all-butter crust such as a good artisan brand gives the best flavor, but regular flaky crust works fine and speeds prep.
- Large eggs: Four eggs form the custard base. Use room-temperature eggs if possible to encourage a uniform texture when whisked with milk and cream.
- Whole milk: One-half cup provides body without making the custard overly rich. If you only have reduced-fat milk, the texture will be slightly firmer.
- Heavy cream: One-half cup gives silkiness and helps the filling set with a tender mouthfeel. Heavy whipping cream is fine as labeled.
- Salt and pepper: A quarter teaspoon each seasons the custard; adjust to taste if using salty add-ins like bacon or ham.
- Add-ins (about 3/4 cup total per tray): Use diced cooked vegetables, cooked and crumbled bacon, diced ham, sautéed mushrooms, or spinach. Make sure vegetables are cooked and well-drained so they don’t release moisture into the custard.
- Cheese (1/2 cup): Choose a flavorful melting cheese such as sharp cheddar, Gruyère, or a tangy feta for crumbles. Grate finely so it distributes evenly through the top of each quiche.
Instructions
Prepare dough the night before: Make or unroll chilled pie dough at least two hours before shaping so the gluten relaxes and the fat firms. Cold dough is easier to handle and yields flakier crusts. If using homemade dough, wrap tightly and refrigerate. Taking this step overnight reduces tearing and helps the crust hold its shape in the mini tins. Mix the custard: In a large bowl, whisk together the eggs, 1/2 cup whole milk, 1/2 cup heavy cream, 1/4 teaspoon salt, and 1/4 teaspoon pepper until completely combined, about one minute by hand or on high speed with a mixer. The mixture should be homogenous without streaks. Cover and refrigerate the filling until ready to assemble; keeping it cold prevents premature softening of the dough when you pour it. Preheat and prepare pans: Preheat oven to 375°F (191°C). Grease two 24-count mini muffin pans thoroughly with nonstick spray. If you have only one pan, prepare and bake in batches. Well-greased pans make the quiches release cleanly after baking and reduce the need to overbake. Roll and cut dough rounds: Work with one chilled dough at a time on a lightly floured surface. Roll into a 12-inch circle. Use a 2.5-inch round cutter or a 1/3-cup measuring cup (about 2.5 inches diameter) to cut rounds. Re-roll scraps once or twice; work quickly so the dough stays cold. You should get roughly 24 rounds per crust, for about 48 total. Form mini shells: Press each round into the greased mini muffin wells, pushing the dough gently up the sides and smoothing any tears with your fingertips. Avoid stretching the dough, which can cause shrinking during baking. If you have cracks, press them closed with a small patch of dough and chill briefly before filling. Assemble and bake: Evenly pour the cold egg mixture into each unbaked crust, filling nearly to the top but leaving a small gap to prevent overflow. Distribute about 3/4 cup worth of add-ins across the tray—this averages to a scant tablespoon per tart—and top each with a pinch of cheese. Bake until the centers are just set and edges are lightly browned, about 25 to 28 minutes. Remove and cool five minutes before unmolding.
You Must Know
- These keep well refrigerated for up to four days when tightly covered in an airtight container; reheat gently to preserve texture.
- They freeze exceptionally well for up to three months; cool completely, flash-freeze on a tray, then transfer to freezer bags.
- Make sure vegetables and proteins are cooked and well-drained so the custard does not become watery.
- Use a light hand with salt in the custard if using salty add-ins; taste as you go to avoid over-seasoning.
My favorite thing about this preparation is how forgiving it is; I often assemble trays with different add-ins side-by-side so guests can sample multiple flavors. One tray with caramelized onions and gruyère and another with bacon and scallion is my usual strategy for entertaining without fuss. The little crusts are forgiving of small imperfections, which makes them a joy to put together when you want a polished result without needing perfect pastry skills.

Storage Tips
Store cooled quiches in an airtight container in the refrigerator for up to four days. If you plan to freeze, cool completely, place on a baking sheet in a single layer, and freeze until firm; then transfer to labeled freezer bags for up to three months. Reheat refrigerated quiches at 325°F for 10 to 12 minutes until warmed through, or from frozen allow to thaw in the refrigerator overnight then reheat at 325°F for 12 to 18 minutes. Microwaving works for convenience but will soften the crust; use a 350°F oven or a toaster oven for the best texture.
Ingredient Substitutions
For a lighter filling, substitute half-and-half for heavy cream, though the custard will be slightly less rich. Swap whole milk for unsweetened dairy-free milk such as unsweetened almond milk and use a dairy-free cheese to make them lactose-free; texture will be a touch less creamy. Use gluten-free pie crust to remove gluten, keeping in mind some gluten-free crusts are more fragile and may require gentle handling. For vegetarian variety, omit meats and use extra vegetables and herbs such as sautéed leeks, roasted pepper, or spinach.
Serving Suggestions
Serve warm or at room temperature alongside a bright green salad dressed with lemon vinaigrette for a brunch, or arrange on a platter with pickled vegetables and fruit for finger-food gatherings. Garnish with snipped chives or microgreens for color. For a holiday brunch, set out small ramekins of chutney or a creamy horseradish sauce to complement richer fillings like smoked salmon or caramelized onion and gruyère.
Cultural Background
Small tarts and custard-based pastries share roots with European tart traditions where a simple egg-and-cream filling was used to showcase seasonal vegetables and savory meats. The quilted balance between flaky pastry and silky custard is reminiscent of French quiche, though the miniaturized form makes it practical for hors d'oeuvres and modern entertaining. Bite-sized versions became popular in home entertaining because they offer the elegance of a tart with the convenience of a finger food.
Seasonal Adaptations
Adjust the add-ins to the season: in spring try asparagus and goat cheese; summer shines with cherry tomatoes and basil; fall favors roasted squash and sage; winter is perfect for smoked ham and caramelized onion. Swap herbs accordingly and roast vegetables to concentrate flavor in cooler months. Small seasonal changes keep the base technique familiar while offering new flavor experiences all year round.
Meal Prep Tips
For meal prep, roll and cut all crust rounds and store them sandwiched between parchment in the refrigerator for one day. Mix the custard and store it covered for up to 24 hours. Cook and cool add-ins ahead, then assemble and bake on the day you plan to serve. Portion into meal prep containers and include a small side salad; reheat one or two quiches for a quick breakfast or light lunch.
These mini quiches are a simple, elegant solution when you want food that looks and tastes considered without a lot of last-minute work. They freeze and reheat well, adapt to whatever you have on hand, and always bring that small, satisfying crunch when you bite into the buttery shell. I hope you make them often and tweak the fillings to create your own traditions.
Pro Tips
Keep dough and custard cold to prevent shrinking and to help the crust hold shape.
Cook and drain vegetables thoroughly before adding to shells to avoid a watery filling.
Use a light hand with salt when including cured meats; taste the filling before adding additional salt.
Grease pans very well or use silicone liners to ensure easy release of mini quiches.
If crust cracks, patch with a small bit of excess dough and chill briefly before filling.
This nourishing perfect mini quiche recipe is sure to be a staple in your kitchen. Enjoy every moist, high protein slice — it is perfect for breakfast or as a wholesome snack any time.
FAQs about Recipes
Can I freeze these?
Yes. To freeze, cool baked mini quiches completely, flash-freeze on a tray until firm, then transfer to airtight freezer bags for up to 3 months. Reheat from frozen in a 325°F oven until warmed through.
Can I make them gluten-free?
Yes—use a gluten-free pie crust. Expect a slightly more delicate shell and handle the dough gently when pressing into the wells.
How do I reheat without soggy crust?
Yes. Reduce oven time slightly and watch for the center to be just set and edges lightly golden. Reheating in an oven or toaster oven preserves crispness better than a microwave.
Tags
Perfect Mini Quiche
This Perfect Mini Quiche recipe makes perfectly juicy, tender, and flavorful steak every time! Serve with potatoes and a side salad for an unforgettable dinner in under 30 minutes.
Ingredients
Crust
Custard
Add-ins
Cheese
Instructions
Chill dough ahead
Prepare or unwrap pie dough and keep it chilled in the refrigerator for at least 2 hours or overnight. Cold dough is easier to roll and less likely to tear when forming mini shells.
Mix the custard
Whisk together 4 large eggs, 1/2 cup whole milk, 1/2 cup heavy cream, 1/4 teaspoon salt, and 1/4 teaspoon pepper until fully combined. Cover and refrigerate until ready to assemble to keep the mixture cold.
Preheat and grease pans
Preheat oven to 375°F (191°C). Grease two 24-count mini muffin pans well with nonstick spray to ensure easy removal after baking.
Roll and cut rounds
On a lightly floured surface, roll one chilled dough into a 12-inch circle. Cut 2.5-inch rounds using a cutter or 1/3-cup measuring cup. Re-roll scraps as needed, working quickly to keep dough cold.
Form shells
Press each round into the greased mini muffin wells, smoothing the dough up the sides without stretching. Patch any cracks with small scraps and chill briefly if needed.
Fill and top
Pour the cold egg mixture evenly into each shell, then distribute measured add-ins and sprinkle 1/2 cup shredded or crumbled cheese across the tops.
Bake until just set
Bake for 25 to 28 minutes, until centers are just set and edges are lightly golden. Let cool 5 minutes, then remove from pans. Serve warm or at room temperature.
Last Step: Please leave a rating and comment letting us know how you liked this recipe! This helps our business to thrive and continue providing free, high-quality recipes for you.
Nutrition
Did You Make This?
Leave a comment & rating below or tag
@whiskia on social media!
Categories:
You might also like...
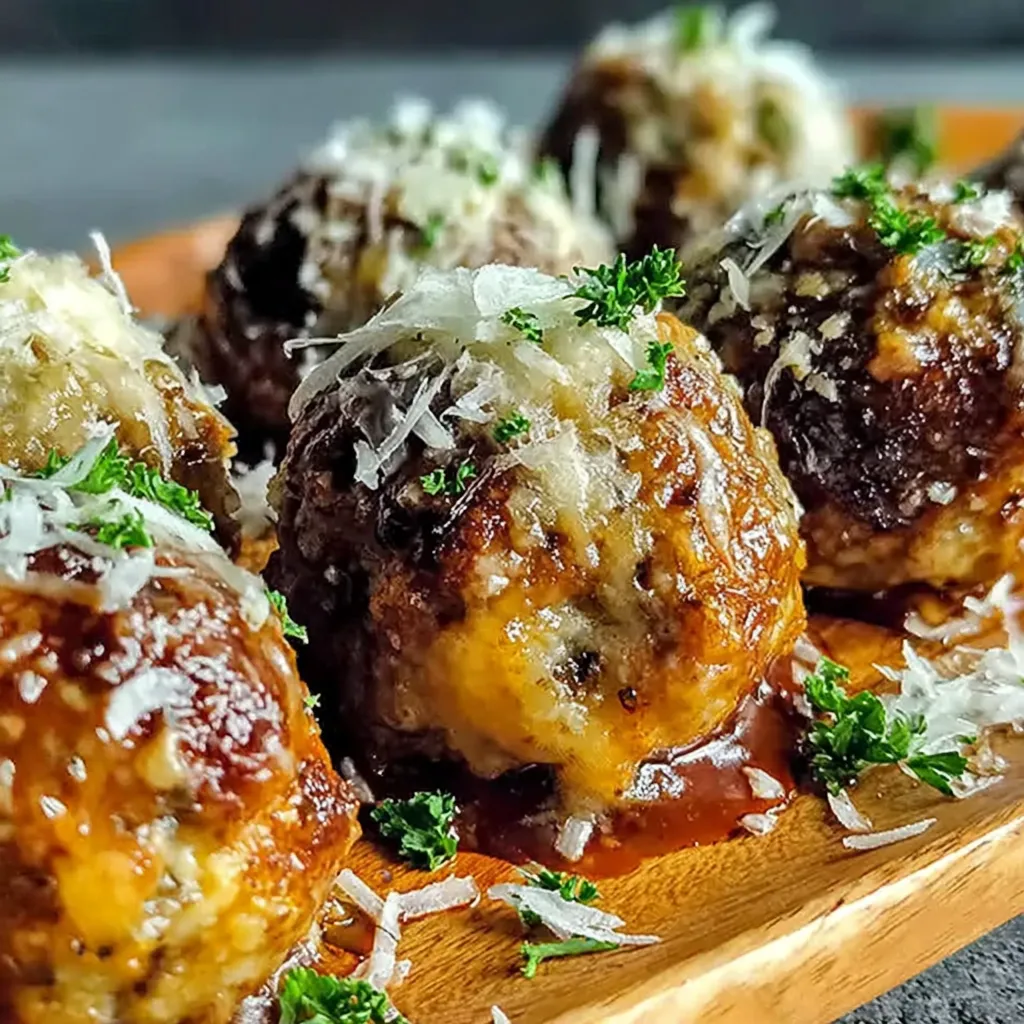
Savory Baked Meatballs
Tender, herb-laced meatballs baked to juicy perfection with Parmesan and garlic. Perfect over spaghetti, tucked into subs, or served with favorite dips.
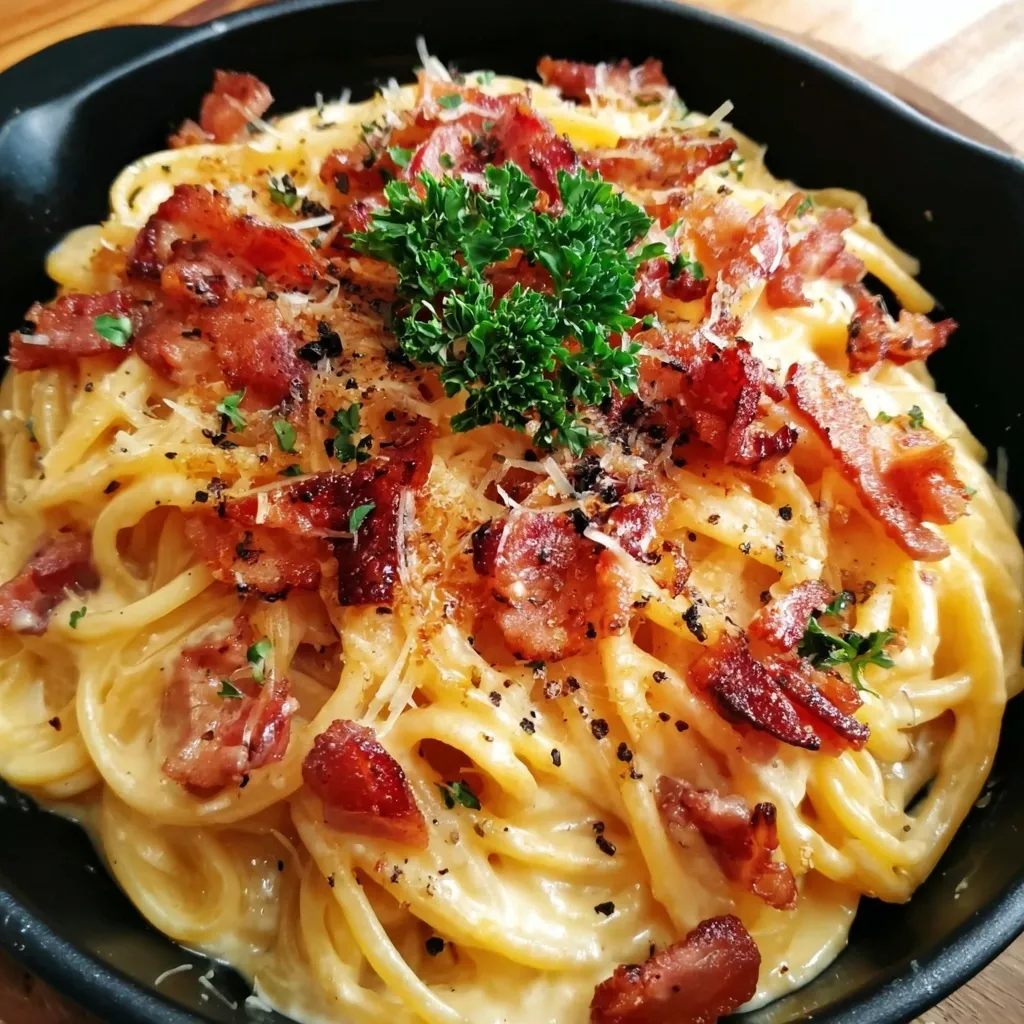
Classic Bacon Carbonara Pasta
Creamy, silky carbonara with smoky bacon, peppery bite, and perfectly coated spaghetti. Ready in 25 minutes for a comforting, crowd-pleasing dinner.

One Pot Creamy Garlic Pasta
A rich, silky garlic pasta made in one pan with milk and Parmesan for a fast, comforting dinner that is ready in about 20 minutes.
Did You Make This?
Leave a comment & rating below or tag @whiskia on social media!
Rate This Recipe
Share This Recipe
Enjoyed this recipe? Share it with friends and family, and don't forget to leave a review!
Comments (1)
This recipe looks amazing! Can't wait to try it.
Comments are stored locally in your browser. Server comments are displayed alongside your local comments.

Hi, I'm Victoria!
What's Popular
30-Minute Meals!
Join to receive our email series which contains a round-up of some of our quick and easy family favorite recipes.