
>>

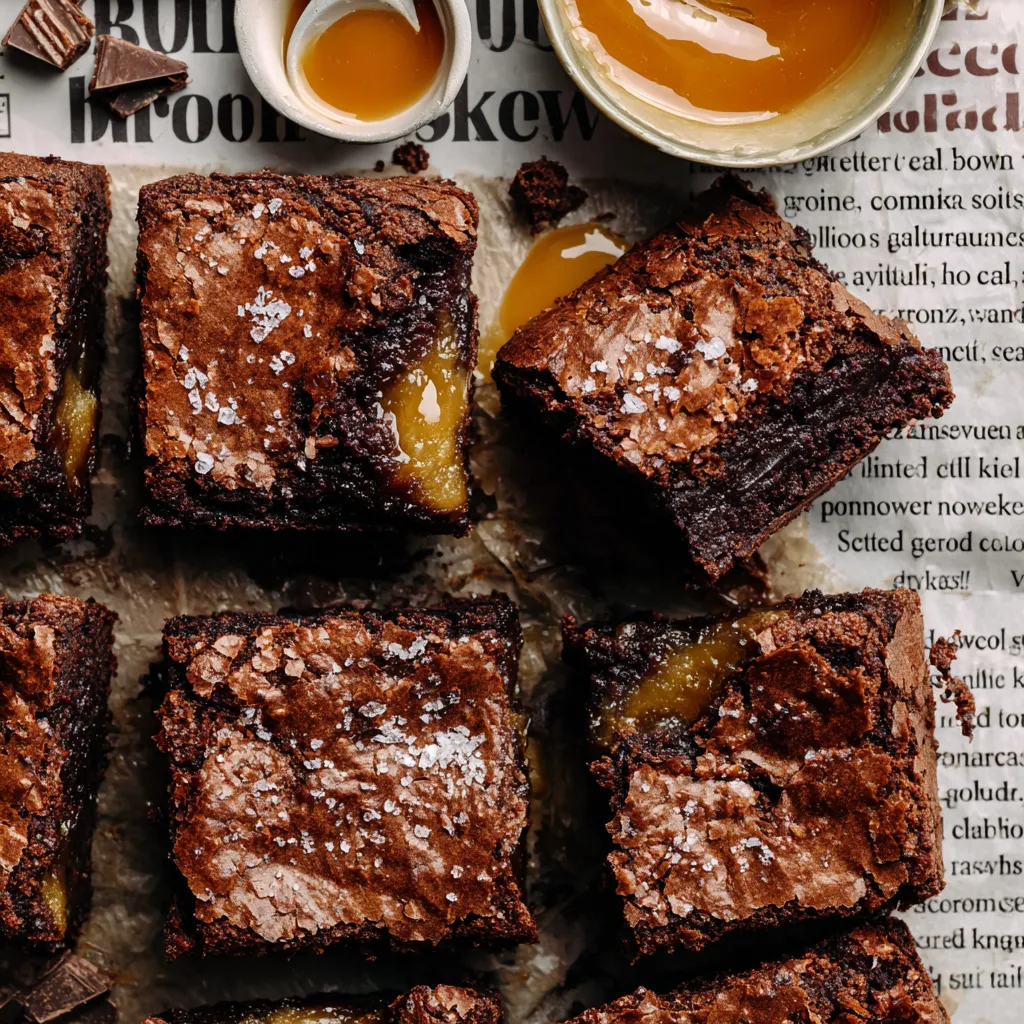
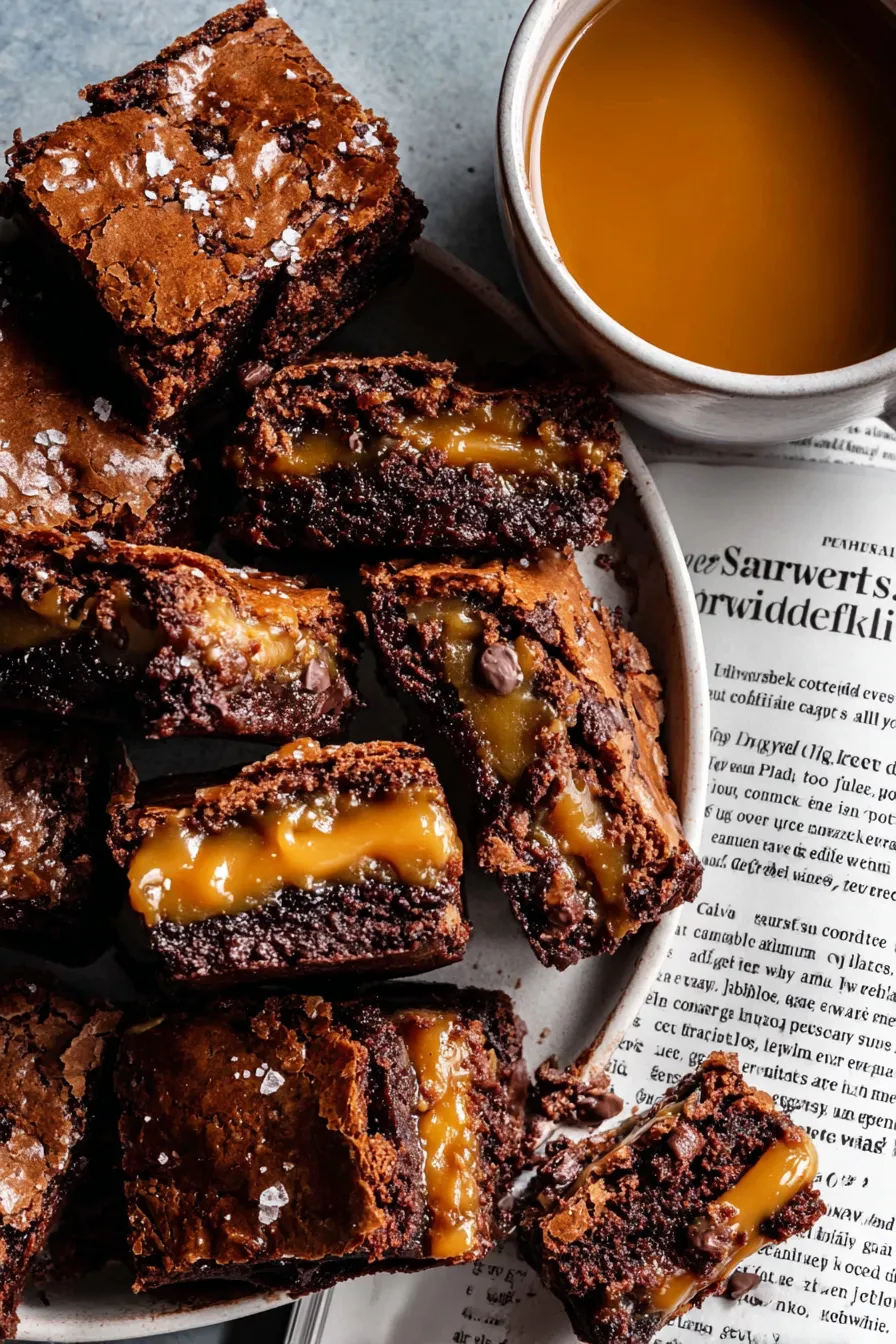
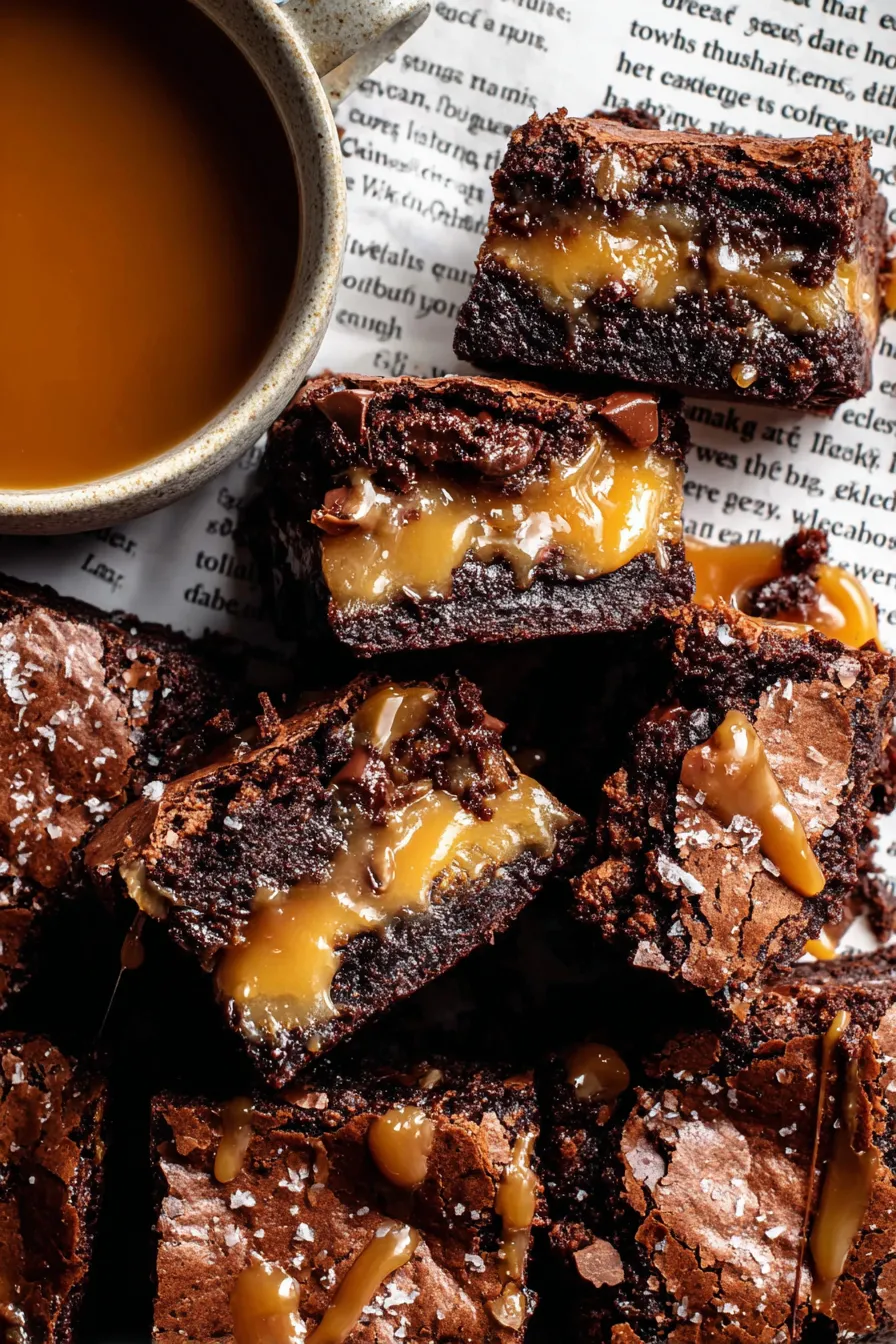
Decadent fudgy brownies filled with a hand-made salted caramel center—rich chocolate, glossy caramel, and a perfect balance of sweet and salty.
I remember bringing these to my sister’s birthday and watching her face after the first bite—pure delight. My kids argued over the middle piece, and guests asked for the recipe, which is always the highest compliment. Over time I refined the caramel timing and discovered reheating briefly makes it pour beautifully, so you’re never stuck with a cooled, sticky mass you can’t spread. It’s comfort food with a touch of showmanship.
My favorite aspect is how forgiving this method is: the caramel can be reheated briefly if it cools, and the batter holds the caramel beautifully. One winter afternoon I made a double batch and froze half; months later I thawed a slab for guests and it tasted freshly baked—rich aroma, glossy top, and that familiar tug when you lift a warm square. The texture contrast between the fudgy chocolate and shiny caramel is always a hit.
To store, let the slab cool completely, then wrap tightly in plastic wrap and place in an airtight container. At room temperature they’ll keep well for 48 hours; refrigeration extends freshness to 5 days but the caramel will firm—bring to room temperature before serving to restore softness. For longer storage, cut into squares and freeze in a single layer on a tray, then transfer to a freezer container with parchment between layers; freeze up to 3 months. Reheat from frozen in a 300°F oven for 10–15 minutes or microwave for 15–25 seconds for a warm, gooey bite.
If you don’t have dark chocolate, use high-quality semi-sweet chips; for dairy-free options use a vegan butter and dairy-free condensed milk alternatives (results will vary). Swap golden syrup with light corn syrup or extra maple syrup—golden syrup gives the smoothest, most classic caramel texture. Use gluten-free all-purpose flour blend 1:1 to make them gluten-free; note texture will differ slightly. To reduce sweetness, choose darker chocolate (70%+) and use light brown sugar instead of dark.
Serve warm with a scoop of vanilla bean ice cream and a sprinkle of flaky sea salt for contrast. For a coffee pairing, a short espresso or robust cold brew complements the rich chocolate. For an elegant dessert plate, dust with cocoa, add a few raspberries for acidity, and present on small squares—these also make delightful boxed gifts for holidays. Garnish with toasted chopped pecans or crushed pretzels for textural interest.
Brownies have American origins dating back to the late 19th and early 20th centuries, prized for their portability and chocolaty intensity. Stuffed or layered brownies evolved as bakers sought to combine textures—chewy, fudgy, and creamy—into single bites. The salted caramel element is a more recent addition in modern baking, inspired by French confectionery techniques where salt highlights the dairy’s sweetness. This hybrid of classic American and modern European ideas results in a decadent, crowd-pleasing treat that nods to both traditions.
In winter, fold in chopped toasted pecans and use dark maple syrup in the caramel for warming flavor. For spring and summer, top slices with fresh berries or a bright citrus curd alongside the brownie to cut richness. At holidays, drizzle melted chocolate in festive patterns and add a sprinkle of chopped roasted nuts or candied ginger for a seasonal twist. These simple swaps adapt the recipe across the year without changing technique.
Make these ahead: bake, cool, and slice the tray; store squares in the refrigerator and bring to room temperature before serving or warm briefly. For portioning, cut into 9 generous squares or 12 smaller ones for parties. To save time, prepare the caramel while the chocolate is melting—both steps overlap well. Label frozen portions with date and intended serving tips so you always have a show-stopping dessert ready.
These brownies are a reliable treat that always sparks conversation—fudgy, sweet, and just salty enough to keep you reaching for another piece. Make them your own: tweak the chocolate percentage, swap syrups, and play with toppings. Above all, enjoy the process and the smiles they bring to the table.
Warm ingredients—eggs and melted chocolate—combine more smoothly: bring eggs to room temperature before mixing.
Sift dry ingredients to avoid lumps and to ensure an even, tender crumb.
Use parchment overhang to lift the slab from the pan for clean slicing and easier storage.
This nourishing salted caramel-stuffed brownies recipe is sure to be a staple in your kitchen. Enjoy every moist, high protein slice — it is perfect for breakfast or as a wholesome snack any time.
Yes—if the caramel firms up before pouring, warm it gently on the stove for 30–60 seconds until pourable again. Stir constantly to avoid scorching.
Bake 30 minutes for very gooey centers; 35 minutes yields a moist but more set interior. Always allow at least 30 minutes cooling for cleaner slices.
This Salted Caramel-Stuffed Brownies recipe makes perfectly juicy, tender, and flavorful steak every time! Serve with potatoes and a side salad for an unforgettable dinner in under 30 minutes.
Preheat oven to 350°F (180°C). Butter an 8-inch square pan and line it with parchment, leaving an overhang to lift the baked slab out easily.
Combine 1 can (14 oz) sweetened condensed milk, 2 tablespoons golden syrup, 1/4 cup butter, and 1 teaspoon salt in a small saucepan. Heat over medium-high, stirring occasionally for the first minute. When steam appears, whisk constantly for 7 minutes until thickened and pale golden. Remove from heat, whisk 30 seconds, cover and keep warm.
Place 1 1/4 cups chocolate and 7/8 cup butter in a heatproof bowl and microwave in 30-second bursts, stirring between bursts, until melted and smooth. Alternatively, melt over a double boiler.
Stir 1 cup packed brown sugar into the melted chocolate, then add the lightly whisked 3 eggs and 1 teaspoon vanilla. Mix until glossy and emulsified; do not cook the eggs.
Sift together 1/2 cup flour, 1/4 cup cocoa powder, and 1/8 teaspoon salt. Fold into the chocolate mixture until just combined and smooth—avoid overmixing to keep brownies tender.
Reserve 1/2 cup of batter. Pour remaining batter into the prepared pan, then pour warm caramel over the top. If caramel has firmed, heat briefly until pourable.
Dollop reserved batter randomly over the caramel and use a skewer to swirl gently. This distributes batter and creates pockets of chocolate over the caramel.
Bake at 350°F (180°C) for 30–35 minutes (30 minutes for gooey center, 35 for more set). Cool in pan 10 minutes, lift out using parchment, then cool 20 more minutes before slicing.
Last Step: Please leave a rating and comment letting us know how you liked this recipe! This helps our business to thrive and continue providing free, high-quality recipes for you.
Leave a comment & rating below or tag
@whiskia on social media!

Tender, herb-laced meatballs baked to juicy perfection with Parmesan and garlic. Perfect over spaghetti, tucked into subs, or served with favorite dips.

Creamy, silky carbonara with smoky bacon, peppery bite, and perfectly coated spaghetti. Ready in 25 minutes for a comforting, crowd-pleasing dinner.

A rich, silky garlic pasta made in one pan with milk and Parmesan for a fast, comforting dinner that is ready in about 20 minutes.
Leave a comment & rating below or tag @whiskia on social media!
Enjoyed this recipe? Share it with friends and family, and don't forget to leave a review!
This recipe looks amazing! Can't wait to try it.
Comments are stored locally in your browser. Server comments are displayed alongside your local comments.

Join to receive our email series which contains a round-up of some of our quick and easy family favorite recipes.
