
>>

A smoky, comforting burrito filled with shredded smoked chicken, green chiles, rice, cheddar and a creamy salsa-sour cream binder—crispy on the skillet and ready in minutes.
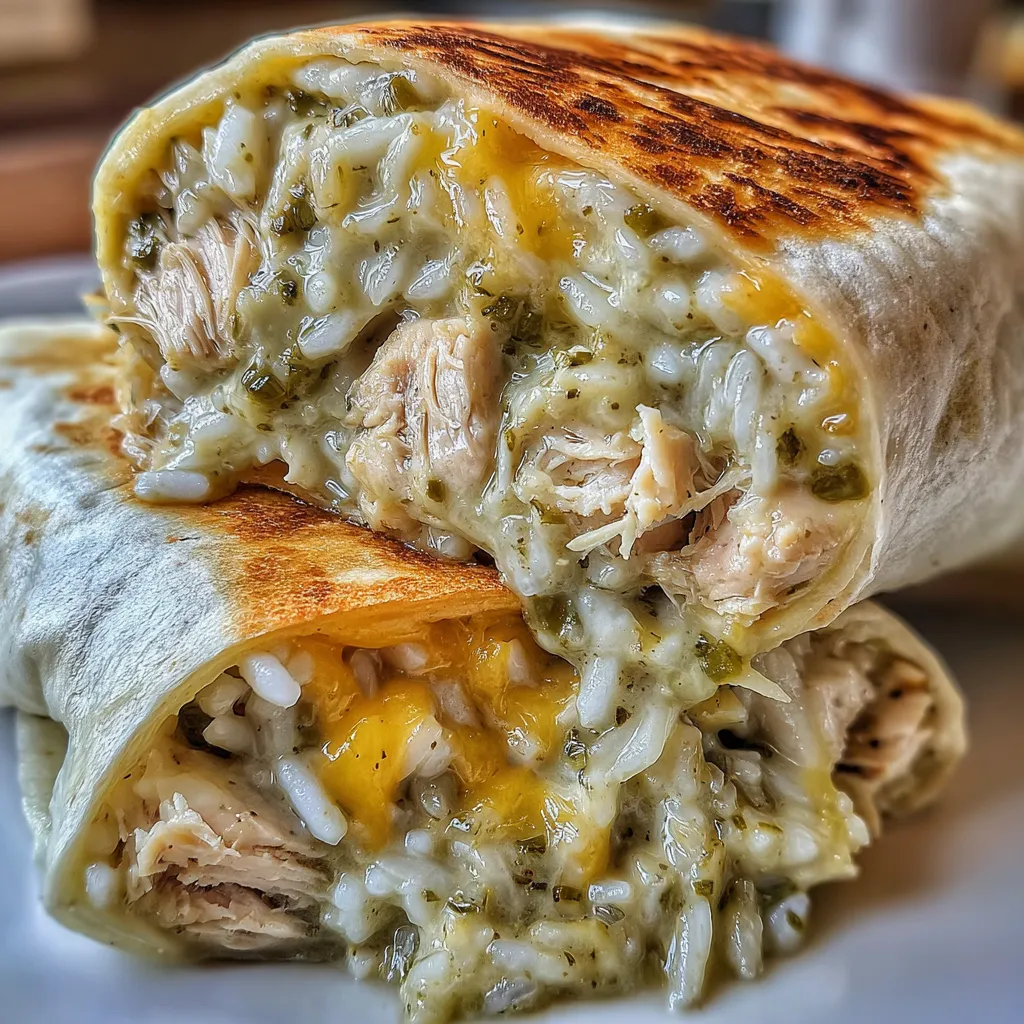
This smoked chicken green chile burrito became a weekday favorite in my kitchen the first winter I experimented with leftover smoked poultry and pantry staples. I discovered the combination on an evening when I had a half pan of smoked chicken and a craving for something warm and handheld. The smoky meat, bright roasted green chiles, melty cheddar and a tangy sour cream-salsa binder all come together into a filling that feels both indulgent and surprisingly balanced. Rolling everything in a large flour tortilla and crisping it in a skillet gives each bite a golden crunch that contrasts with the creamy interior.
I love this version because it’s forgiving: you can use store-bought smoked chicken, a leftover rotisserie bird lightly reheated over the grill, or even quickly smoke breasts earlier in the day. The texture is a pleasant mix of tender shredded meat and soft rice, with flecks of spice and acidity from the chiles and salsa. Family members ask for these on busy nights, and they travel well for packed lunches. Whether you’re feeding teenagers, meal-prepping for the week, or hosting a casual gathering, these burritos cover all the bases—comfort, convenience, and flavor.
In my house these burritos have become the default request after weekend smoking projects. Guests comment on the smokiness first and then notice how balanced the filling is—no single element overwhelms. I love the way the cheese melts into the rice and chicken, binding everything together so each bite feels cohesive rather than loose.
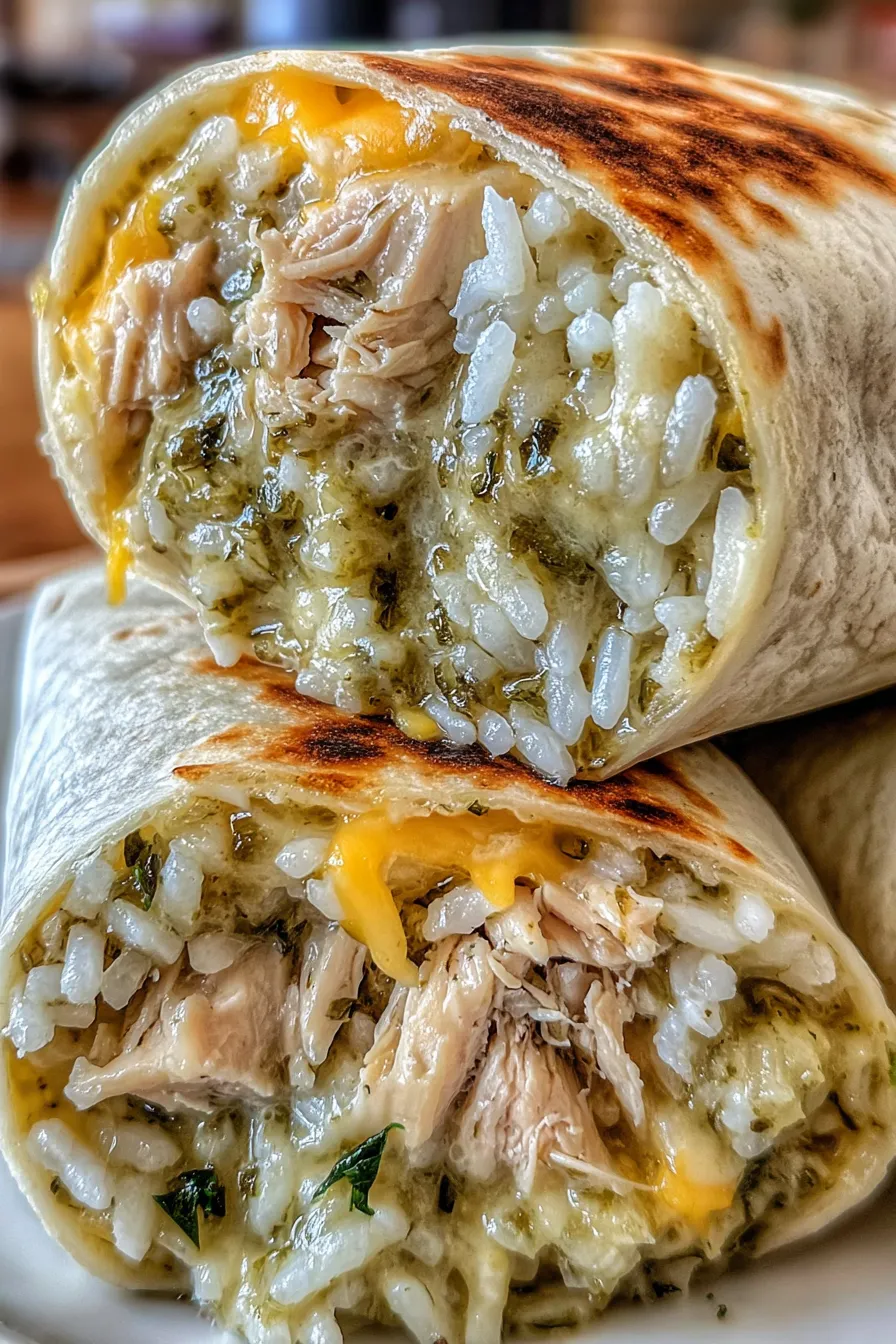
My favorite part of this dish is the contrast between the smoky meat and the bright pop from the green chiles. One memorable dinner was when I served these at a casual game-night; everyone liked that they were handheld and they disappeared within minutes. I’ve also used this filling as a baked casserole topping when I wanted to feed a crowd quickly.
Store cooled burritos in an airtight container or individually wrapped in foil or plastic wrap. Refrigerated burritos will keep 2–3 days; to reheat, unwrap and warm in a 350°F oven for 10–12 minutes or crisp in a skillet over medium heat for 3–4 minutes per side. For freezing, wrap each burrito tightly in plastic and foil, and place in a freezer bag for up to 3 months. Reheat from frozen in a 375°F oven for about 25–30 minutes, or thaw overnight in the refrigerator and then crisp in a skillet for best texture.
Swap smoked chicken for diced rotisserie chicken or shredded pork shoulder for a richer profile; if you prefer less dairy, use plain Greek yogurt instead of sour cream and omit some or all of the cheddar or use a dairy-free cheese. For a lower-carb version, replace flour tortillas with low-carb wraps or large collard leaves—note that collards won’t crisp like flour but provide excellent structure and nutrients.
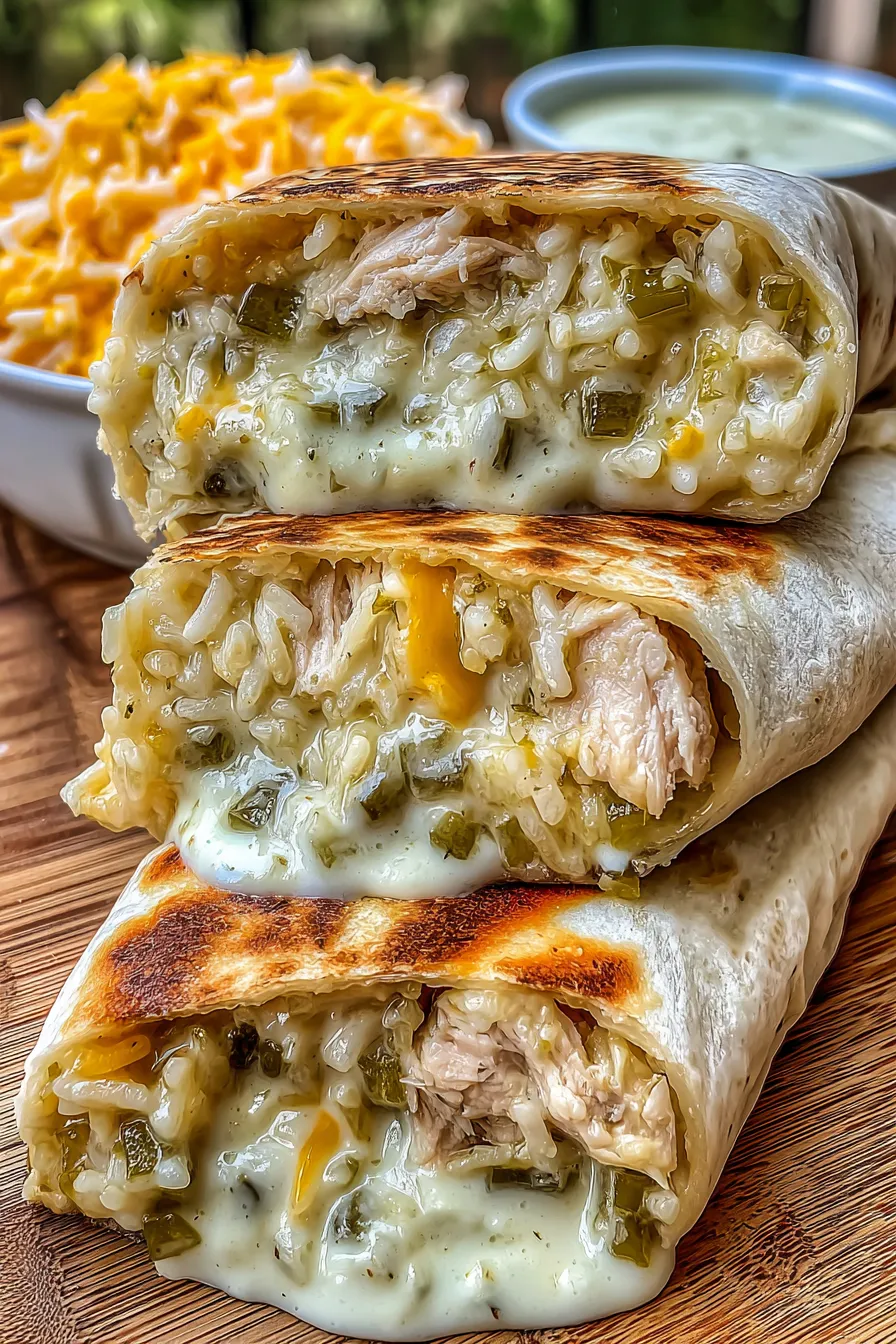
Serve with extra salsa, sliced avocado or guacamole, and a wedge of lime. A simple side salad with crisp greens and a citrus vinaigrette offsets the richness, while tortilla chips and pico de gallo make it a shareable meal. For brunch, pair with scrambled eggs and roasted potatoes; for a game day spread, cut burritos into halves and serve on a platter with dipping sauces.
The burrito as a handheld meal traces back to northern Mexico and the U.S.-Mexico border region where portable, wrapped foods were practical for farmworkers and travelers. This iteration—featuring smoked chicken and canned green chiles—leans into Southwestern American flavors: smoky protein, roasted chiles, and a blend of creamy and tangy accents that reflect Tex-Mex and New Mexican influences.
In colder months, use heartier smoked dark meat and add roasted sweet potatoes for extra warmth and texture. In summer, lighten the filling with chopped fresh tomatoes and cilantro and use a fresher salsa or pico for brightness. For holiday gatherings, scale up and keep warm in a low oven, then let guests assemble and crisp their own burritos at the skillet station.
Prepare the filling ahead and portion into four containers for quick assembly before cooking. Keep tortillas wrapped in a clean towel and microwave briefly before rolling to prevent cracking. If meal-prepping for the week, store burritos individually and reheat in the oven for best texture—this preserves the crispy exterior better than the microwave.
These smoked chicken green chile burritos are simple, flavorful, and adaptable. They’re the kind of food I reach for when I want to feed people with minimum fuss and maximum satisfaction—give them a try and make the filling your own.
Warm tortillas briefly before rolling to prevent tearing and ensure a tight roll.
If filling is too loose, add a tablespoon of rice or an extra 1/4 cup cheese to bind the mixture.
Pan-sear seam-side down first to seal the burrito and prevent unrolling while cooking.
Use a thin film of oil rather than cooking spray for a more even, golden crust if preferred.
This nourishing smoked chicken green chile burrito recipe is sure to be a staple in your kitchen. Enjoy every moist, high protein slice — it is perfect for breakfast or as a wholesome snack any time.
Yes. Store cooled burritos wrapped in foil in the freezer for up to 3 months. Reheat from frozen in a 375°F oven for 25–30 minutes.
Use a microwave for 15–20 seconds or wrap tortillas in foil and warm in a 300°F oven for 5–7 minutes.
This Smoked Chicken Green Chile Burrito recipe makes perfectly juicy, tender, and flavorful steak every time! Serve with potatoes and a side salad for an unforgettable dinner in under 30 minutes.
Combine shredded smoked chicken, drained diced green chiles, shredded cheddar, cooked rice, sour cream, and salsa in a large bowl. Add garlic powder, onion powder, salt and pepper, then fold gently until evenly combined. Adjust seasoning to taste and ensure the mixture is moist but not watery.
Place tortillas on a microwave-safe plate and microwave 15–20 seconds to make them pliable, or wrap in foil and warm in a 300°F oven for 5–7 minutes. Warm tortillas roll more easily without tearing.
Divide filling into four portions and place each mound in the center of a warmed tortilla. Fold the sides inward, then roll tightly from the bottom up, tucking to form a secure seam. Press the seam lightly to seal.
Heat a large skillet over medium heat and coat with cooking spray or a small amount of vegetable oil. Place burritos seam-side down and cook 2–3 minutes per side until each side is golden brown and crisp. Work in batches if needed to avoid overcrowding.
Let cooked burritos rest 1–2 minutes before slicing or serving whole to allow filling to set and prevent immediate spillage. Serve with extra salsa, sliced avocado, or lime wedges if desired.
Last Step: Please leave a rating and comment letting us know how you liked this recipe! This helps our business to thrive and continue providing free, high-quality recipes for you.
Leave a comment & rating below or tag
@whiskia on social media!

Tender, herb-laced meatballs baked to juicy perfection with Parmesan and garlic. Perfect over spaghetti, tucked into subs, or served with favorite dips.

Creamy, silky carbonara with smoky bacon, peppery bite, and perfectly coated spaghetti. Ready in 25 minutes for a comforting, crowd-pleasing dinner.

A rich, silky garlic pasta made in one pan with milk and Parmesan for a fast, comforting dinner that is ready in about 20 minutes.
Leave a comment & rating below or tag @whiskia on social media!
Enjoyed this recipe? Share it with friends and family, and don't forget to leave a review!
This recipe looks amazing! Can't wait to try it.
Comments are stored locally in your browser. Server comments are displayed alongside your local comments.

Join to receive our email series which contains a round-up of some of our quick and easy family favorite recipes.
